

WeedyMcWeedWeed
Well-Known Member
Everythings looking great butch. Good job
How To Use Progressive Web App aka PWA On 420 Magazine Forum
Note: This feature may not be available in some browsers.
1. Nutes: Gen. Hydro 3 part, Magi.Cal, Hygrzyme, Floranectar
2. Change out every 7-10 days & I do top off with Water, then I adjust.
3. No big PH fluxuations. I adjust as needed.
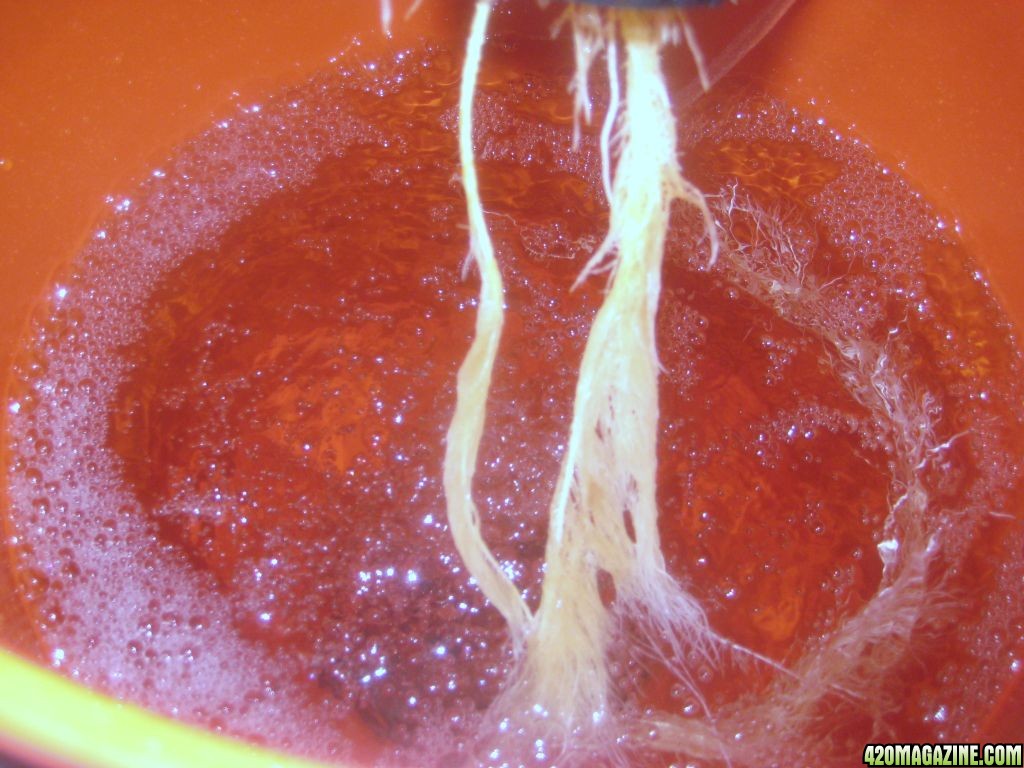
4. I start out at just aboce the roots bottm then at about half way down, I let the roots grow into the water.
Hope this answers your questions,ask away..

") Again very nice work.
Again very nice work.What kind of system is this Butch?
Damn Dude! when can i get some seeds? that is just phenomenal bro well done oh and i know yo put it somewere in here but what is that momma system cuz it looks very easy to maintain and very effectivegreat as always butch i love comin through here

Everythings looking great butch. Good job
Got to love the Gh FloraSeries super pH stable from my experiences with it


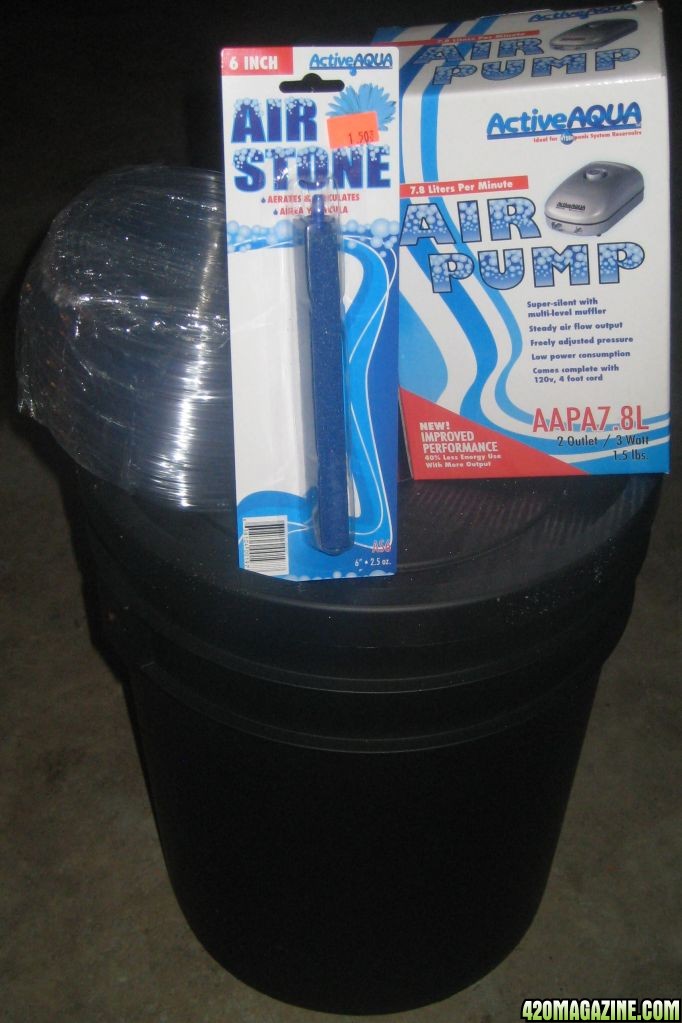
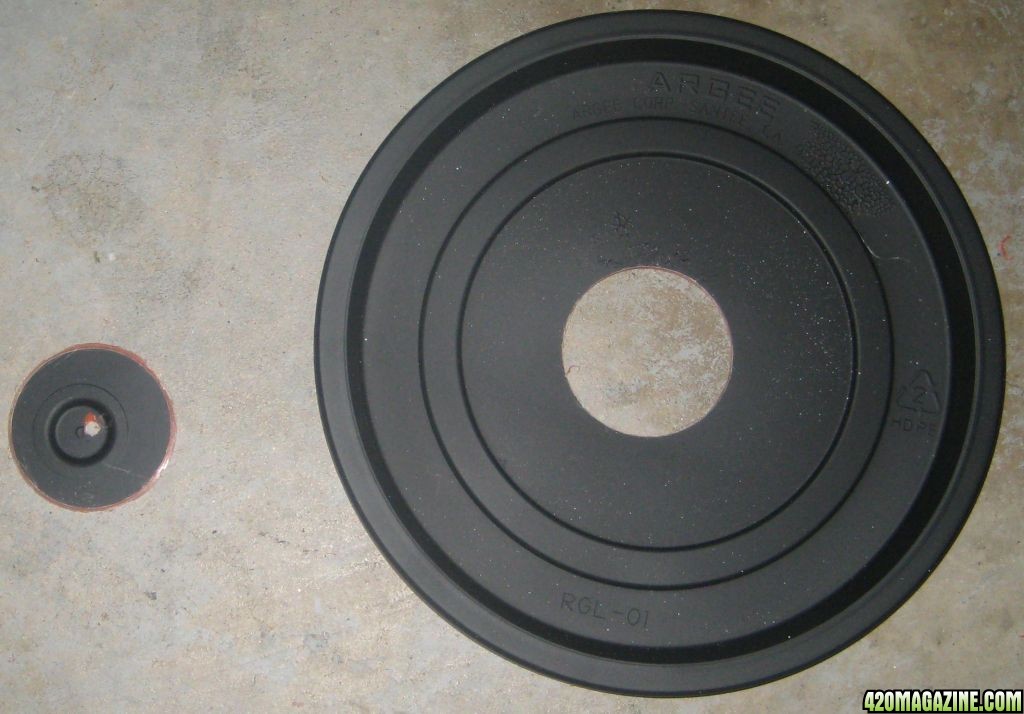
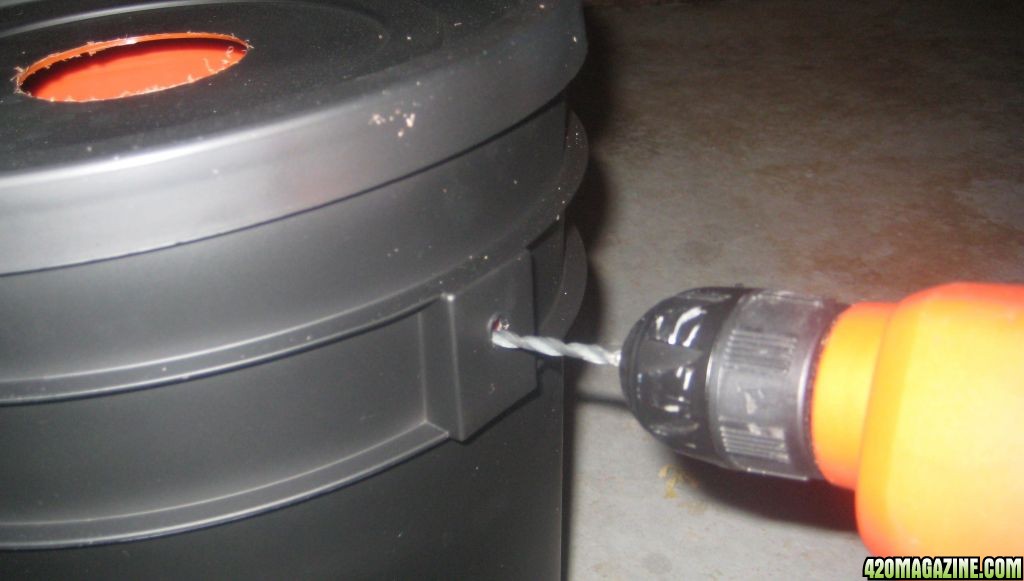
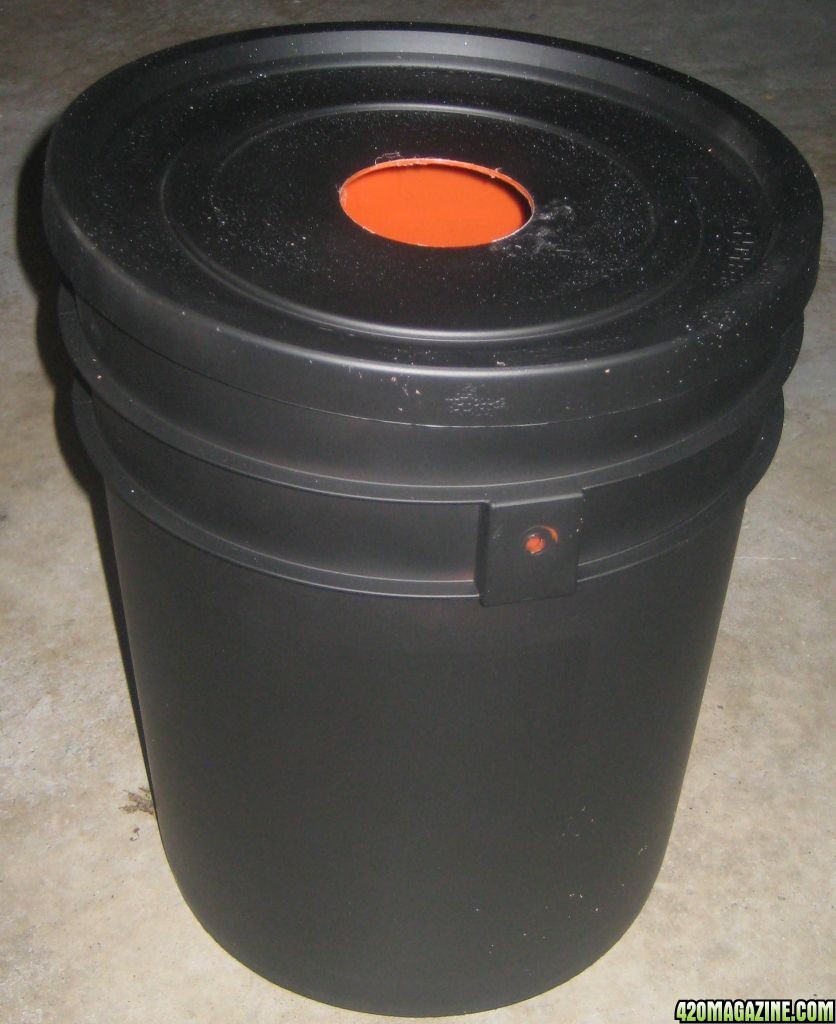
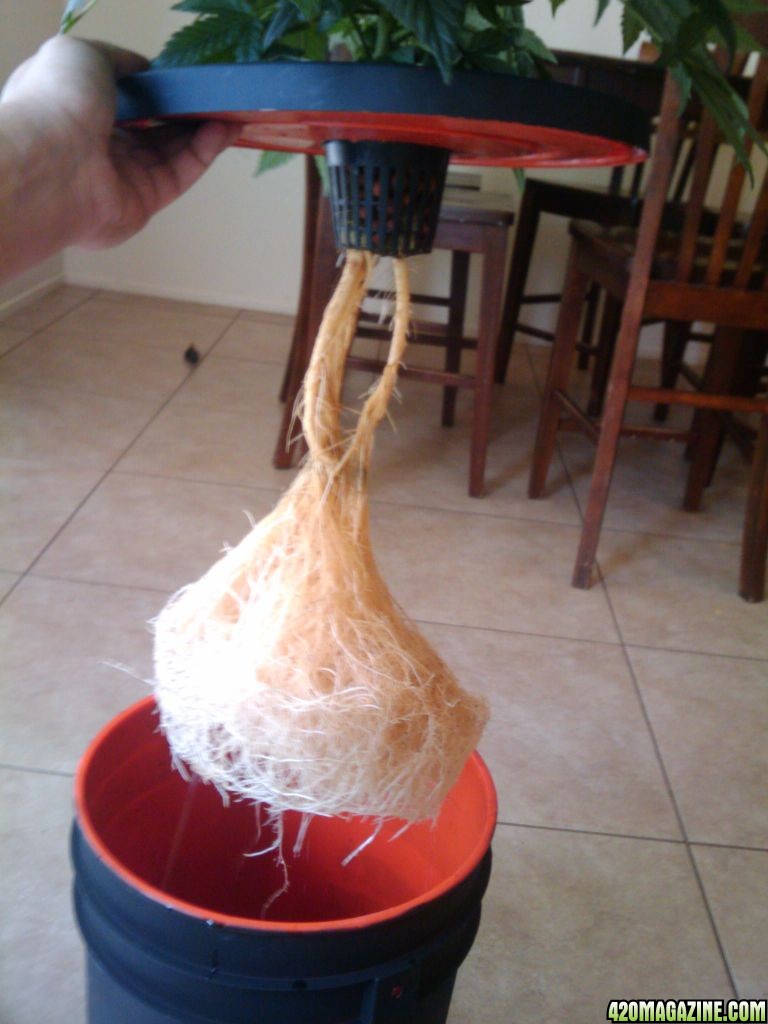
The mother system is a 5 gallon DWC system, with a circular air stone. If Ya'll want I can post a mini tutorial on it? Actually I will..post a quick HOW-TO on it. I'll have it here by the end of the day.

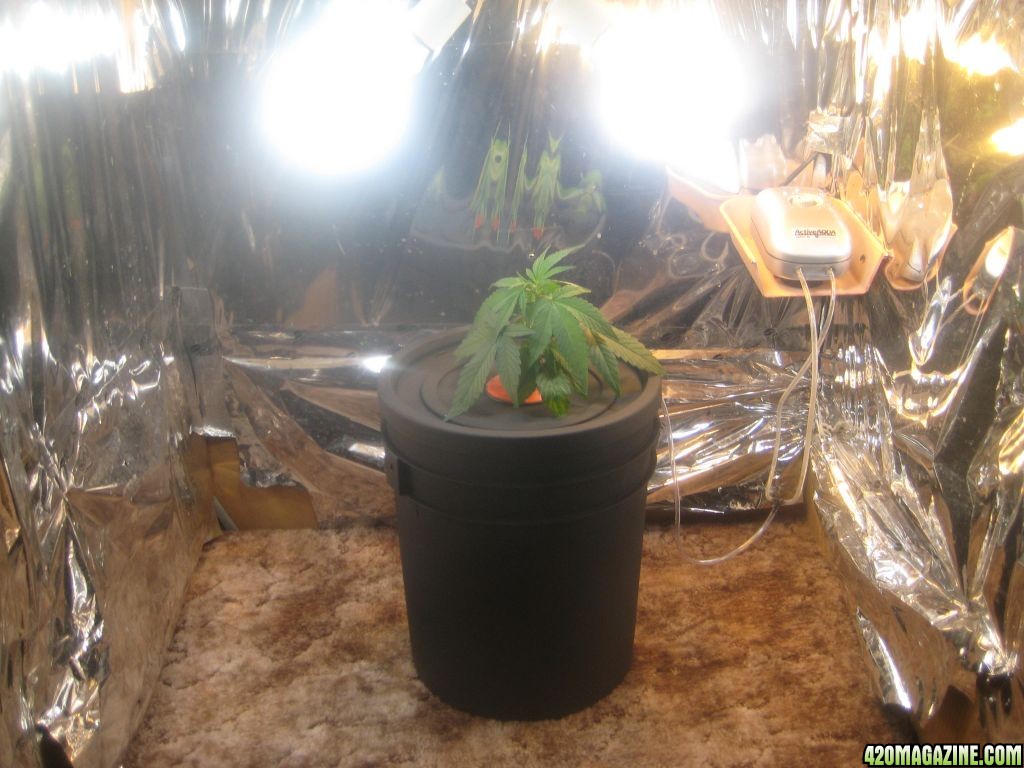


well this is the first run w/ her. shes at 8 weeks and 2 days and she pretty much done. She went into dark today so, that make it a total of 58 days in soil.. and thats the mom finishing off. In hydro I'm sure it'll be less. Or maybe its just the pheno I have, dunno.
 +rep
+rep
Sorry Butcher
Next your going to want to set up your pump in its new home. Where and how? Inside! Outside! Sorry, I know this is simple stuff, but I need just a bit more info. I need to see it. Sorry to be a pain.
she looks great butcher thanks for the info
That's a great mother set up, and it works as we can see clearly! Very inspiring for sure, thanks!!
Awesome writeup man, the beauty of that system is that you can use it for mothers, or just cycling out plants in the same system. I know some soil growers that are amazed at how cheaply you can build one of these buckets especially for how well they work.
yo butch my man thanks for the tutorial i added it to the file of your helpful grow tips gonna make one of these really soon
for all the great vibes you've brought. Not only to my thread but to every1 elses as well.much thanx for the info, Butch. Now if I can just find that can of black spray paint for my Homer bucket.....
but if you got the choice go w/ the Home Depot can
Let me know if you do. I got a couple things I'm working on for a similar thread. If anything, let me know and can shot you some more info for the thread. I have to say
just a matter of getting 30or40$ to spare outside the budget haha as always and of course man good vibes make the world go round if we didn't have em idk what i would do
  maybe that and then smile haha
 my friend