DobeWan's Perpetual Adventure 2.0: The Reboot

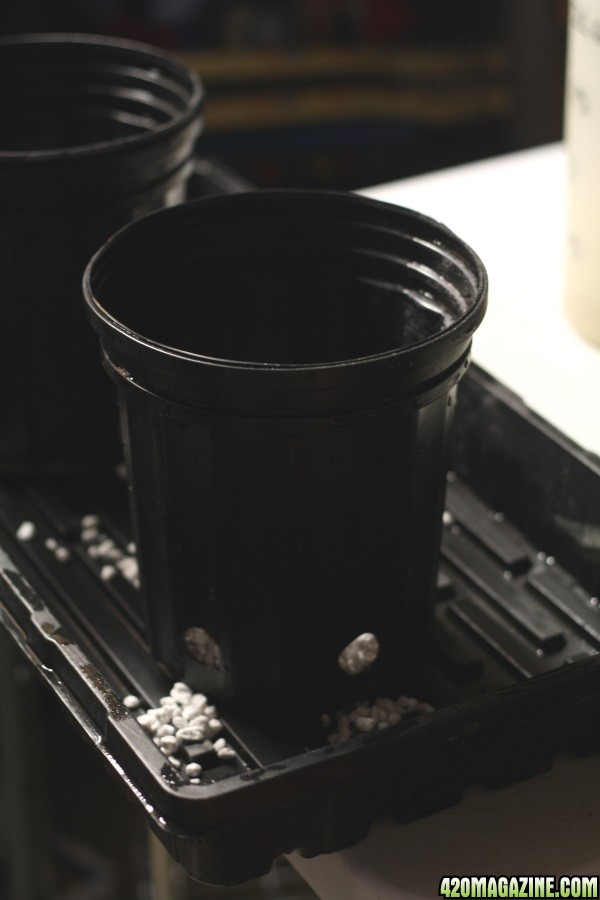
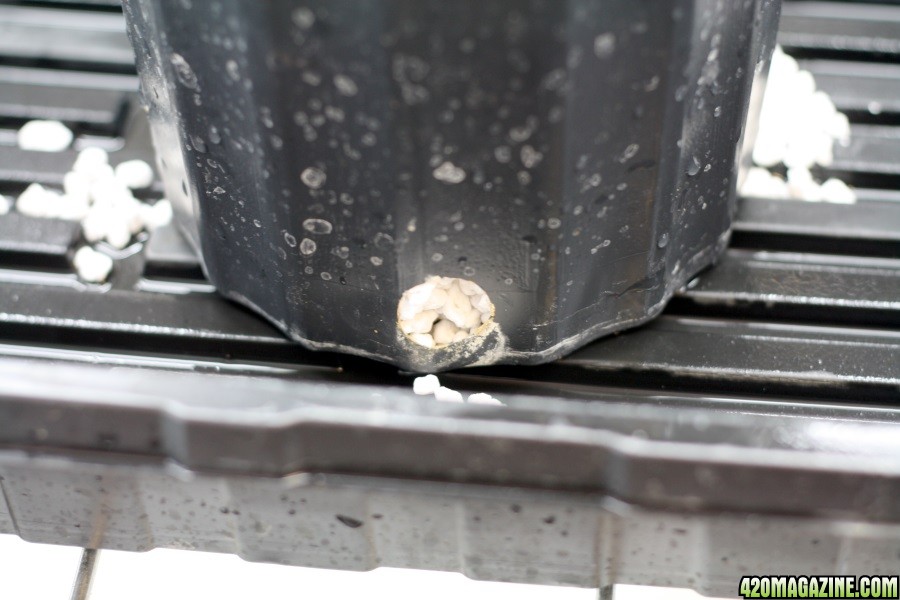
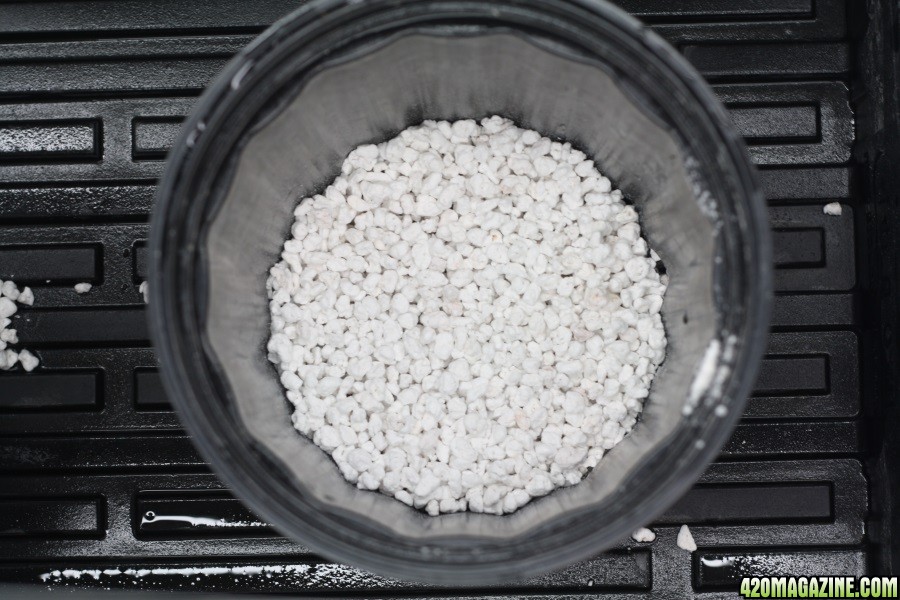
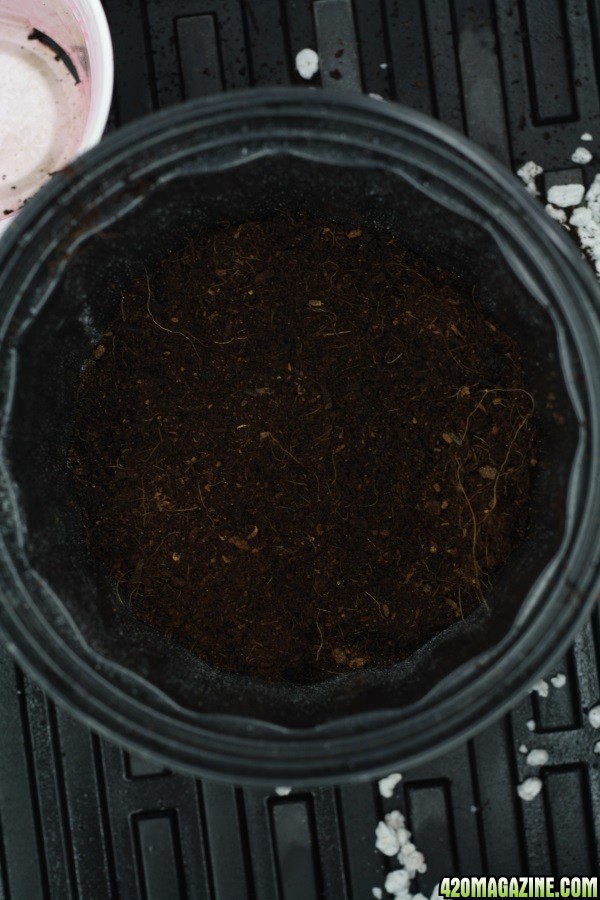
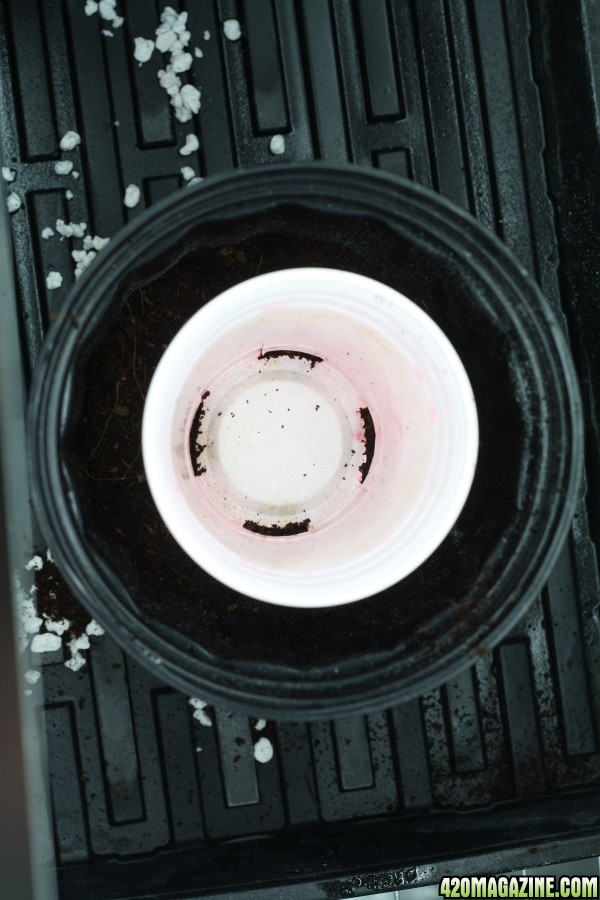
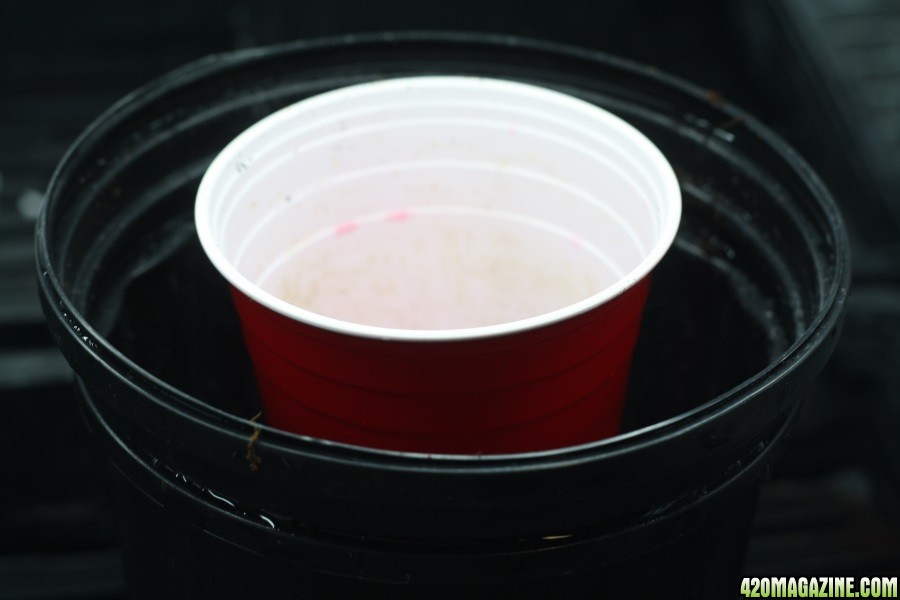
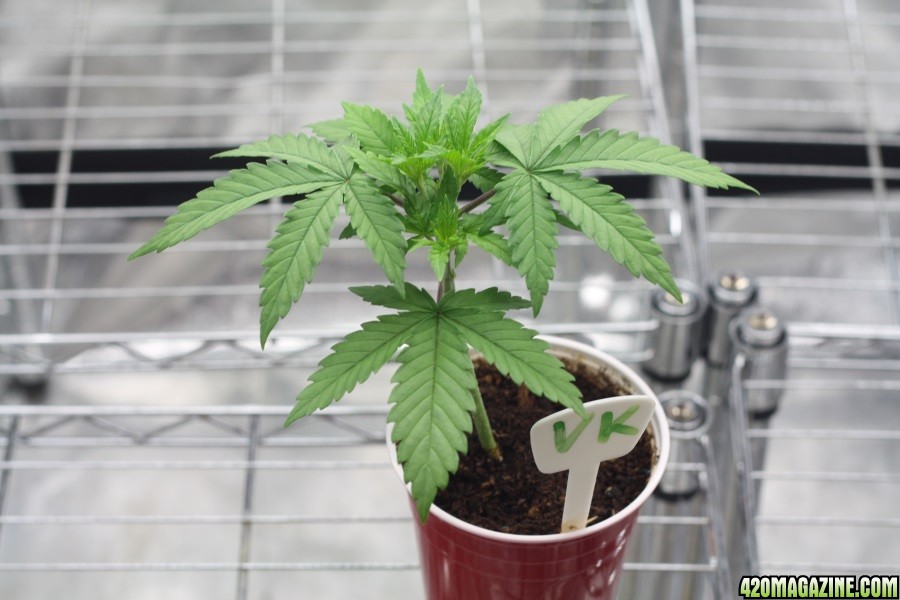
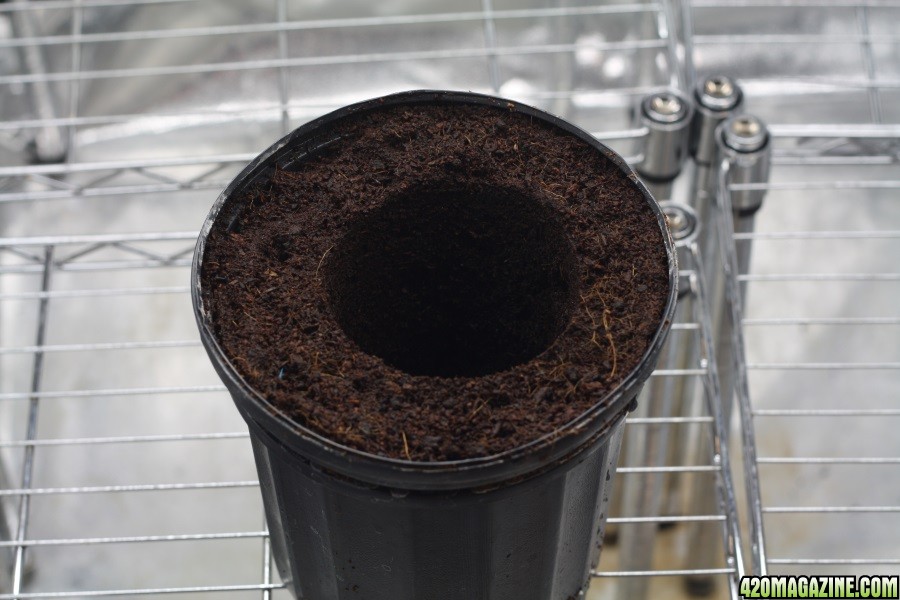
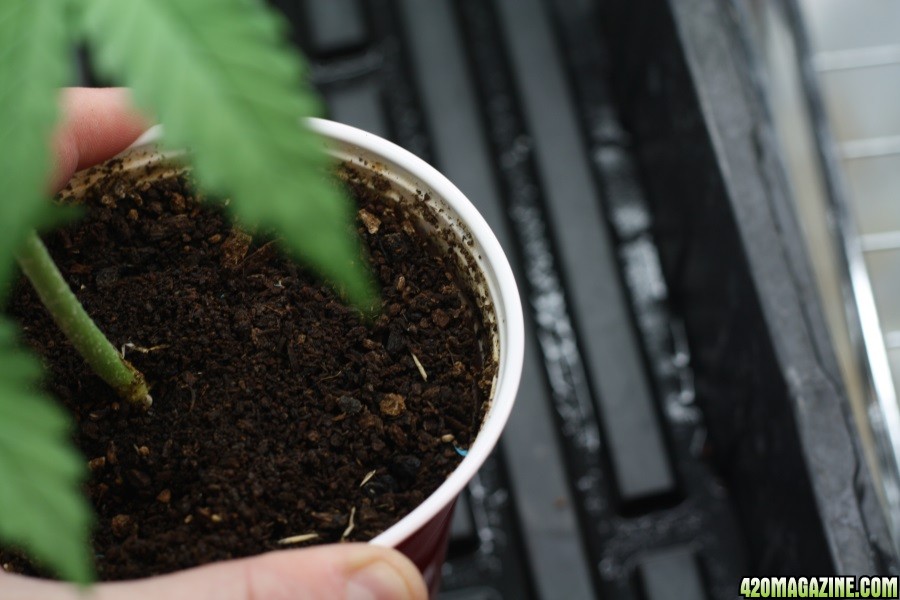
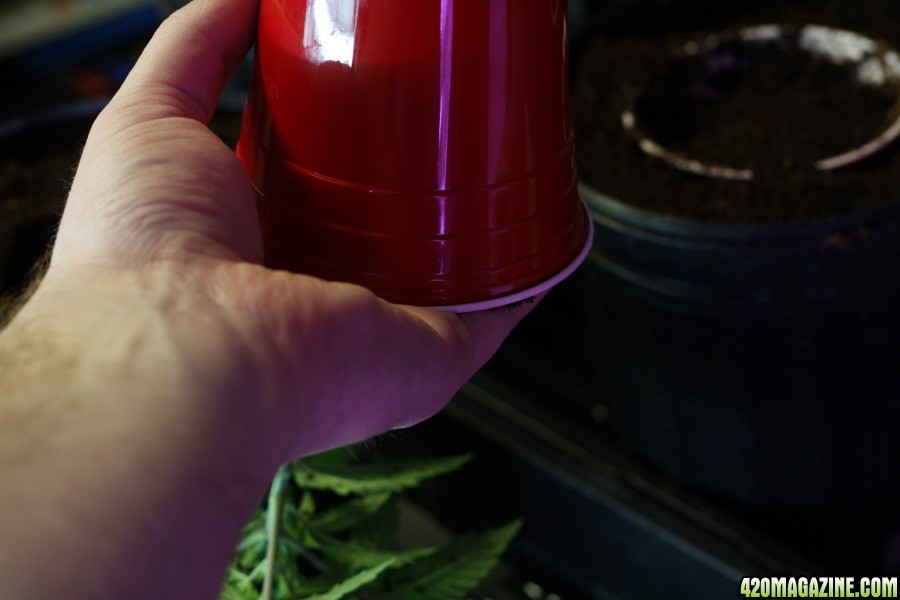
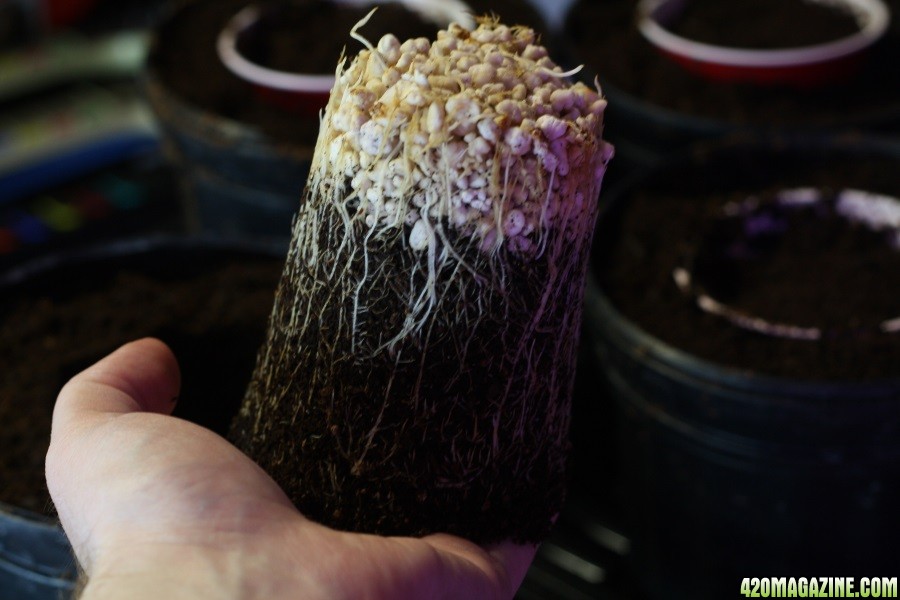
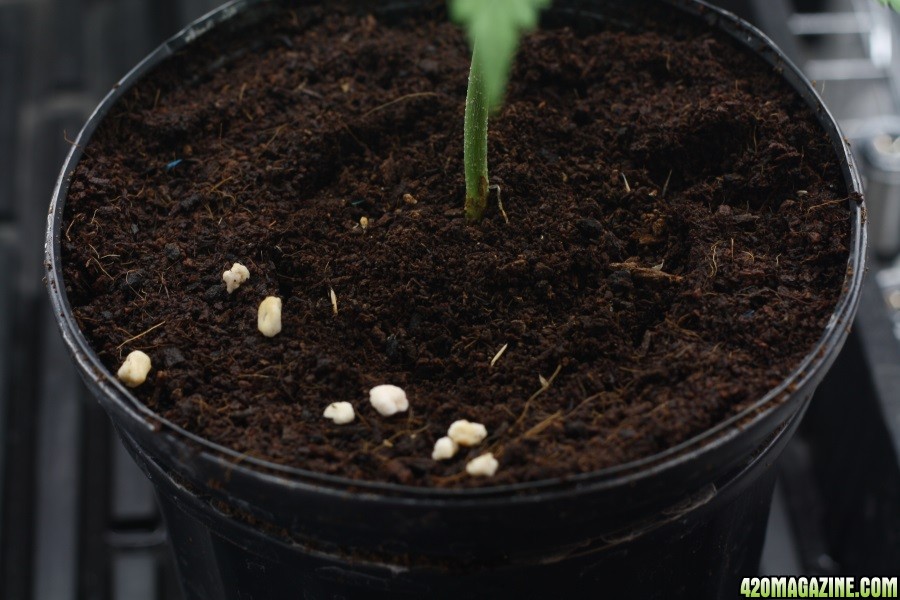
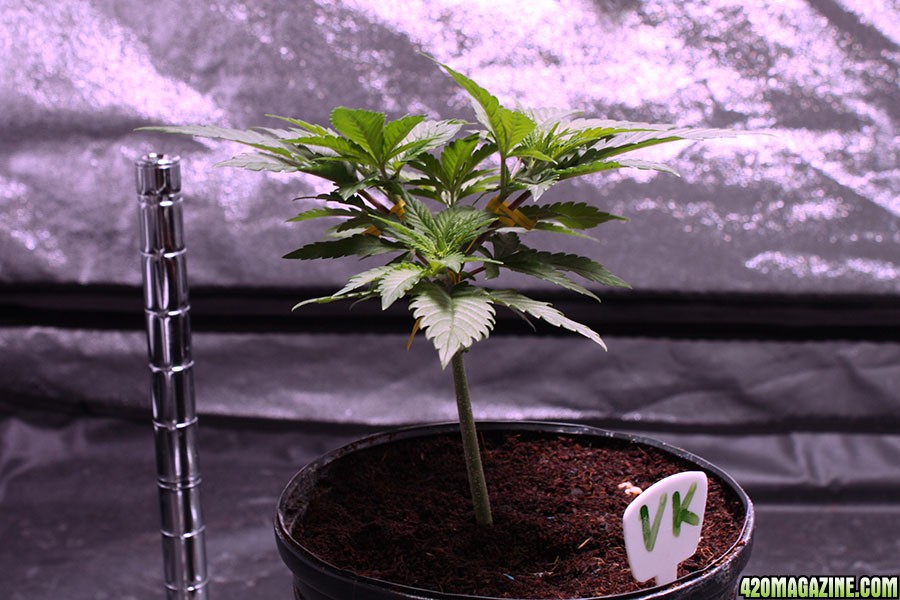
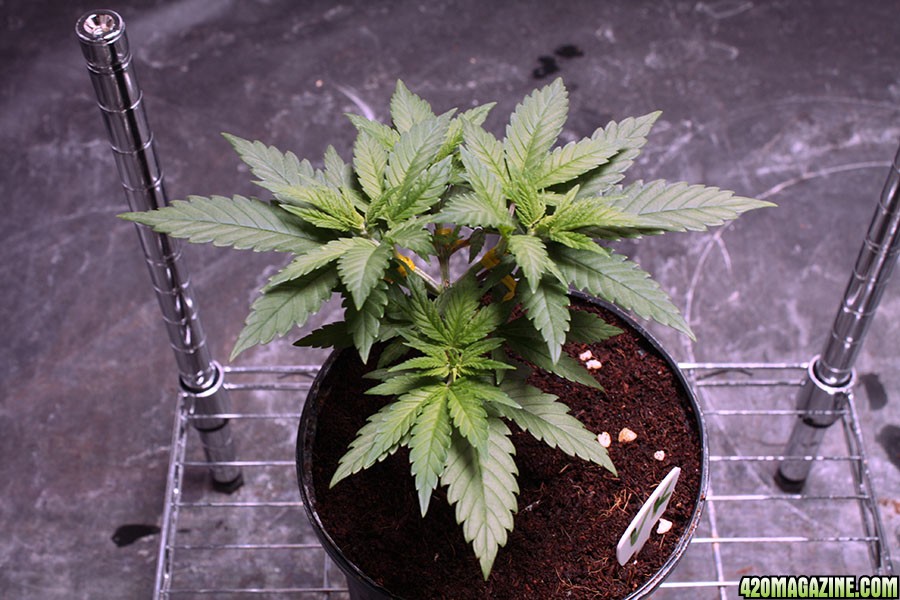
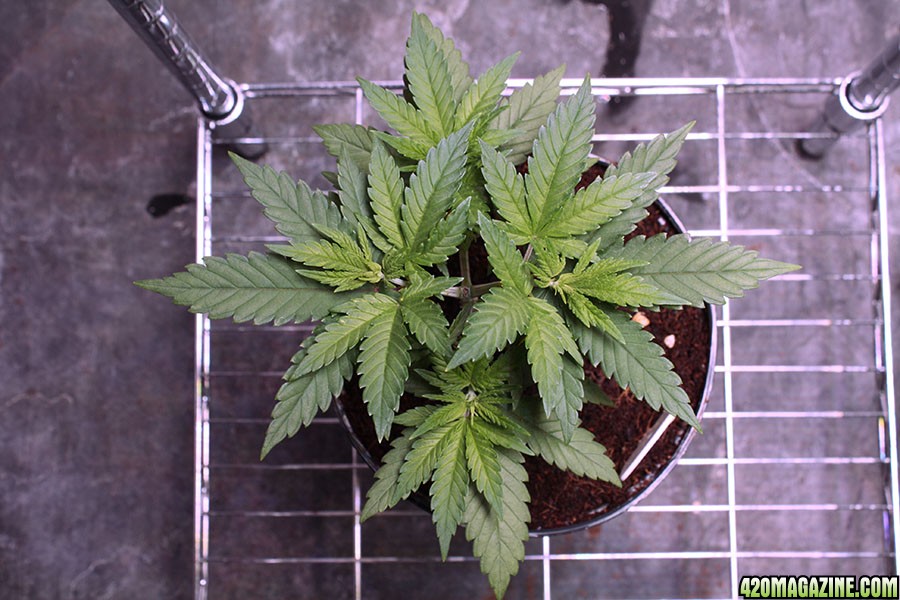
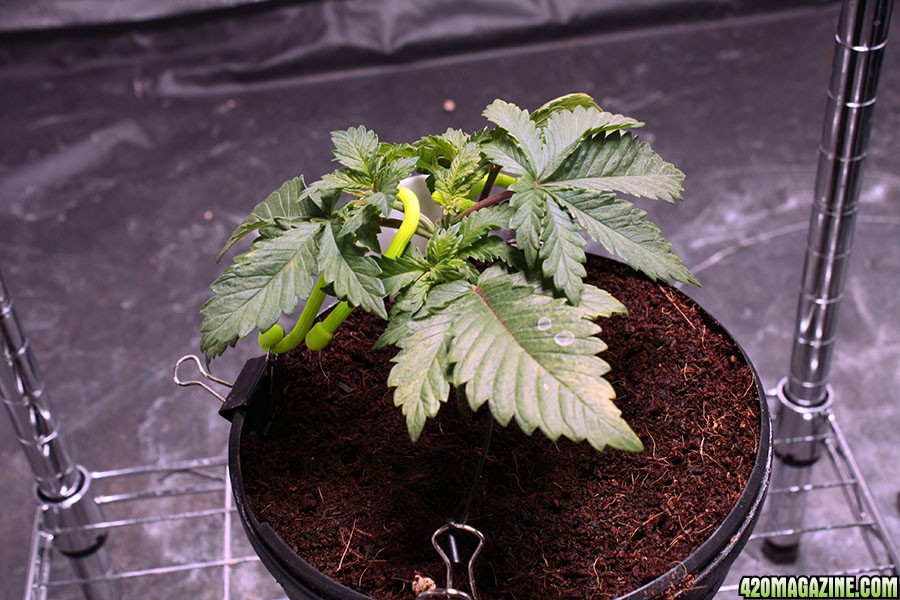
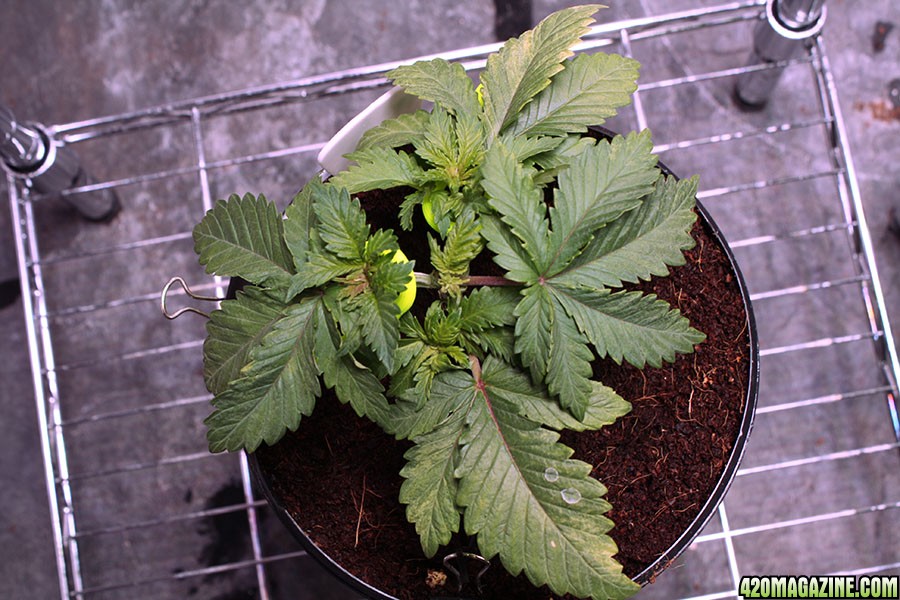
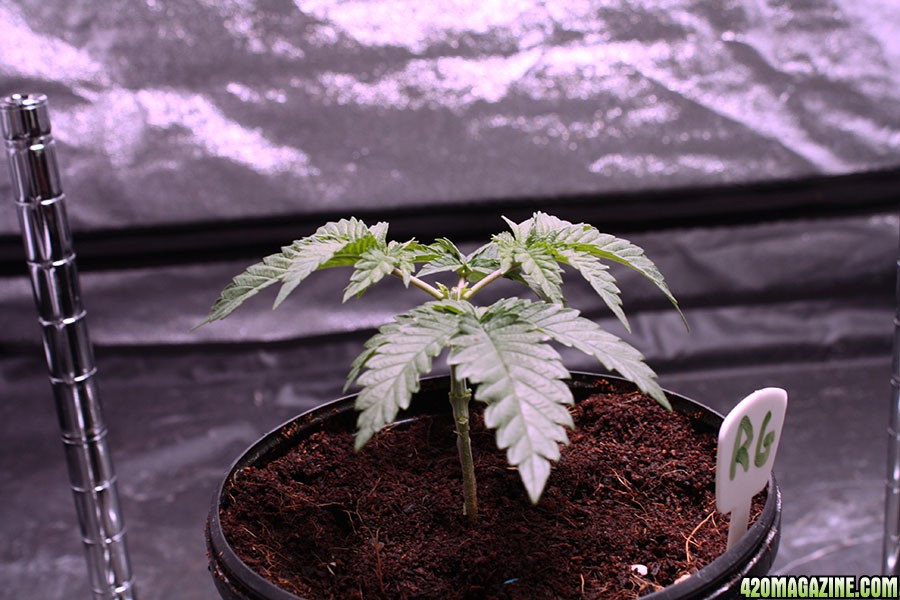
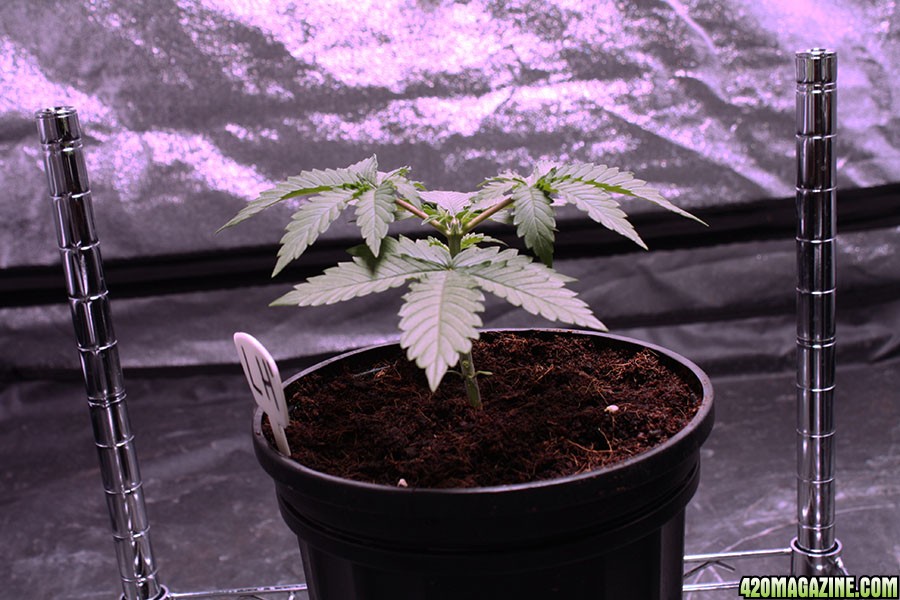
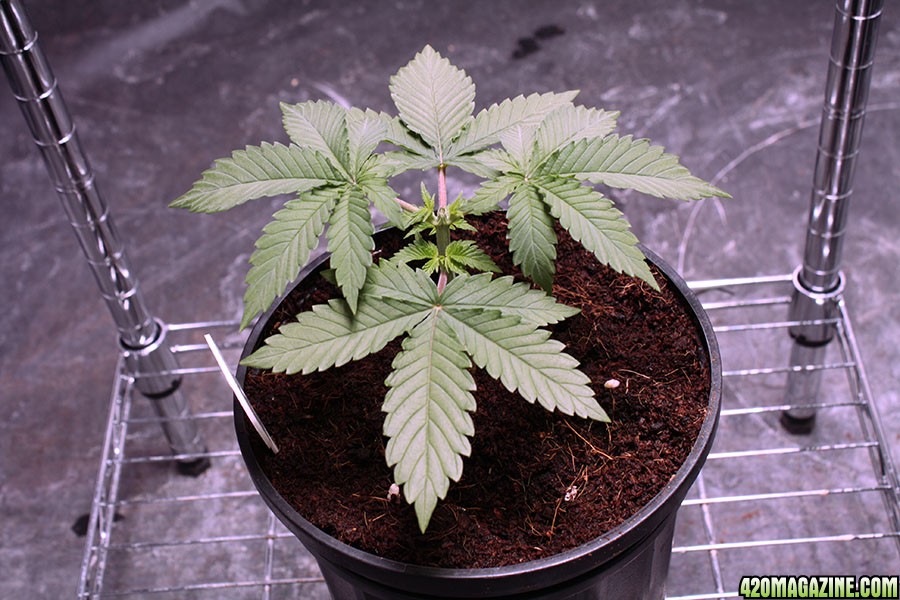
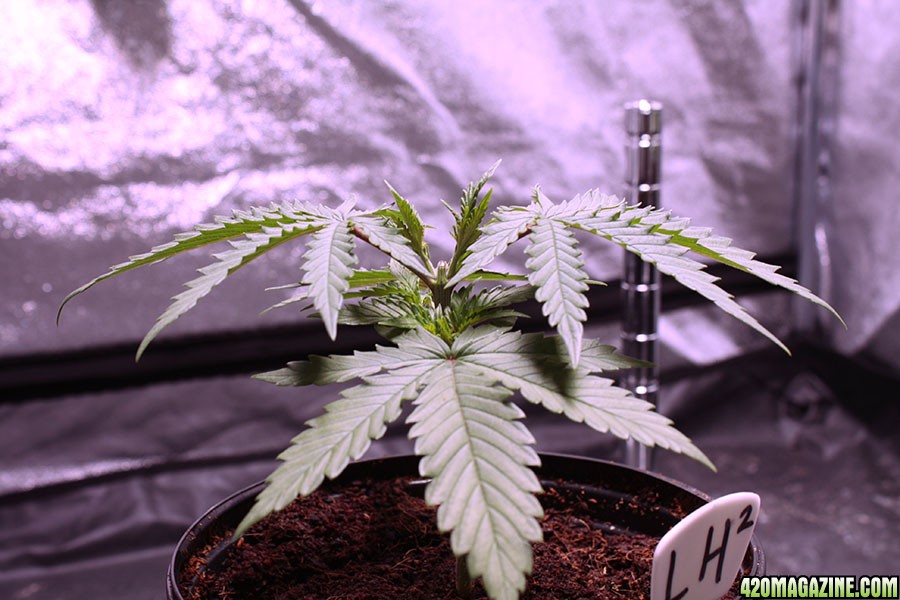
Hey guys - I got hit hard by stomach flu last night. I’ve stopped being sick but still feel lousy. I did get Violator Kush and Amnesia x OG transplanted, and will do the same for White Widow and Liberty Haze tonight if I’m feeling up to it - everything is prepped so I expect I’ll be able to handle it.

I’ll be back with a proper update, including my transplanting tutorial, when I’m feeling better. Until then - lots of Hindu Kush and bed rest!

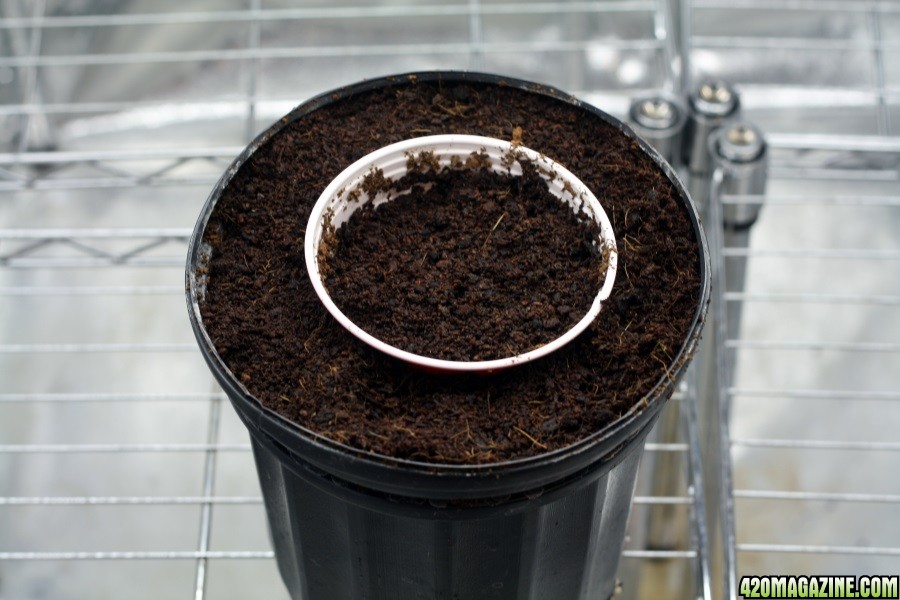
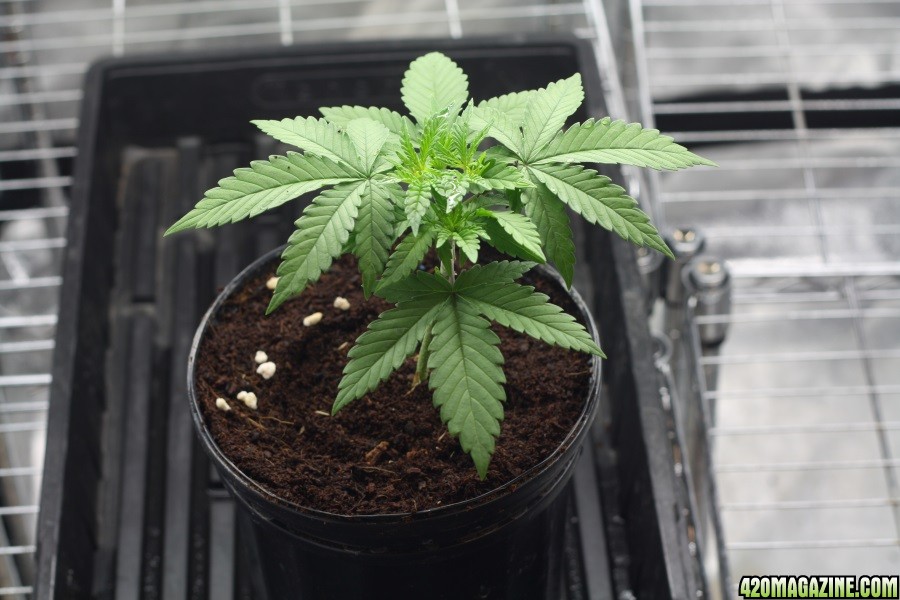
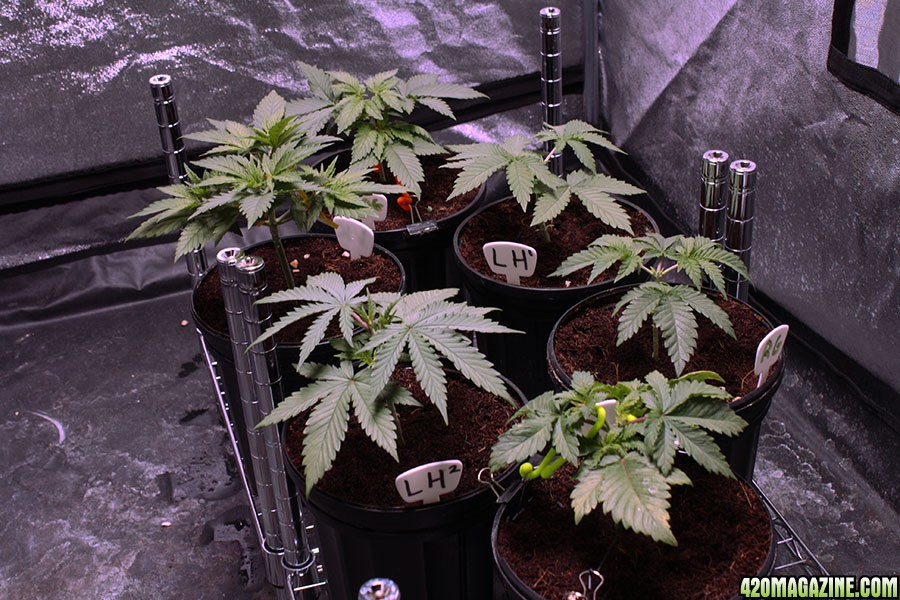
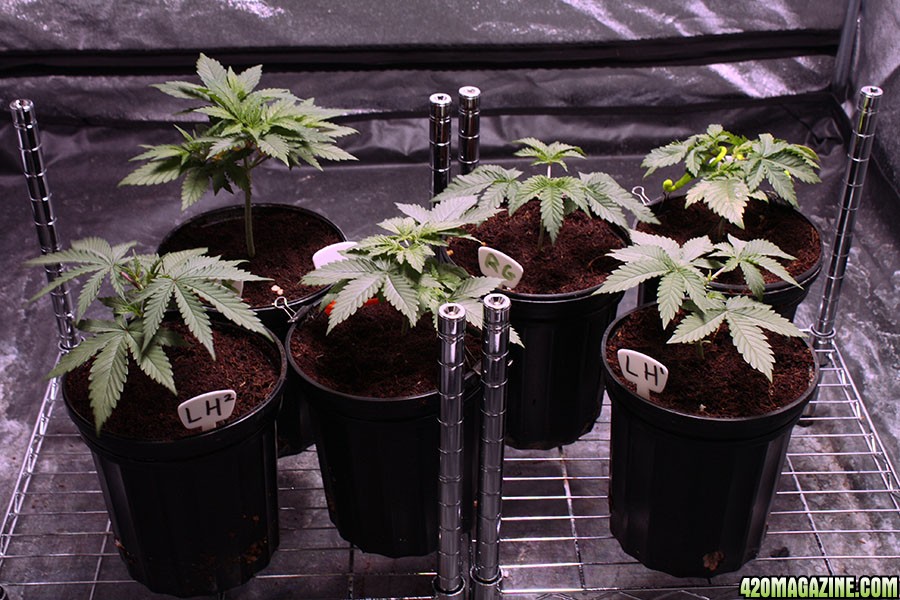
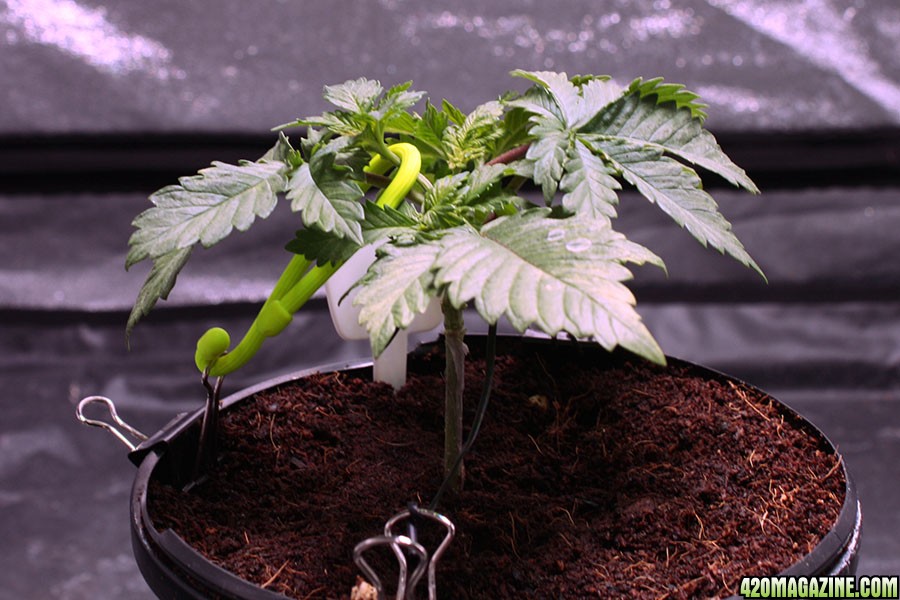
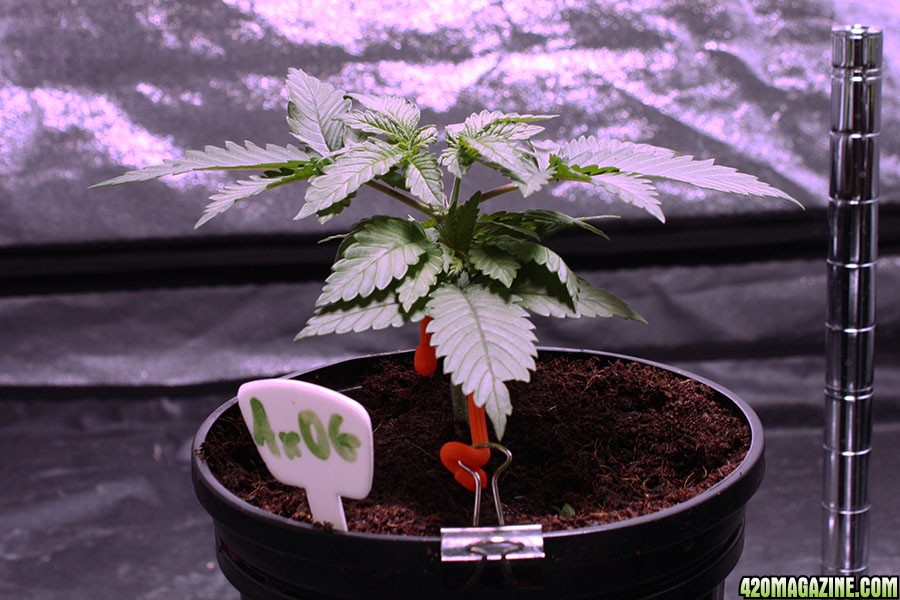
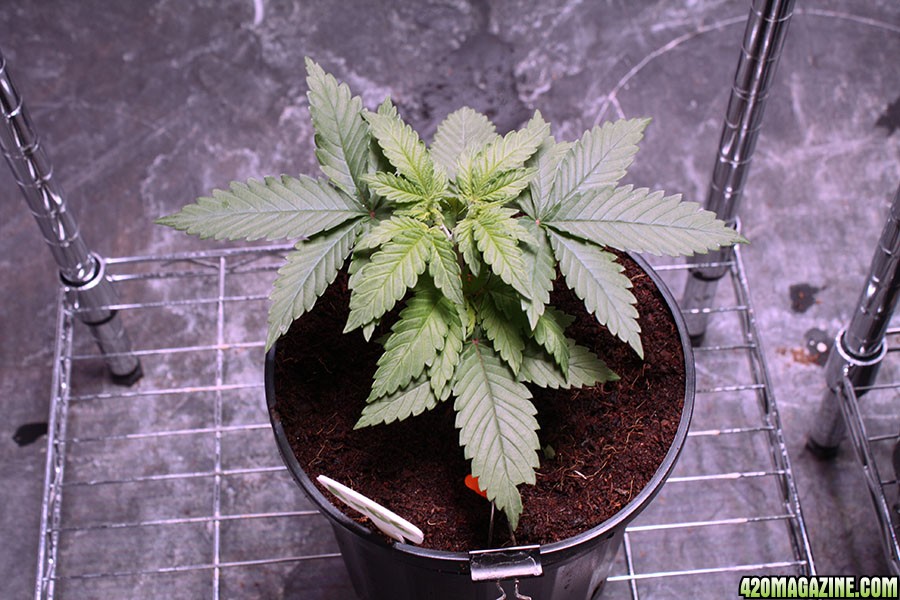
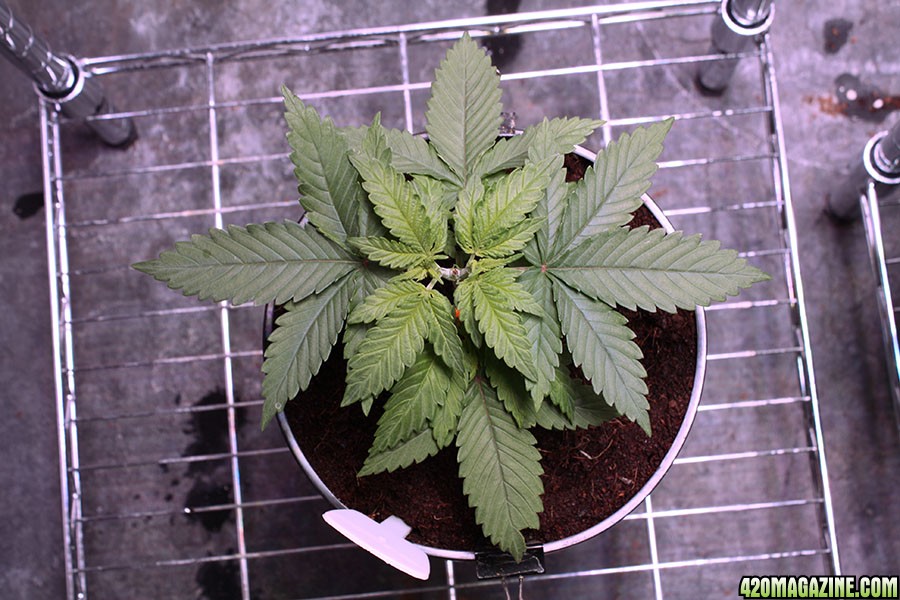
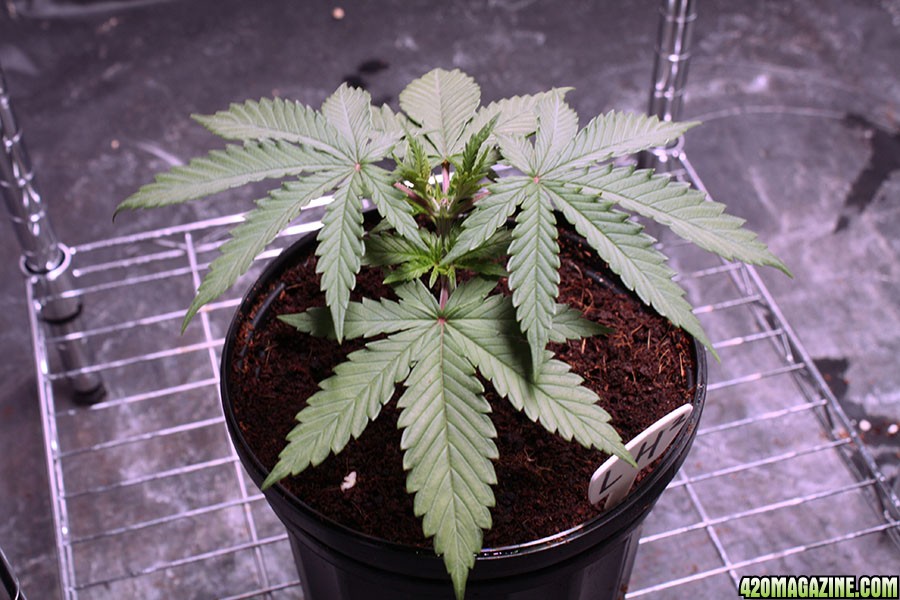
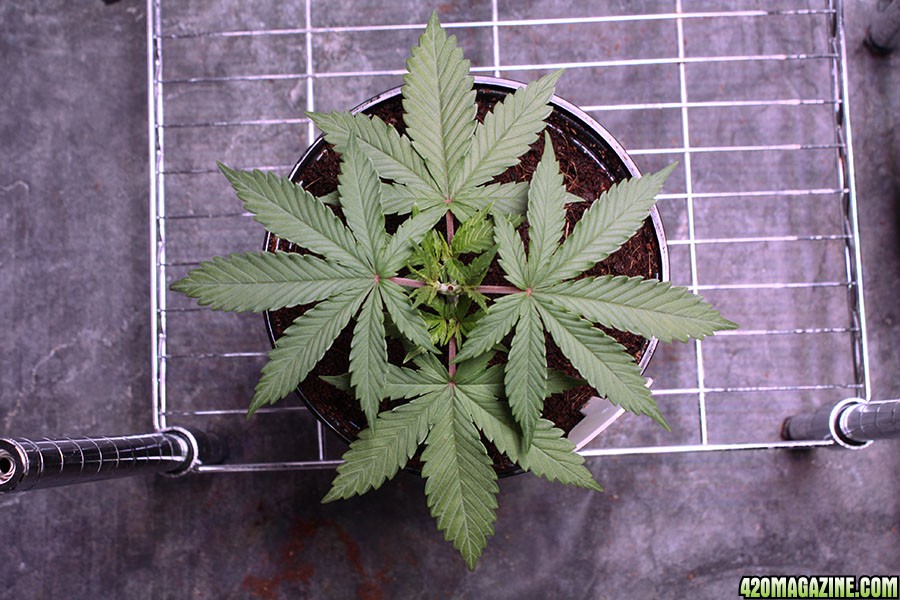
Transplanted mine a couple days ago and finally got a pic up for you! When you read my newest update you'll see why I couldn't get you one when you mentioned it a few days ago! Can't wait to see how yours are looking. Hope you feel better today than you did yesterday!
 
I transplanted my plants into 1 gallon plastic pots on the weekend and thought I'd share my process. Many would go directly to 3 gallon pots here, but I like the intermediate step, as I feel it gives a better opportunity for superior root development. The second round of transplant stress, however, demands a longer veg. But as I run a perpetual setup, I typically have to wait for the flower tent to open up, and I don't mind the additional time in veg to develop the canopy. In this specific case, I really want to see Royal Gorilla make it to flower when I flip rather than waiting for next round, so the longer veg was particularly justified.

Before transplanting I'm looking for vigorous growth. Transplanting is stressful and I want to give the plant the best chance of success in the transition, for the fastest recovery. In the case of the Violator Kush which I used for this tutorial, I topped before potting up, so that it would be off to the races once into the new pot. Violator Kush was topped last Tuesday and after 3 days clearly was ready to be potted up. She was ready after 2, really, but I needed to wait until I had time Friday night.

The first few shots are from Wednesday night, when I started my preparations. I use a pre-washed coco, the brand is Mo'Koko, and have used it without rinsing before without issue. But I want my plants to have the best possible start, so I decided to give the coco a light rinse before charging it.

The first step in the process is the bottom layer. I started out growing using perlite mixed with my coco as my medium but like many coco growers found the perlite unnecessary. However, I still use perlite on the bottom of the pot to help with drainage and prevent pooling. My pots go directly onto wire stands, which helps minimize this potential issue, but the perlite is an easy addition to be safe. I fill the pot to the air holes with perlite, about 1 solo cup worth.

dw-transplant1.jpg

dw-transplant2.jpg

dw-transplant3.jpg


I then grab a solo cup with holes punched in the bottom for use in the pot. This serves two purposes. First, it leaves a hole the shape of my root mass that I can drop my plant into for a perfect fit. Two, it gives me leftover coco to use for patchwork once I'm done. As you get better at transplanting you'll need far less additional coco, but for your first few tries this is handy to have.

dw-transplant4.jpg


I start with a couple of scoops of coco to form a base of coco for the solo cup to sit on. I use a standard garden trowel. Basically, you want enough so that the lid of your solo cup is flush with the top of your pot when you place the solo cup in.

dw-transplant5.jpg

dw-transplant6.jpg

dw-transplant7.jpg


Then I place the solo cup in and start filling the pot up with coco. It can be messy, so situate yourself accordingly. After finishing, I pour about 2 litres of plain water through the coco to give it that rinse that I mentioned, and set it aside.

dw-transplant8.jpg


Fast forward a day, and while feeding my plants for the day, I pour nute solution into the pots to the point of runoff. As I'm going to be transplanting in plants that are feeding to my week 4 veg solution, the week 4 veg solution is what I'm pouring into the coco.

A day later, and I'm ready to transplant. My plant has recovered fully from her topping earlier in the week and is growing quickly again.

dw-transplant9.jpg


Again, before starting, I "feed" nuted water into the coco. I again use my full strength solution for week 4 veg which the plants have started.

After feeding, I take the solo cup out. The texture of the coco gives a nice stable opening into which to transplant. Had I used perlite, the structure wouldn't be so easily kept, in the host or the destination.

dw-transplant10.jpg


My solo cup looks damp from last night's feeding, a good sign. I don't want my coco in the solo cup from which I'm transplanting to be too dry, or it could get messy in transplant. Too wet and it will be tougher to get out of the solo cup. Having fed yesterday, this is just right. I work the cup in my hand, gentle squeezing to get the intact root mass separated from the sides of the cup. I could use a butter knife or ruler to separate the sides too, but you risk irritating roots. It's hard to describe what I mean - think of it like making a snowball, gentle squeezes around the edges to loosen the root mass from the cup. Hopefully the photo illustrates somewhat how I squeeze it and how the mass will separate from the cup.

dw-transplant11.jpg


Once I'm satisfied it's in good shape to start the transplant, I push up from the bottom of the solo cup to dislodge the mass. Think of it like popping a lozenge or a piece of gum out of an aluminum foil packet. Hold the cup with one hand, use the other to push up from the bottom.

Once it's loose, I put my palm flat on the top of the coco / cup, with the main stalk in between my fingers, and turn it upside down. It should easily slide out at this point.

dw-transplant12.jpg

dw-transplant13.jpg


Then it's simply a matter of placing it into the destination. It should fit pretty snugly. If things are misaligned, use the extra coco from your solo cup to smooth out the surface.

dw-transplant14.jpg


Given that you've already watered the coco, you can even skip watering at this point - your roots should go out searching for the water all around it and leech it in. I like to treat it like a seedling, and give it a few drops around the point of the transplant.

dw-transplant15.jpg


Success! Hope this tutorial helped someone!
 
Thanks guys, I appreciate the well wishes. It was a rough weekend. My son was sick Thursday, and I felt a bit off Thursday but nothing too bad, so I thought I was out of the woods by Friday. Then dinner time Friday my wife retired to the bathroom. I was up around 4AM Saturday morning with it. Luckily my wife was on the comeback trail by Saturday lunchtime. I gave over my entire Saturday to it. Finally yesterday I started to feel a bit better. But with my IBS and surrounding issues everything is still not settled today, so I took the day off sick to be safe. I figured if I could sit down and write up my tutorial, I'm probably well on my way back, so there it is.

Overall the plants are doing great. I potted up all 6. I did the Violator Kush, the Amnesia x OG and all of the photos as well as most of the writeup on Friday night. On Saturday night I powered through the remaining 4 pot ups. White Widow had to go out of necessity - she had too little coco in her cup and needed more room for her roots. Liberty Haze 2 was ready as well. Royal Gorilla and Liberty Haze 1 hadn't yet been topped like the other 4, but I figured if nothing else, it was a good way to see if topping then potting up resulted in any quicker recovery over potting up then topping.

RG and LH1 are both doing great and might be topped tonight - I'll know when the lights come on. I'll get at a minimum a group shot of all the plants in their new digs posted up tonight.
 
I should probably also add that also tried a bunch of stuff to counteract the stomach flu. After the initial "purge" I dropped 60mg of indica oil and vaped some Hindu Kush. I managed to get back to sleep for a few hours before waking up sick again, although significantly milder than my initial bout. I vaped some more Hindu Kush and got back to sleep, and didn't get sick again. I spent most of the day and night then in bed. I also got some pretty strong muscle pain in my lower neck / upper back / shoulders, a combination of the stomach flu and the physical stress of vomiting a lot I'm sure. I couldn't find anything else that relaxed my muscles more than the Hindu Kush, although I tried White OG (The White x SFV OG) and White Walker Kush (White Widow x Skywalker) and both gave me some relaxation. The Hindu Kush seemed best in both respects though, settling my stomach and killing my muscle pain.

Although I have plenty of LA Confidential which I bet would also have helped, I have only a couple of Gs of Hindu Kush left. That Violator Kush I'm growing is going to be very handy to have around when it's done.
 
Awesome transplant tutorial Dobewan! I think you will be in for a treat with the Royal Gorilla. Mines is 5 weeks in flower and is frostier and stinkier than any others! The liberty haze is a must clone plant! Definitely worth whatever space u can give them.

Thanks Jgrow! I’m planning to take clones of each of these to be safe. I figured the slow start for my Royal Gorilla is entirely self-made, not genetic, so any clones should be fine.

My slow starting Liberty Haze is never going to win any competitions but the one that started without issues is growing as fast as any of my others. I figure the slow starter might in fact be genetic, but hey, perhaps she’s also the killer smoke? No harm to keep clones either way for me!
 
Should make it in time for an outdoor adventure this spring

I’m starting to give some thought to growing outside this summer too. I figure a big pot on my deck is the best bet for sunlight and soil quality. Should be fun to explore in the spring...
 
I’ve never done it. But it’s going to be really big recreationally up here this summer - a lot of people won’t wait until July 1 legalization to get started, I think. I know I have both my brother and my dad thinking hard about it!
 
Back for another veg update!

20180115-all-25V-001.jpg


20180115-all-25V-002.jpg


You can probably figure out who's who from the tags. The LH are Liberty Haze and RG is Royal Gorilla. Back left is Violator Kush. Front middle is Amnesia x OG. And back left is White Widow.

A second rough weekend in a row with the stomach flu I mentioned in my earlier posts. I did manage to get a lot done, however. In the past week, I've topped and potted up all 3 plants at some point.

Notable photography item of the week: with Urb talking about using his grey card, I figured it was time to start doing this correctly. I was being lazy about putting Photoshop on my machine, and paint.NET doesn't have good macros / plug ins for correcting colour in post production using a grey card. I decided it was time to stop being lazy, and installed Photoshop and colour corrected tonight's photos using my grey card. It was getting late and I didn't have the patience to do any further post-production other than setting up an action to resize and recolour my photos, so some could have used some additional touch ups, but this is a start! It's cool how seeing others get excited about photography is getting me excited too. Can't wait to shoot in flower with the grey card.

Violator Kush is at 25V. She was topped last Tuesday at 19V and transplanted on Friday at 22V. I started training on her with sandwich ties, tying her new stems to the fan leaves. I found VK took on a woody nature quickly when I vegged in the fall, and training like this allowed it to quickly form woody stems stuck out to the sides, setting the foundation I'm looking for. I'm very happy with where she is.

20180115-VK-25V-001.jpg

20180115-VK-25V-002.jpg

20180115-VK-25V-003.jpg


White Widow is at 25V. She was topped on Thursday at 21V and transplanted on Saturday at 23V. She's continues to be odd. I've managed to get the lower node's tops stretched out and tied into place to run perpendicular to the upper node, but the upper node is not growing in correctly - I have one top doing well and stretched out to the side, while the other is stunted, with one half just a clump on vegetation, and impossible to train yet. I have no idea where the shape of this one will go in the end.

20180115-WW-25V-001.jpg

20180115-WW-25V-002.jpg

20180115-WW-25V-003.jpg


Amnesia x OG is at 23V. She was topped last Tuesday at 17V and transplanted on Friday at 20V. I've started training but only tying down the bottom node - the stems of the top growth on the upper node is too brittle and immature, and I'm afraid if I try to train it into place, I risk breaking it. So, I separated it with my fingers as far as I was comfortable with, and will recheck in the morning. Overall, growing well.

20180115-AOG-23V-001.jpg

20180115-AOG-23V-002.jpg

20180115-AOG-23V-003.jpg


Royal Gorilla is at 21V. I transplanted her on Saturday at 19V and topped her tonight, 21V. Checking against my photos of the other plants, she's about in line with Amnesia OG's growth rate. So, she's merely days behind the pack. I think it's time to call it, as I really want to grow this strain out ASAP. Royal Gorilla is in for flower.

20180115-RG-21V-001.jpg

20180115-RG-21V-002.jpg

20180115-RG-21V-003.jpg


Liberty Haze is at 23V. 2 was topped Thursday at 19V and transplanted Saturday at 21V. 1 was transplanted Saturday at 21V as well but just topped tonight, 23V. Liberty Haze 2 is chugging along not far behind Violator Kush. Her growth is taking on the far more pliable sativa nature I found in Chocolope and 24K Gold (the Tangie influence), so I decided to wait on getting the training implements in place, and instead just used my fingers to push fans down and tops down towards the fans. Liberty Haze 1 is a slow grower but set up nicely in terms of structure.

20180115-LH1-23V-001.jpg

20180115-LH1-23V-002.jpg

20180115-LH1-23V-003.jpg

20180115-LH2-23V-001.jpg

20180115-LH2-23V-002.jpg

20180115-LH2-23V-003.jpg


Flower lineup is almost solid. Royal Gorilla has confirmed a seat at the table. Violator Kush already booked a spot. Liberty Haze 2 is in. The last spot was supposed to go to White Widow, with Amnesia x OG coming in as the backup, but we'll wait to make that call given White Widow's funky growth.

Overall, I'm really happy with the progress and I'm really starting to look forward to flipping these ladies in the next few weeks.

Thanks for following!
 
It's amazing how fast you can veg in coco most of my soil plants take at least 2 months before I can get more than 2 oz off them. Awesome gardening as usual Dobewan!

Thanks Jgrow! I'm cheating a little in that I'm vegging under my flower light, but in general coco + LED is a strong combo in veg. Once they start moving they really pick up steam quickly.

I want to try soil eventually but as long as I'm improving with coco it'll be hard to try something else. I want to see if the myth that soil grows have better terpenes holds true in my case.
 
That LH is looking sweet

Thanks PW - she has a really clearly defined structure, in both cases. Topping was so straightforward because of the clear distinction between the stem and the budlets, even with the immature buds. She should take a nice shape although I’m already wary of how tall she might end up - at least I can individually adjust plant heights in flower this round.
 
Speaking of super trainable...

I posted up some dog pics in the photography thread, so I thought I'd post them up here too.

2011_03_06-IMG_1760-1024x768.jpg
2010_12_07-Ella1-800x600.jpg

2010_05_18-Trinity1-600x800.jpg


The plants are all doing well! Ties are in place on everything now with the exception of the recently-topped Royal Gorilla and Liberty Haze. Violator Kush is about read for some defoliation. More pics of them all to come on the weekend.

I was thinking I might do posts about how I train and how I defol, but I'll probably wait until I have enough photos to tell a bit of a story. So for now, I'll just snap.
 
Back
Top Bottom