RageMonkey
New Member
Well, I got my hands on a phototron, so i figured I would give it a shot and see what it could produce and maybe get some good pics for you guys of a white widow grow.
Anyway, here is what I started with:
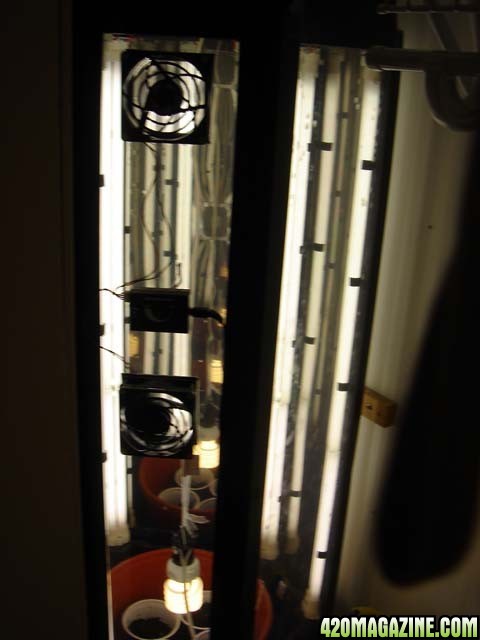
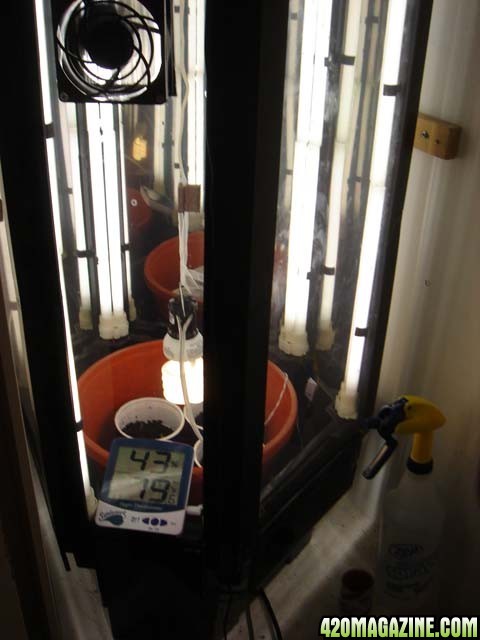
- Phototron 8 (51" tall) with AVP module
- 1 bag of miracle grow planting mix (peat, sphagnum, whatever)
- 1 household CFL
- 1 sunleave hygrometer/thermometer with remote sensor
- 1 x 90 LED blue grow lamp 6.4 watt
- 1 x 90 LED red grow lamp 6.4 watt
- 1 spray bottle
- 1 digital timer to manage the bloom cycle
- bottled spring water (poland spring)
- some plastic wrap, tape, shot glass, solo cups, a knife, power strip, and rubber bands
Ferts:
- 2-4-2 vigaro root stimulator
- 10-10-10 vigaro all purpose
- 15-30-15 miracle grow bloom
Seeds:
- 10 x Nirvana White Widow
Lights:
- veg: 24/0
- bloom: 12/12
So, now that we got that out of the way - I'll lay out the expected plan:
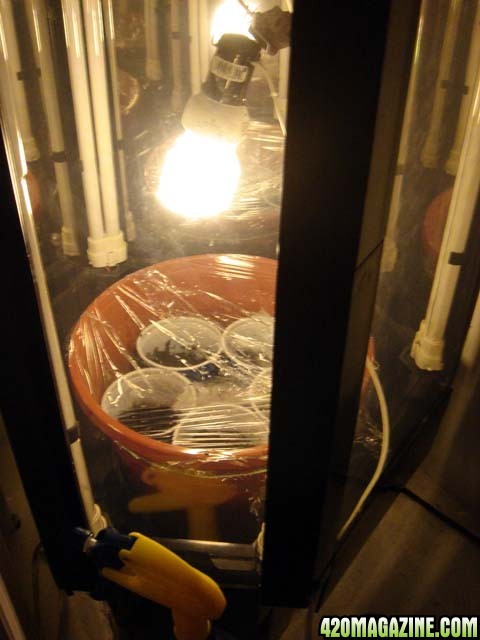
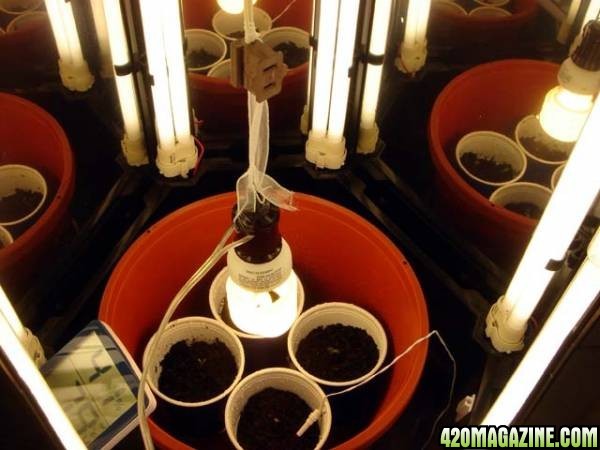
Germination: This will be accomplished using the presoak method. Seeds are left in a shot glass full of poland spring 24 hours under two solo cups to block the light. Afterwards, solo cups are prepared for planting. Each cup has 6 slits cut vertically into the sides near the bottom approximately 1.5" in length. This is for drainage. Each cup is filled 2/3 with planting mix. The planting mix is thoroughly saturated with water to create a dense mud ball. 1 heaping tablesspoon of planting mix is placed on top of the mud ball. This is sprayed 2 - 3 timees with water to moisten the layer and settle it down. the seed is placed on this layer. Then a layer of planting soil is added to the cup 2mm deep and sprayed with water 2 times to moisten the layer. Solo cups are then placed into the large planter inside the phototron. The planter is wrapped in plastic wrap to maintain a high humidity environment. Rubber bands secure the plastic wrap extremely well. At this point the setup is only exposed to the single household CFL, placed low over the pot to add some warmth. NOTE: I tried to do this originally with the photoron lights and no AVP panel. That was a disaster. The high temperatures inside the box killed the sprouts and the seeds. The CFL keeps the cups at about 78 F and creates some humidity. Germination should take 3/4 days.
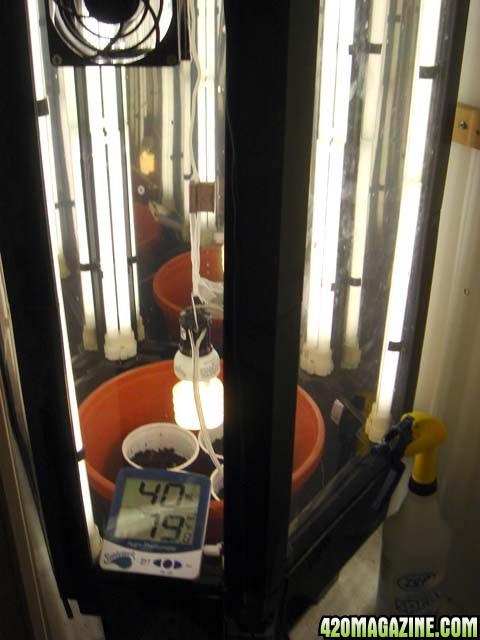
Sprouts: When The sprouts are out and displaying petals, I will switch on the phototron lights with the AVP fans running as long as the tmep stays near 80 F. Ejection temperatures of 99 F without the AVP fans killed my last sprouts, so I will have to monitor this the first couple days almost hourly. I will continue to use the CFL at a low level above the plants in an effort to keep them compact. At this point, the sprouts will recieve a mild dilution of root stimulator sprayed directly into each cup. Nothing can be porred into the cup until the roots have really taken. Sprout care should take 4/5 days.
Veg: Once the plants have a few leaves and don't need to be constantly sprayed to maintain humidity, water will be restricted until the planting mix is dry. The solo cups will be cut away and the plants will be transplanted into the main shared pot. The CFL will be removed and replaced with the blue LED grow lamp to supplement the phototron lights. The plants will be started on a 1/2 dilution 10-10-10 for the second week. I'm skeptical about the nutes already in the soil. I will probably need to add more nitrogen after week 3. I'll need to watch for light green color or dried leaf tips. Veg should continue for about 8 - 10 weeks. If I get a full 5 plants growing, I'll try some creative pruning on one of them. We'll see if the pyroponic pruning claims hold water. I'm not going to slash up all my plants. Let's try one and maybe compar eit at the end.
Bloom: Once the plants reach a decent height, I'll put them on the timer 12/12. I'll swap the blue LED for red LED grow lamp. Any males that show up in the box will get chopped. Flowering for these is supposed to be 8/9 weeks, so hopefully we get some nice photos of a completed phototron grow. Just before harvest, i'll cut the lights for 2/3 days and see if I can get these plants to panic and overproduce.
Harvest: I plan to do my best to clip the buds and leave the majority of the plant unmolested. If they survive, I'll throw them back into 24/0 for a month with the blue LED and we'll see if we can bloom them again like the phototron people claim.
Wish me luck.
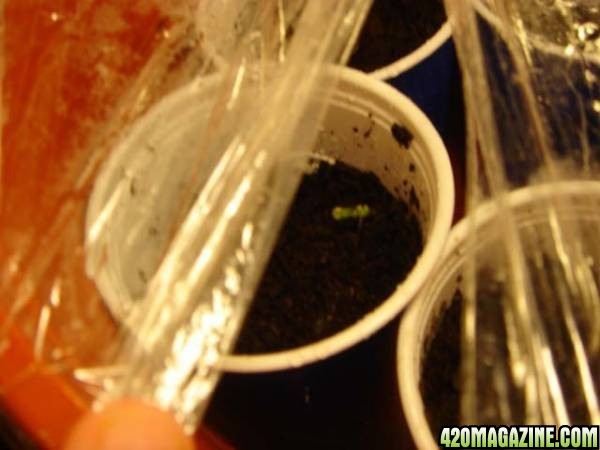
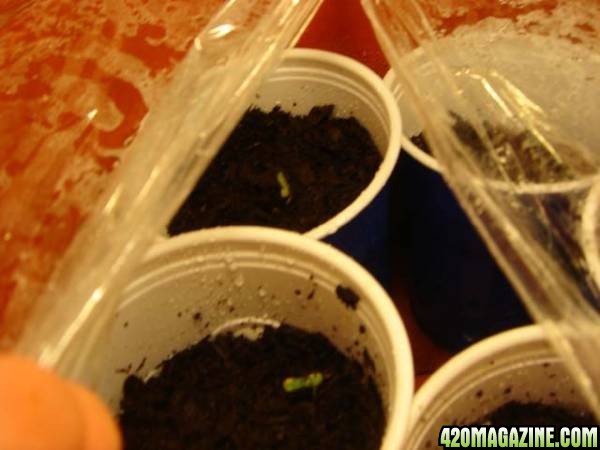
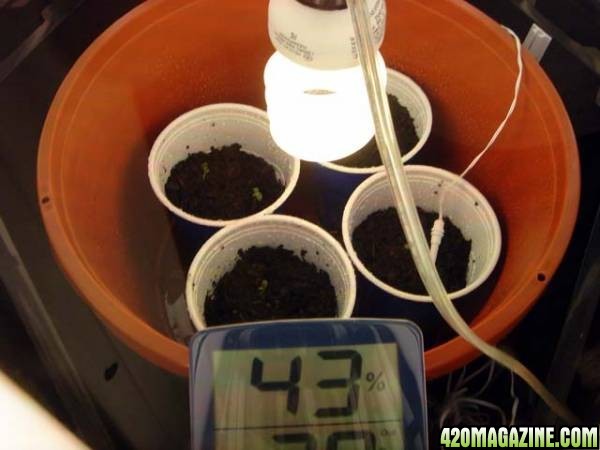
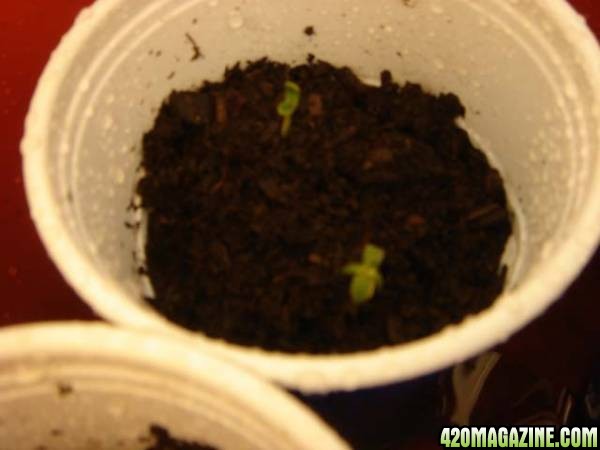
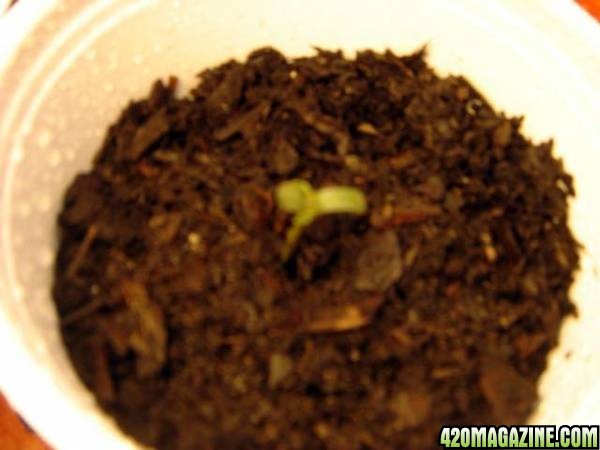
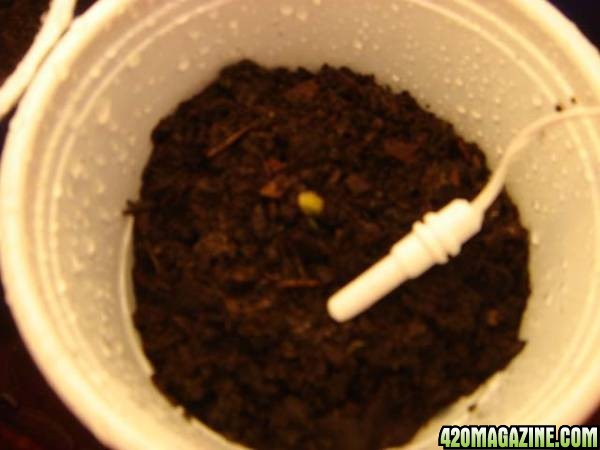
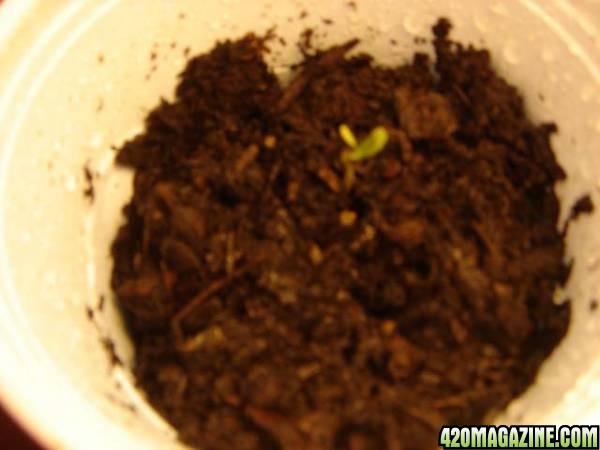
Anyway, I'm already into the sprouting stage. So I'll try to get all the photos I've taken posted. So far, I have 5 healthy sprouts. 2 are forming the first two leaves after the petals. 2 are half way through unfolding the petals and 1 is 1 inch tall having discarded the seed cap and is getting ready to roll out the petals. Since I have a good mix of sprout stages I decided to remove the plastic wrap and start the sprout cycle. If the 5th one dies, then I know it needed more humidity and I can adjust my germ process on the next grow.
Pics to come soon. RageMonkey =)
Anyway, here is what I started with:
- Phototron 8 (51" tall) with AVP module
- 1 bag of miracle grow planting mix (peat, sphagnum, whatever)
- 1 household CFL
- 1 sunleave hygrometer/thermometer with remote sensor
- 1 x 90 LED blue grow lamp 6.4 watt
- 1 x 90 LED red grow lamp 6.4 watt
- 1 spray bottle
- 1 digital timer to manage the bloom cycle
- bottled spring water (poland spring)
- some plastic wrap, tape, shot glass, solo cups, a knife, power strip, and rubber bands
Ferts:
- 2-4-2 vigaro root stimulator
- 10-10-10 vigaro all purpose
- 15-30-15 miracle grow bloom
Seeds:
- 10 x Nirvana White Widow
Lights:
- veg: 24/0
- bloom: 12/12
So, now that we got that out of the way - I'll lay out the expected plan:
Germination: This will be accomplished using the presoak method. Seeds are left in a shot glass full of poland spring 24 hours under two solo cups to block the light. Afterwards, solo cups are prepared for planting. Each cup has 6 slits cut vertically into the sides near the bottom approximately 1.5" in length. This is for drainage. Each cup is filled 2/3 with planting mix. The planting mix is thoroughly saturated with water to create a dense mud ball. 1 heaping tablesspoon of planting mix is placed on top of the mud ball. This is sprayed 2 - 3 timees with water to moisten the layer and settle it down. the seed is placed on this layer. Then a layer of planting soil is added to the cup 2mm deep and sprayed with water 2 times to moisten the layer. Solo cups are then placed into the large planter inside the phototron. The planter is wrapped in plastic wrap to maintain a high humidity environment. Rubber bands secure the plastic wrap extremely well. At this point the setup is only exposed to the single household CFL, placed low over the pot to add some warmth. NOTE: I tried to do this originally with the photoron lights and no AVP panel. That was a disaster. The high temperatures inside the box killed the sprouts and the seeds. The CFL keeps the cups at about 78 F and creates some humidity. Germination should take 3/4 days.
Sprouts: When The sprouts are out and displaying petals, I will switch on the phototron lights with the AVP fans running as long as the tmep stays near 80 F. Ejection temperatures of 99 F without the AVP fans killed my last sprouts, so I will have to monitor this the first couple days almost hourly. I will continue to use the CFL at a low level above the plants in an effort to keep them compact. At this point, the sprouts will recieve a mild dilution of root stimulator sprayed directly into each cup. Nothing can be porred into the cup until the roots have really taken. Sprout care should take 4/5 days.
Veg: Once the plants have a few leaves and don't need to be constantly sprayed to maintain humidity, water will be restricted until the planting mix is dry. The solo cups will be cut away and the plants will be transplanted into the main shared pot. The CFL will be removed and replaced with the blue LED grow lamp to supplement the phototron lights. The plants will be started on a 1/2 dilution 10-10-10 for the second week. I'm skeptical about the nutes already in the soil. I will probably need to add more nitrogen after week 3. I'll need to watch for light green color or dried leaf tips. Veg should continue for about 8 - 10 weeks. If I get a full 5 plants growing, I'll try some creative pruning on one of them. We'll see if the pyroponic pruning claims hold water. I'm not going to slash up all my plants. Let's try one and maybe compar eit at the end.
Bloom: Once the plants reach a decent height, I'll put them on the timer 12/12. I'll swap the blue LED for red LED grow lamp. Any males that show up in the box will get chopped. Flowering for these is supposed to be 8/9 weeks, so hopefully we get some nice photos of a completed phototron grow. Just before harvest, i'll cut the lights for 2/3 days and see if I can get these plants to panic and overproduce.
Harvest: I plan to do my best to clip the buds and leave the majority of the plant unmolested. If they survive, I'll throw them back into 24/0 for a month with the blue LED and we'll see if we can bloom them again like the phototron people claim.
Wish me luck.
Anyway, I'm already into the sprouting stage. So I'll try to get all the photos I've taken posted. So far, I have 5 healthy sprouts. 2 are forming the first two leaves after the petals. 2 are half way through unfolding the petals and 1 is 1 inch tall having discarded the seed cap and is getting ready to roll out the petals. Since I have a good mix of sprout stages I decided to remove the plastic wrap and start the sprout cycle. If the 5th one dies, then I know it needed more humidity and I can adjust my germ process on the next grow.
Pics to come soon. RageMonkey =)