2 Girls & 1 Kit: Major PITA Takes High Brix Outdoors, Summer 2015

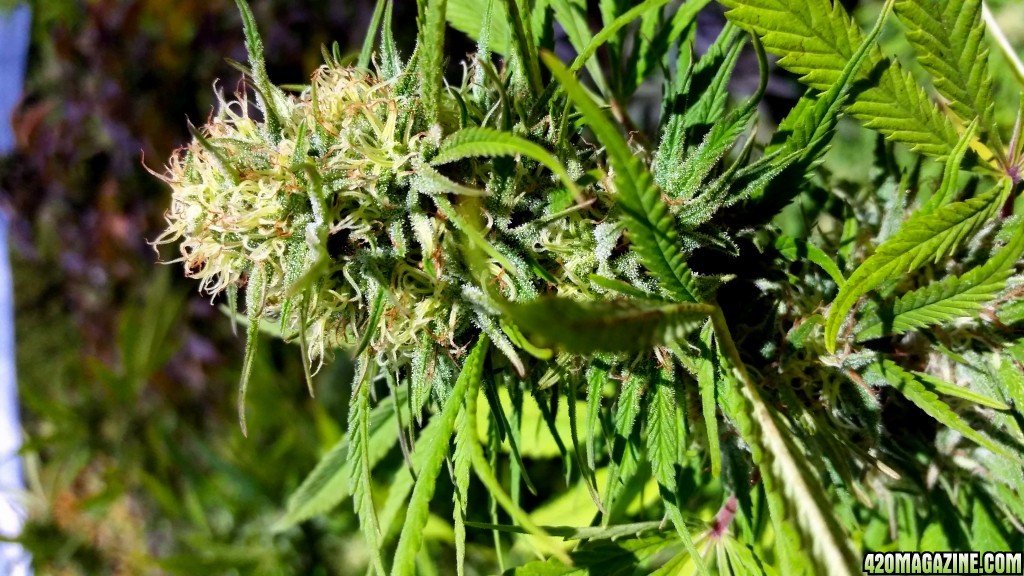
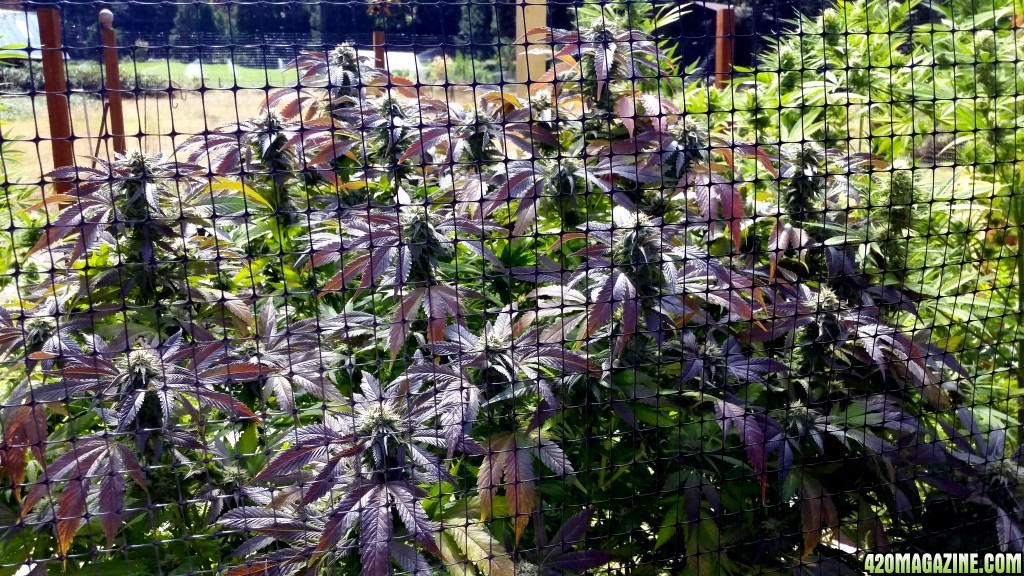
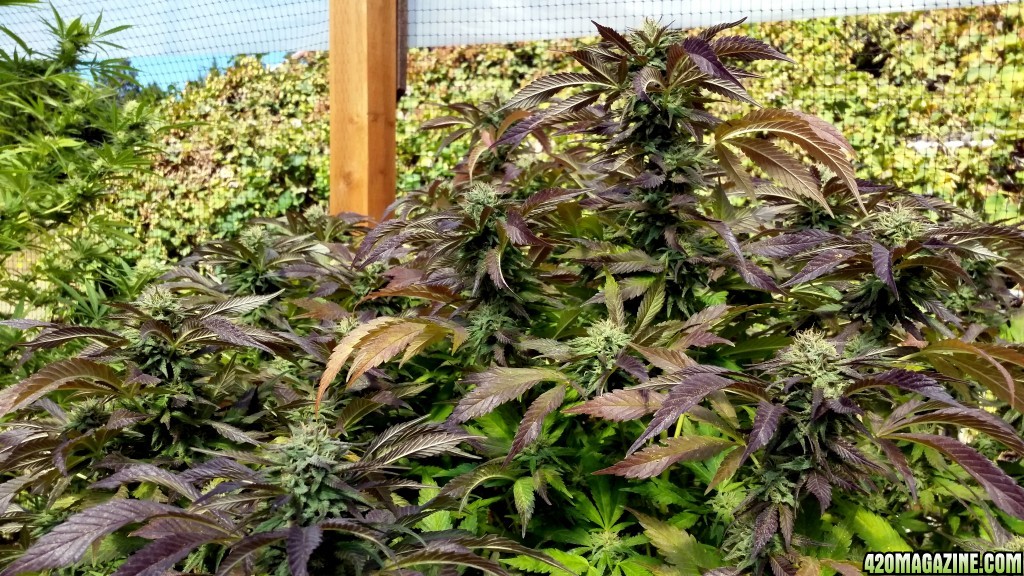
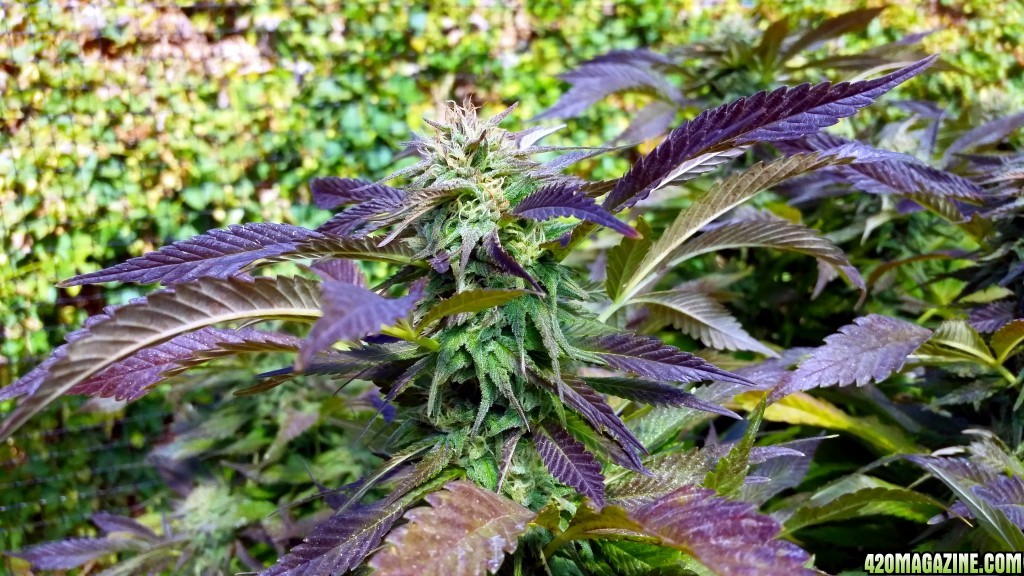
This is a bit off-topic, but my wife was looking for something on Google Earth when she noticed a small orchard (nothing new around here). She zoomed in and noticed it was a MJ grow. So she started just browsing around our area. It is astounding because these pictures are all from last year, before legalization. There are thousands of plants within a couple of miles of here. It really is astounding. This year there are a lot more, but I have no idea how many. There seriously is tonnage being grown on our road alone. My little garden is insignificant by comparison. Most of the others have 20 to 100 plants.

That's awesome! Probably allows you to worry a bit less, yeah? Great looking plants Major!
 
This is really basic stuff - especially for the gang that usually follows along. But, in case a new grower stumbles on this journal, maybe it will help them. It is one of the few things I've learned that feel confident in recommending and teaching. For the rest of you old-timers, move along. There is nothing to see here. :cheesygrinsmiley:

There has been some discussion about watering techniques and whether letting plants dry out is better than a constant supply of water that lets them take whatever they want. I'm of the school that wet/dry cycles are preferable. I don't find it mean or damaging to the plants. I think of it as exercise for our little ones. Like children given a choice, some may opt to watch TV rather than go hiking. But once adulthood is reached, which is likely to be more healthy - those that work, or the couch potatoes? Use those muscles (or roots), or they won't develop as well. This probably isn't an apt analogy, but it is the way I think of it.

To allow for a complete soak I use a pot of the same size, or one size larger. I place a trash bag inside the pot to keep it from leaking, and nest the plant to be watered inside. I add water and/or nutrients until I can see some of the solution around the edges. By stopping at that point, there is very little waste yet the plant can soak up the water from above and below. If you use pots the same size, you have to go a little slower initially, but there is almost no waste - maybe an inch left in the bottom of the outer pot.

Pitbull clone in 1 gal pot ready for a drench using a 2 gal pot
BD68.jpg


Drench_Ready.jpg


The same plant an hour later. Right now she needs this every three days. Once it gets to needing water every two days, I find it is time to up-can. For the up-can I prefer to do it when the plant is dry. The root ball is light and holds together well. The plant won't miss a beat and will grow roots out the bottom of the new pot in a matter of days.
AD6.jpg


I know this is simple stuff, but with this method and a good porous soil, you can go from a cutting to 1 gal to 7 gal all in about 4 weeks total. For indoors, I plan to veg for two weeks after they hit the 7 gal pots, then flip. My hope is it will let me grow more plants in my limited space and get three grows done before I move back outside next spring.

BTW, these Pitbull cuttings really like to grow one and three fingered leaves after cloning. They also grow four fingered leaves sometimes. I takes a while for them to graduate to 5 fingers and that's the most I've ever gotten from them. I've never seen 7.
 
Great stuff Major! Important little tips.:high-five:
She was a lil thirsty eh!

Indeed. I noticed she was getting close last night but decided to wait until this morning when I did my other canna-chores.
The AoS outside got a third Cat drench this morning. All the other drenches have been at 150% of the "usual" instructions, but for some reason I didn't with the Cat drenches. Maybe this third drench will drive it home. The Pitbull is too close to harvest so it is back on G.E.
 
The Weakly (Week #23 / Bloom Week #6 completed)

Good morning gang!

I'm in a holding pattern while I wait for these to finish. They got Brix this morning. I'm thinking the Pitbull is one week from coming down - no more than two. The AoS got a third Cat drench (11 ml) a couple of days ago. Now both are back to the usual drench routine until they are chopped. The non-kit girls are still just on tap water.

Nothing new to show. I tried to zoom in on them but I have a heck of a time getting my phone to focus. The slightest breeze mucks up the shots. I can smell these plants before I can see them now, and they are getting nice and sticky - especially the Pitbulls. I also love the coloring of the PBs.

I'm disappointed in the size and frostiness of the buds. I'm hoping the quality is there, however the yield is bound to be less than I expected. IMO, the buds aren't filling in the way they should. Most of them look more like a bunch of popcorn. Maybe I'll still be surprised, but that is getting more doubtful each day. It will by interesting to get some final weights. The ones started in HB will definitely be the bigger yielders. At least all plants appear to be mold and bug-free.

AoS pic's are first followed by the Pitbulls. I finally got one shot of the trichomes, but still not great.

AoS11.jpg


AoS2.jpg


AoS_Bud2.jpg


AoS_Bud11.jpg


PB110.jpg


PB23.jpg


PB_Bud1.jpg


PB_Bud2.jpg


PB_Bud3.jpg


That's it for this week. Have a great one! Maybe next week will be the finale for the PB's. Cheers! :Namaste:

-edit-
I plan on grabbing a picture or two of the new indoor plants later today as a way to document their progress. I'm not sure if I'll journal this grow since it is sure to be boring. Four or five plants under 600W HPS in a small space with a quick flip. YAWN... :cheesygrinsmiley:
 
Please do some updates & pictures Major, I'm planning on starting 4 plants under a 600 HPS. What space are you using? How are you topping & training? Thanks.
 
Please do some updates & pictures Major, I'm planning on starting 4 plants under a 600 HPS. What space are you using? How are you topping & training? Thanks.

The space I'm using is actually a shower out in our garage.
The good: plumbing and electrical are already there, it has a floor drain and there are no worries about water, smell, noise, etc. Also, the walls are white ceramic tile. They offer pretty good reflection and are easy to clean.
The bad: the NET area I have is only about 33" x 33" plus some off to the side for my fans, ballast, and other stuff. At least I have 8 feet of height which works pretty well.

As for training, this a real weak area for me. This run should give me some practice and hopefully improve my results. I needed to slow these down a little so I topped them all. More pruning and training is in the near future. I hope to up-can to their final 7 gal pots in the next 1-2 weeks.

I'll try to post up some pic's of the plants and my GR space in a bit.
 
Thanks for the info Major, and yes I would love to follow a grow like this as well as a lot of other new & older growers.
 
I'm going to give this one shot. After that it will probably have to wait until the forums quits taking dumps on me. The gremlins are back. I've been trying to upload photos for nearly two hours. Here goes...

These are my new charges. All were potted into 1 gal 6 days ago and topped 4 days ago. From left to right they are: Sour Diesel, Shark Shock, and Blue Dream
3_Sisters.jpg


3_Sisters2.jpg


These are cuttings from my current grow (also topped 4 days ago): Ace of Spades and Pitbull
Clones140.jpg


Sorry for the crap job on focusing.
Clones219.jpg


This where they currently hang out under T5's. For a lark I tried Graytail's cloning method. I placed a couple of the apical meristems I removed from BD and SS in plain water - not even a humidity dome. I'll be damned if one hasn't already started showing small roots after just 3 days in plain water.
All_Together.jpg


I think the cloning secret lies in the bottle. Grand Marnier FTW! :cheesygrinsmiley:
Cuttings9.jpg


They are hard to see, or tell what they are, but those are little white roots just beginning.
Roots103.jpg


This is the business end of my modest grow room (currently unoccupied but clean and ready to rock). I covered over the window with a half sheet of scrap plywood, The fan ducts out the window (left open with multiple screens to help keep bugs out). Air comes in from through a duct that draws air from the garage. Everything electrical mounts to the plywood and keeps stuff out of the way and high and dry. The orange boxes on the wall are cheap ($20) thermostats that work like a champ. One turns on my exhaust fan when the temp hits 84 degrees. The other turns on a tiny 200 watt heater when the temp falls below 65 degrees.
GR_Electrical.jpg


This picture is awful but it shows a stack of four 7 gal pots on the floor of the grow space. As you can (sort of) see, getting a fifth pot in there is going to be a challenge. I removed the showerhead. No need to give my HPS a shower.
Shower.jpg


Adios!
 
Nice setup major.......I have one of those organge thermostat too........haven't used it yet......,good to know they work well

Nice work Major. Just wondering....do you keep your cuttings under 24 hours of light or your normal veg hours?

:thanks:

I use 18/6. No reason except it feels right and saves a little on the electric bill. I've not seen the evidence that makes me want to try 24/0.
 
Nice information Major, great looking grow space. 3'x3' shower?
 
Nice information Major, great looking grow space. 3'x3' shower?
Yep. 3'x3' to the outside of the glass block walls. The curb used to retain the water and shower curtain, leaves me with just under 33" with one corner cut off because it is rounded. It makes a tight fit for 4-5 plants.


Mornin Major.....Sylvester's MY favorite!:tokin:
Mornin'! Yosemite Sam fan here. :cheesygrinsmiley:
 
In case you have trouble getting to sleep and are out of some bomb Indica, here are a couple of shots with all five pots crammed into my little fall/winter/spring grow room. I also was able to string up 30 feet of rope so I can hang and dry my outdoor grow. No pictures of that until something is actually hanging.

It turns out I had just about the perfect amount of soil for 5 pots. I didn't think it would all fit, but I crammed it in anyway (that's what she said). :cheesygrinsmiley:
5_Pots1.jpg


The new center pot won't fit all the way down to the floor so it sits on a couple scraps of 4x6 pressure treated lumber. The empty pots are just place holders to keep the soil in place until I transplant.
5_Pots2.jpg


Boring stuff, but I'll be moving the gals in soon. They are outgrowing their current spot under the T5's.
The bad news: I found mites on some small cuttings just above all my new plants. That means there is almost certainly mites on the plants that will go in here. I want to try and deal with them before the move. Plant maintenance in this small space is going to be a challenge.

Have a great evening, gang! :Namaste:
 
Back
Top Bottom