looks like we got to put names in a hat this month, how can we pick between them entries, both are totally amazing.
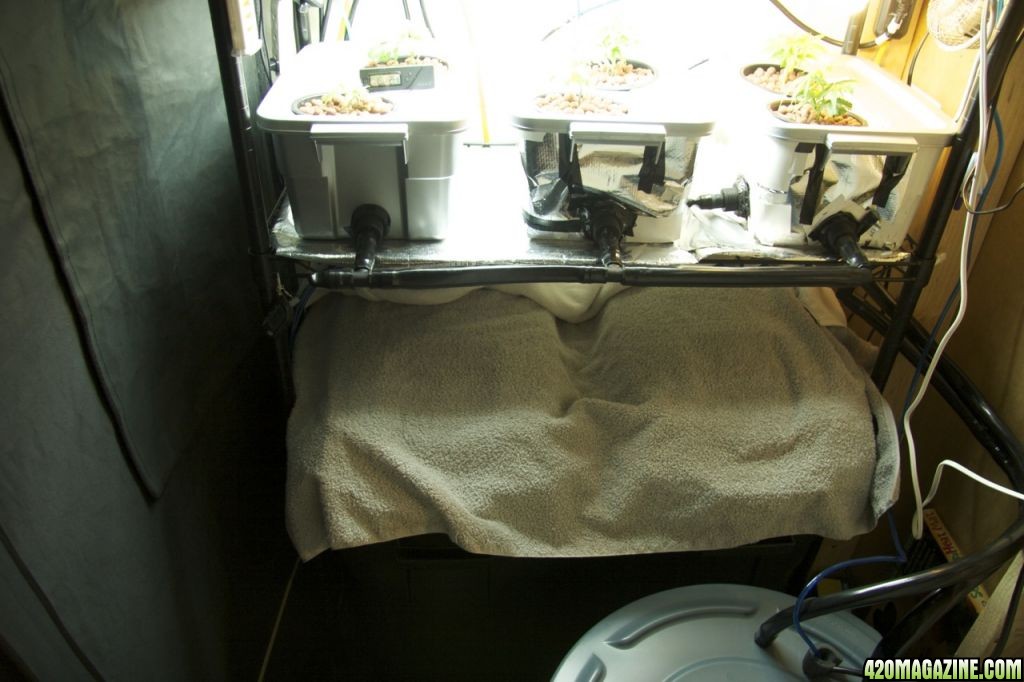
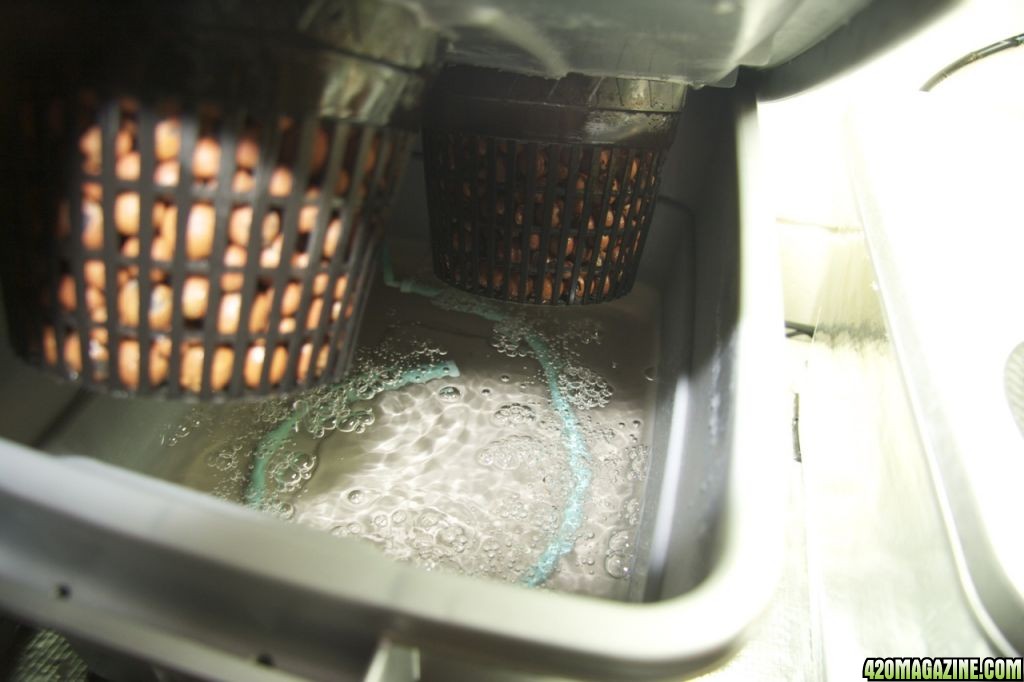
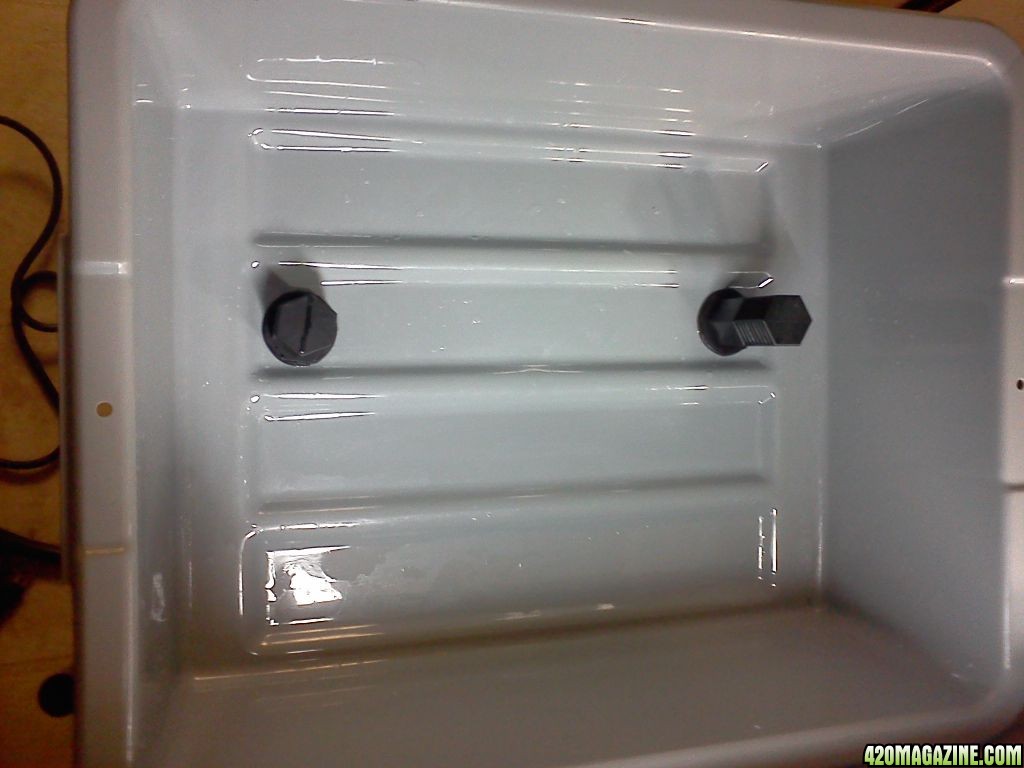
reps for the set up X, looks like a great way to grow and it saves you time watering also,
reps for the set up X, looks like a great way to grow and it saves you time watering also,

")


")