

- Thread starter
- #8,081
Sorry gang, been busy today getting the light sorted. I hit a few snags and won't have time to put the whole build up in a post now (tonight or tomorrow), but I thought I would at least post this pic so you can see that it's done!  The green wires block some of the LEDs at this angle but they don't block any light pointing straight down:
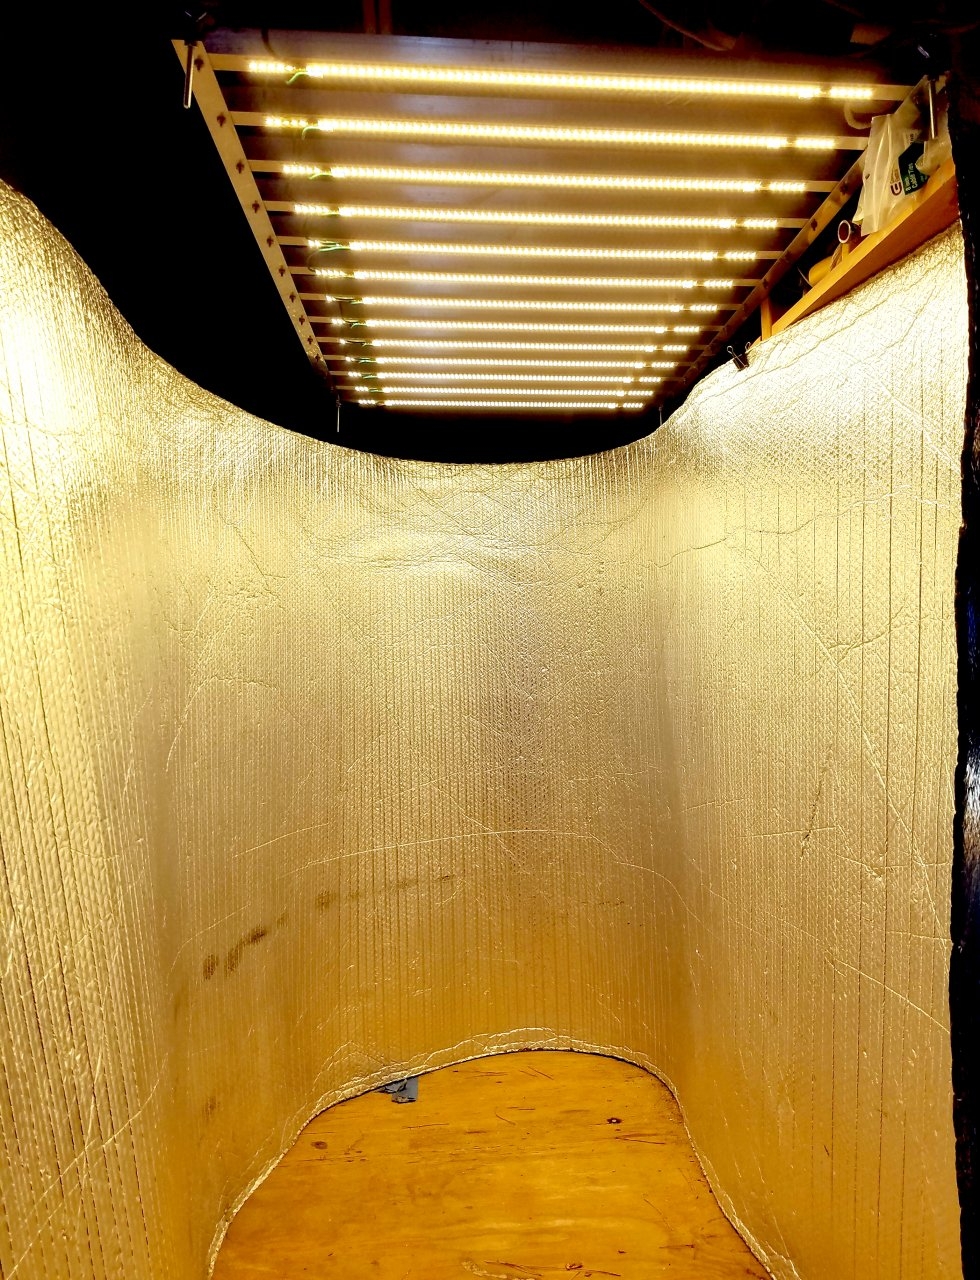
It pulls 123 watts at it's lowest setting (about where the MarsHydro 300 was) and 383 watts cranked. I'll probably start it around 180 watts tonight so the plants can get used to it and bump it each night after that until I get to around 250 watts.
Big thanks to @CraZysWeeD and @Graytail for helping me out with my stumbles today.
I hope you're all doing well but I gotta run.
The green wires block some of the LEDs at this angle but they don't block any light pointing straight down:It pulls 123 watts at it's lowest setting (about where the MarsHydro 300 was) and 383 watts cranked. I'll probably start it around 180 watts tonight so the plants can get used to it and bump it each night after that until I get to around 250 watts.
Big thanks to @CraZysWeeD and @Graytail for helping me out with my stumbles today.
I hope you're all doing well but I gotta run.


")
