My First Attempt With Autos

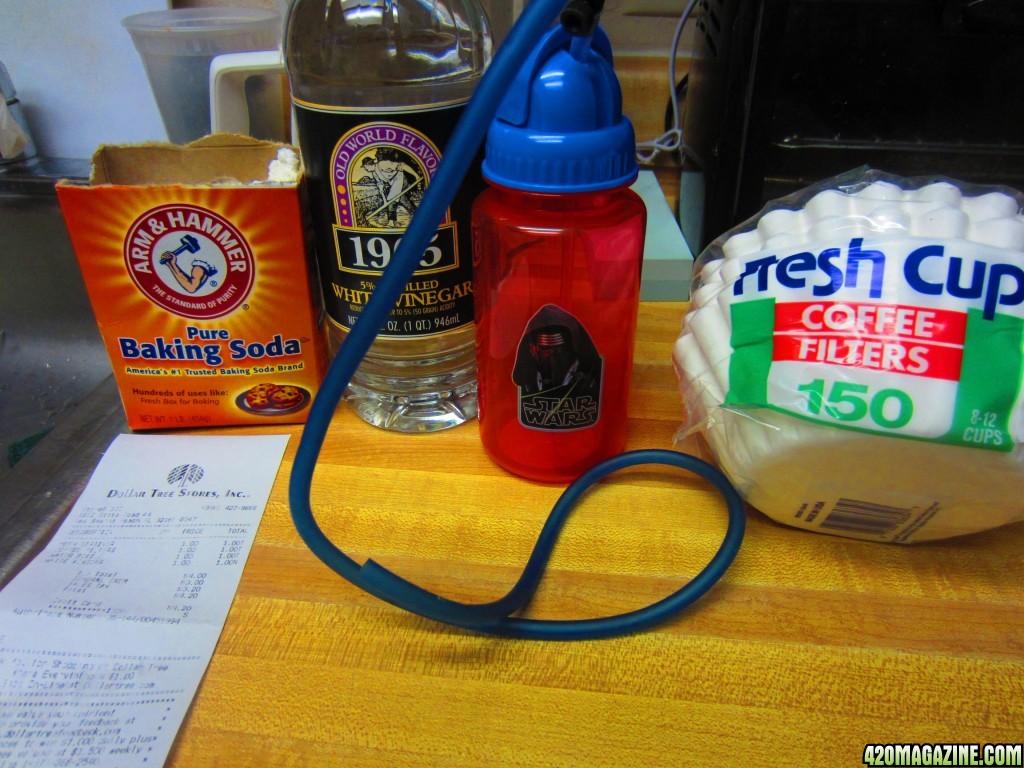
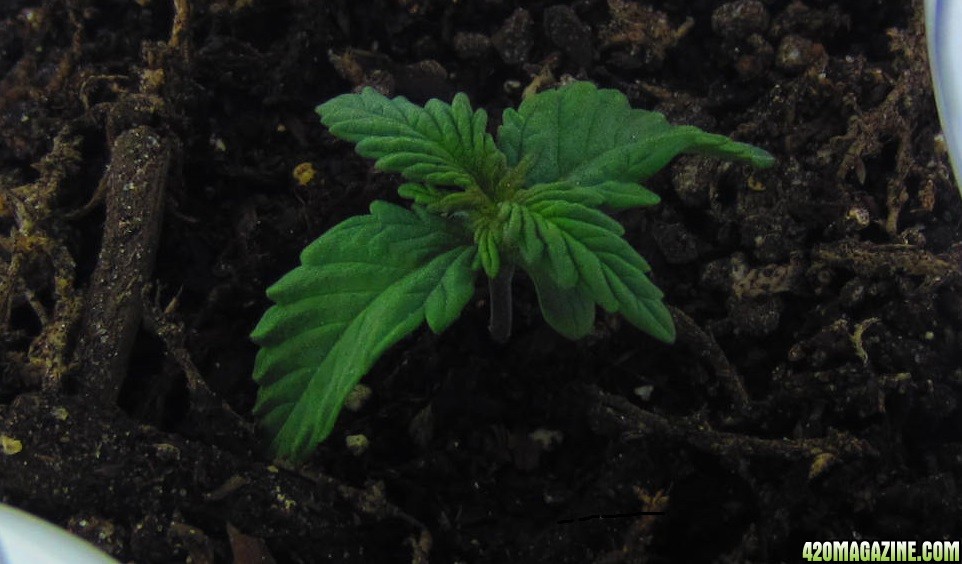
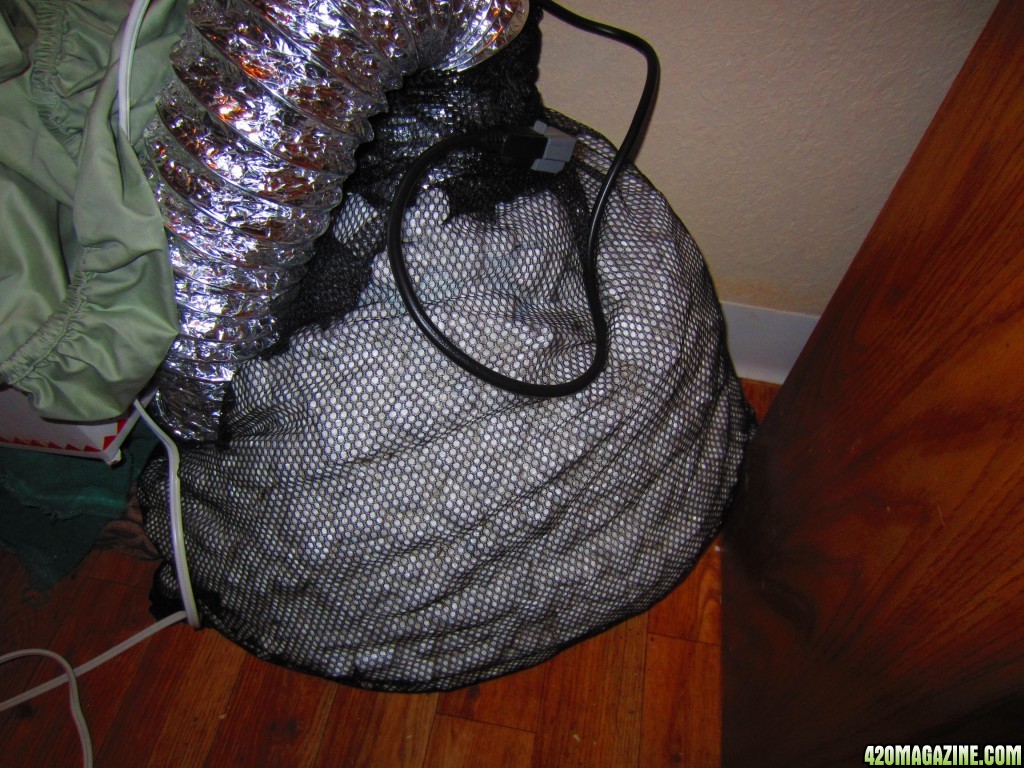
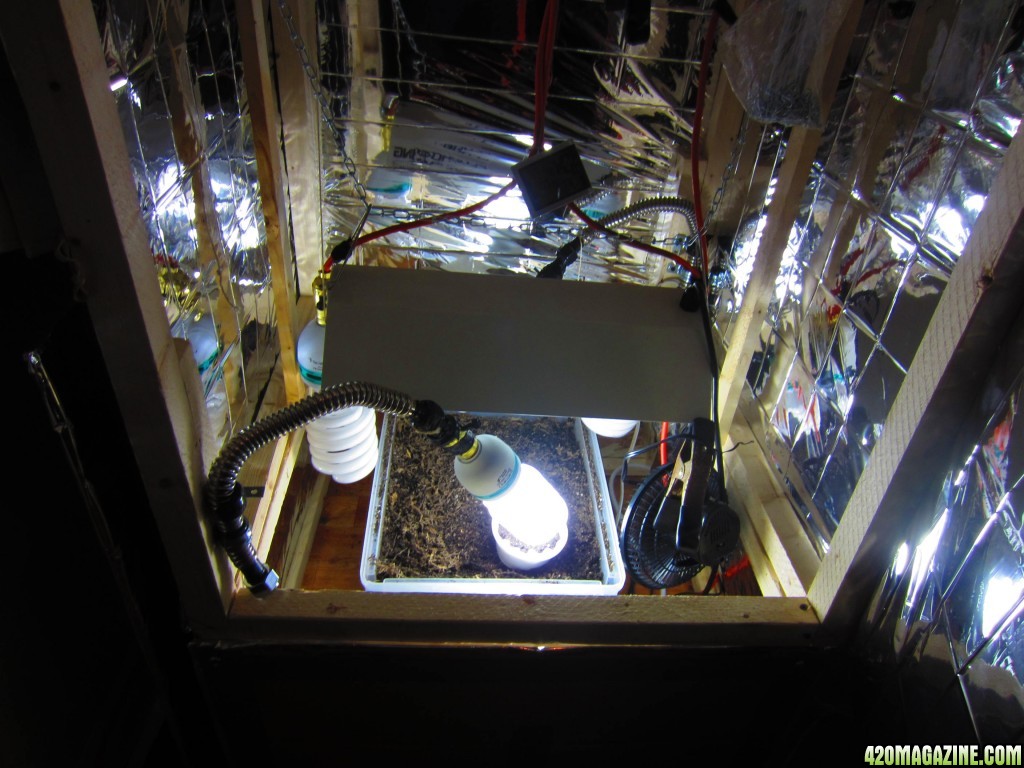
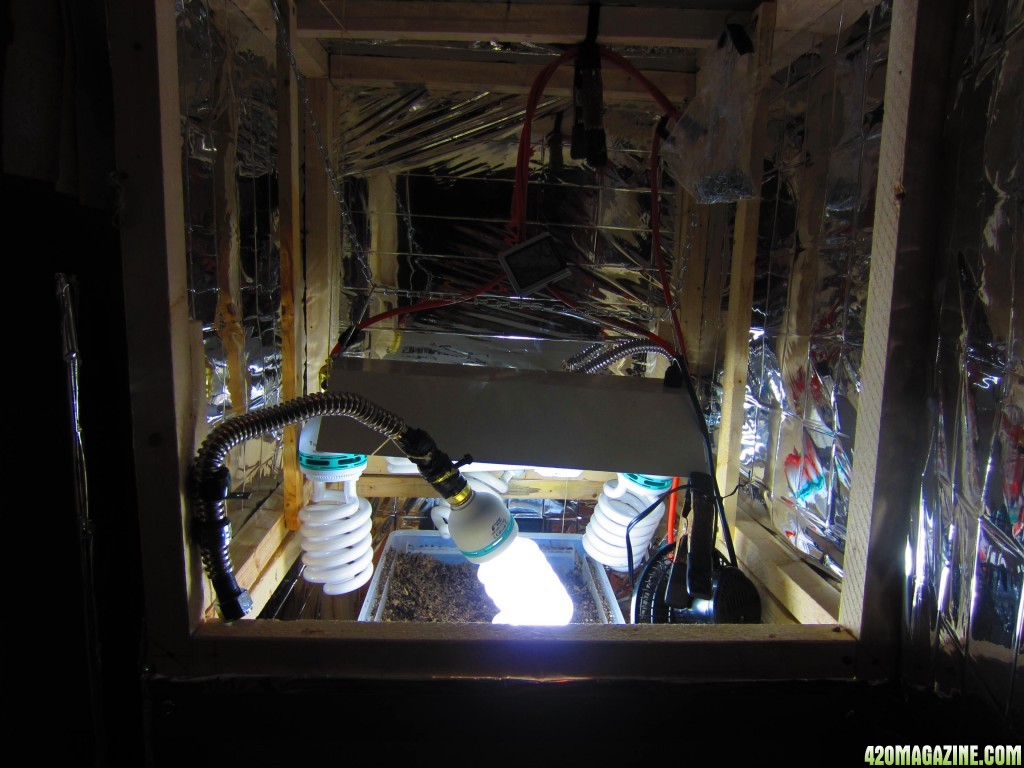
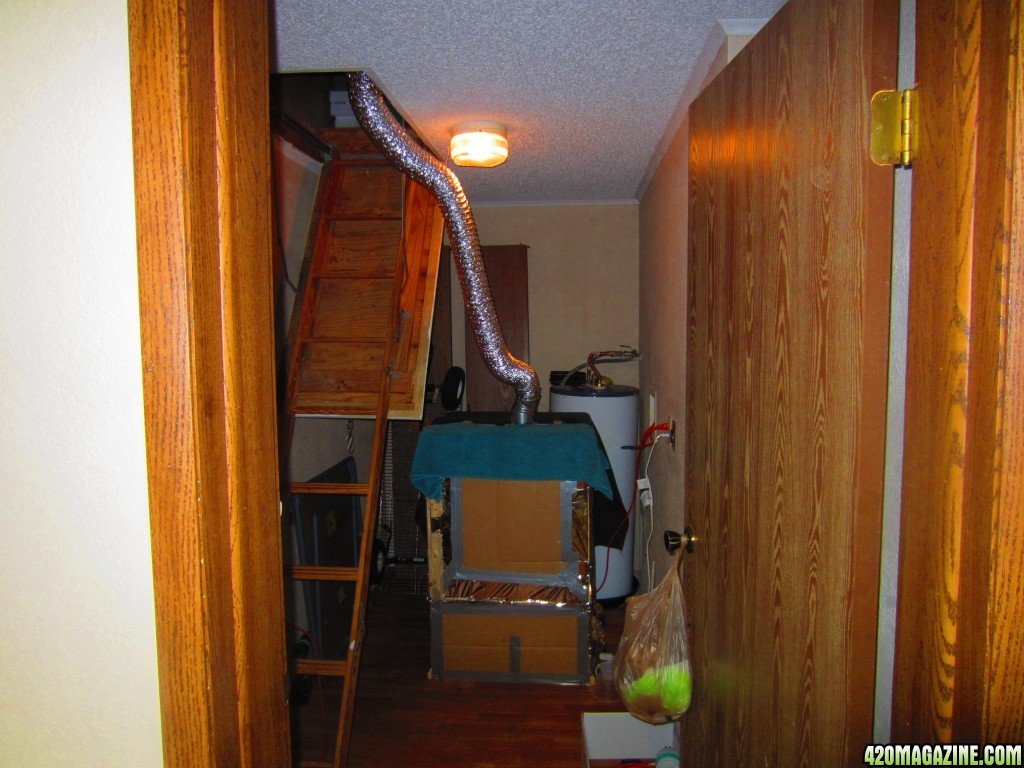
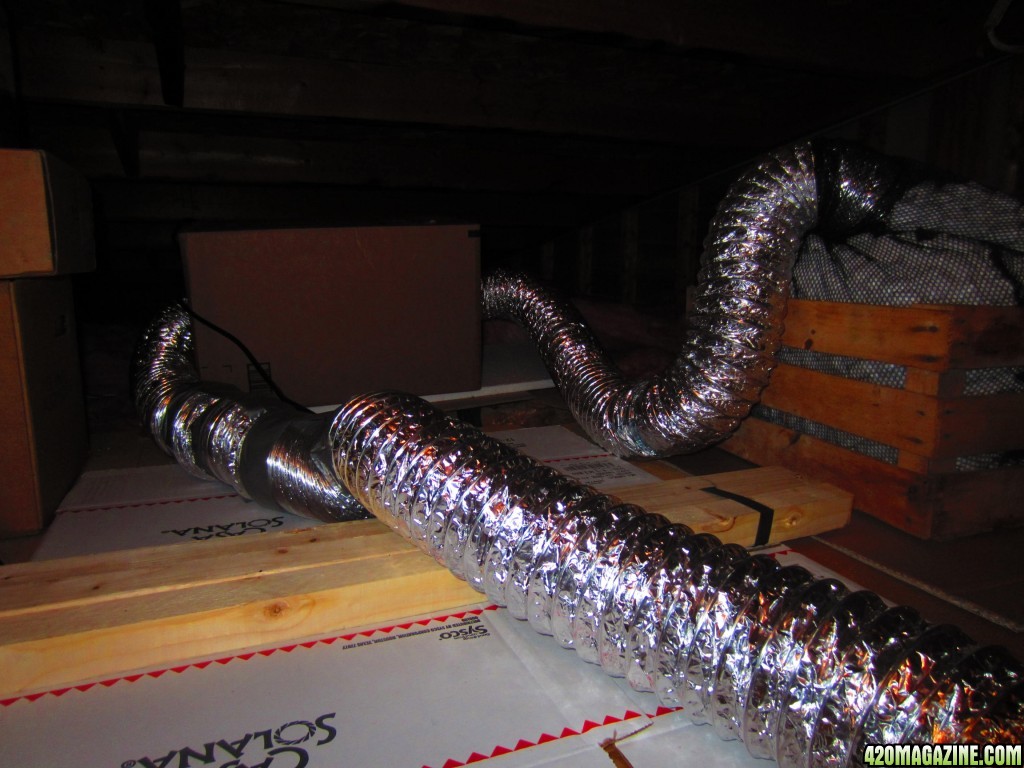
Hello All, and we are off and running. Timer is set on lights and with the trap door venting or more like intake air. The box is running at 77* and should get no higher. I have lights off set for 9 AM till 1 PM and will add 2 more hours off as Flowering dictates. So with most of the night time temps averaging between 48/58 degrees. This is what will help cool things down. I will leave lights on 24/7 till the second node develops then switch. I did get the new 190 CFM fan going and if anyone wants to quiet them down with out reducing out flow. Below is the carbon filter in a cheap-o nylon mesh laundry bag surrounded by packing peanuts. I did the same with the motor and it cuts the noise by half.

0081680.JPG


0012715.JPG


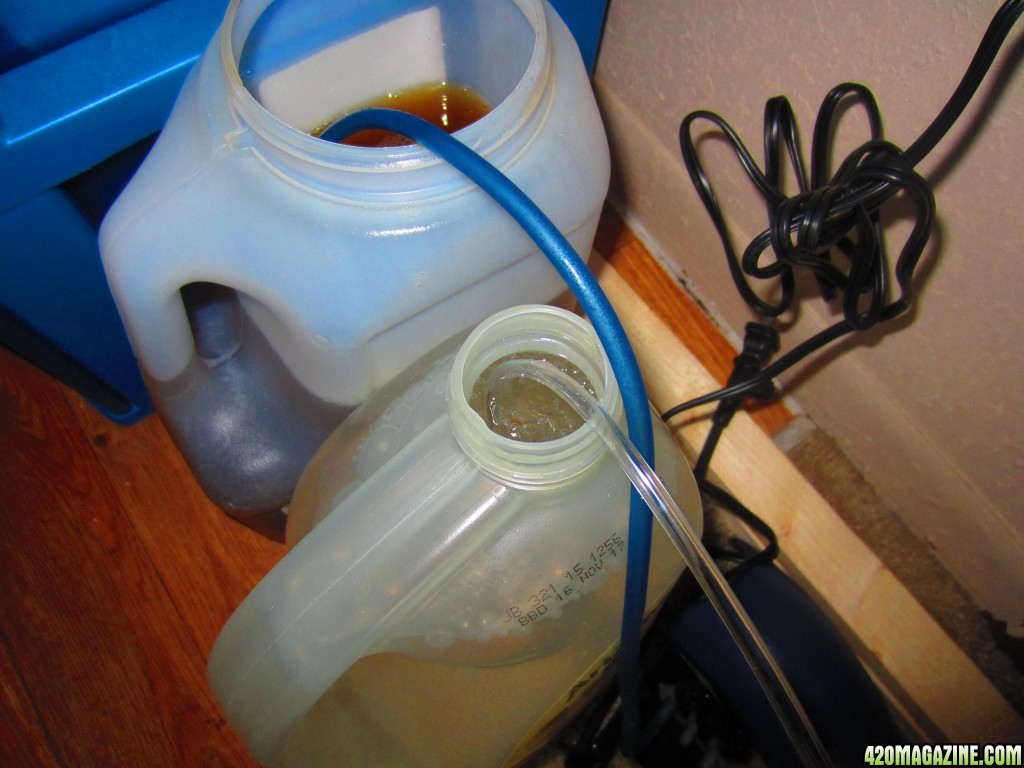
I thank Atrain for the tips and the time he put in his threads as well as all the others here for supplying there insight. Got her go-go-juice bubbling.

0071847.JPG


0091496.JPG


0111212.JPG


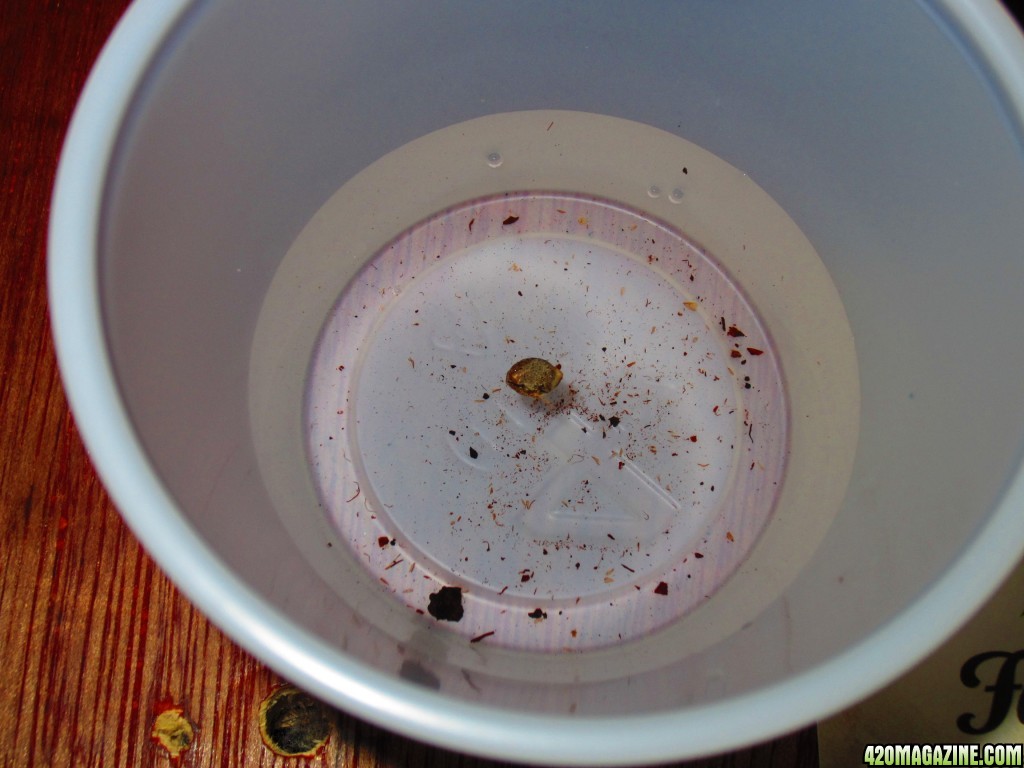
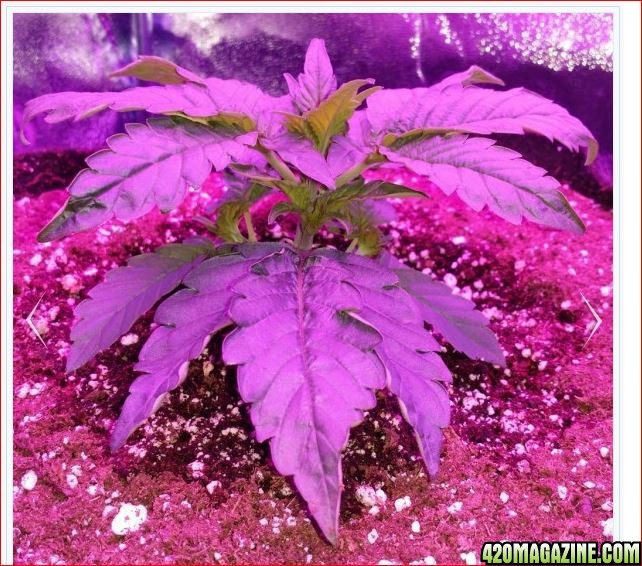
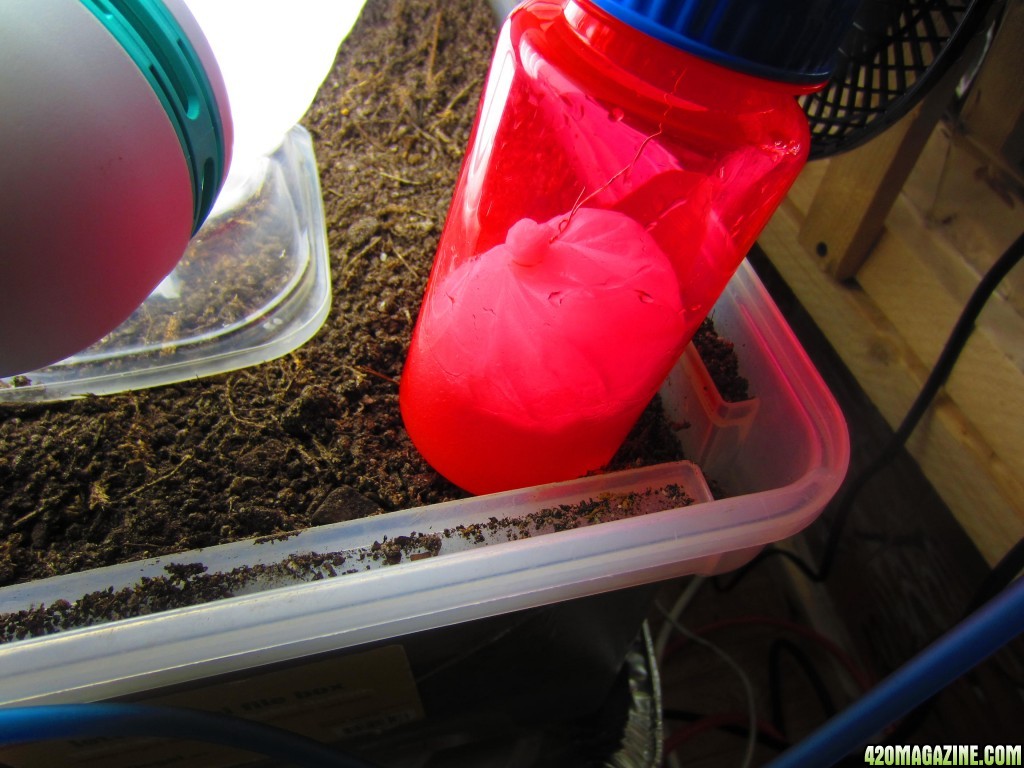
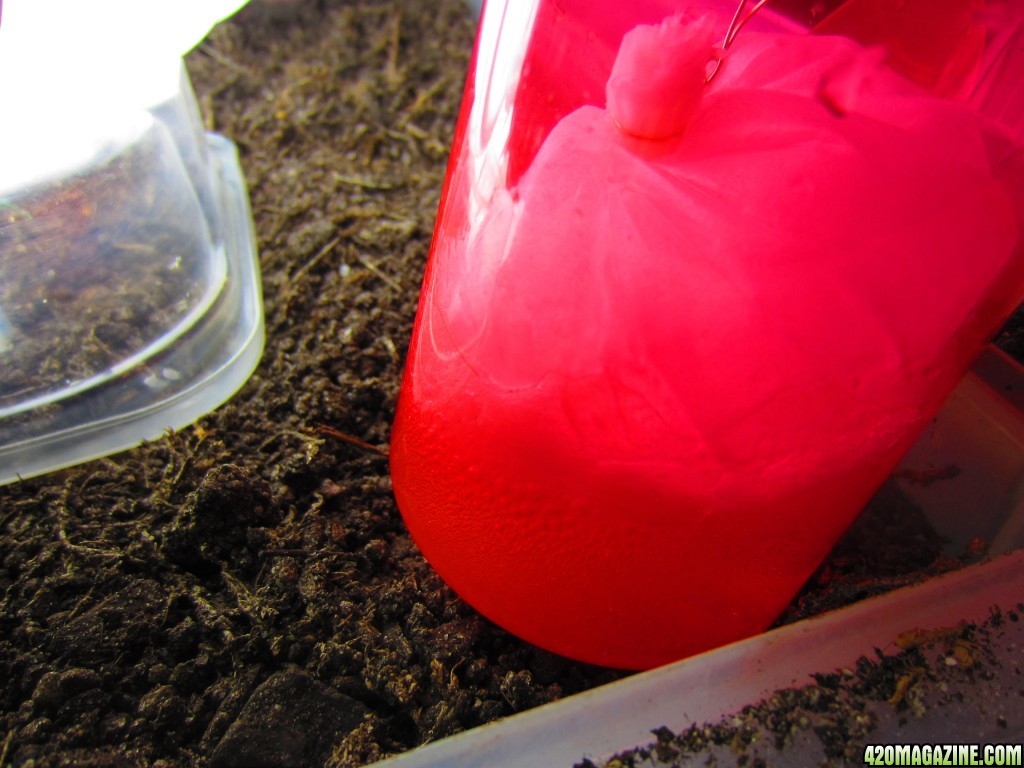
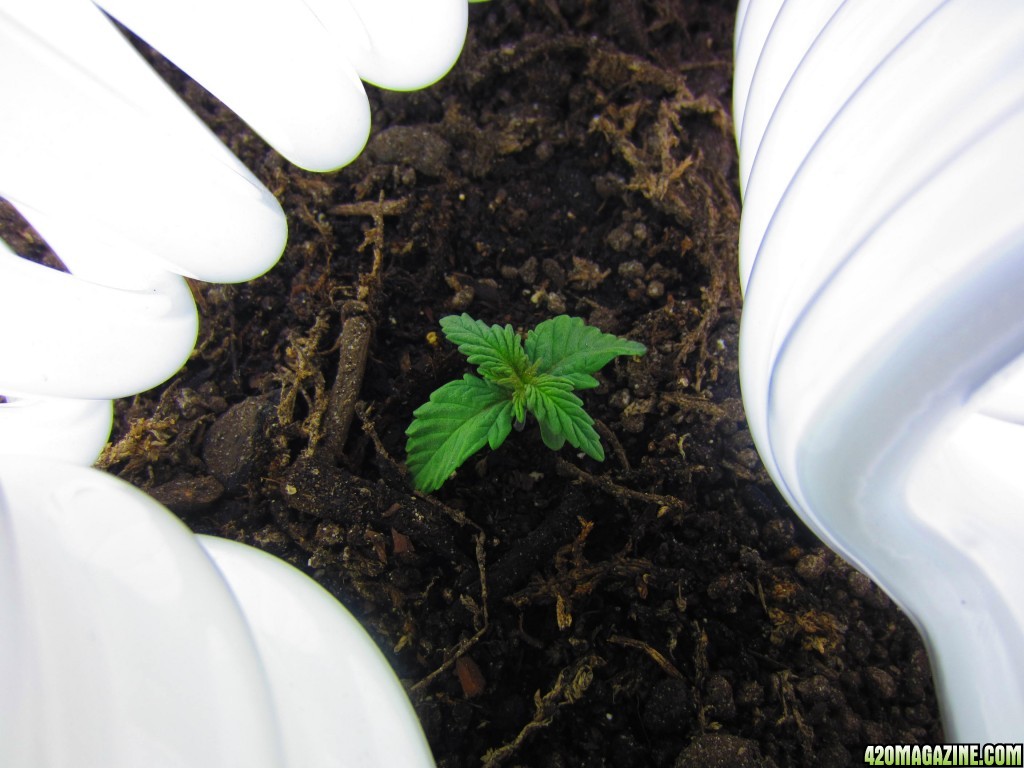
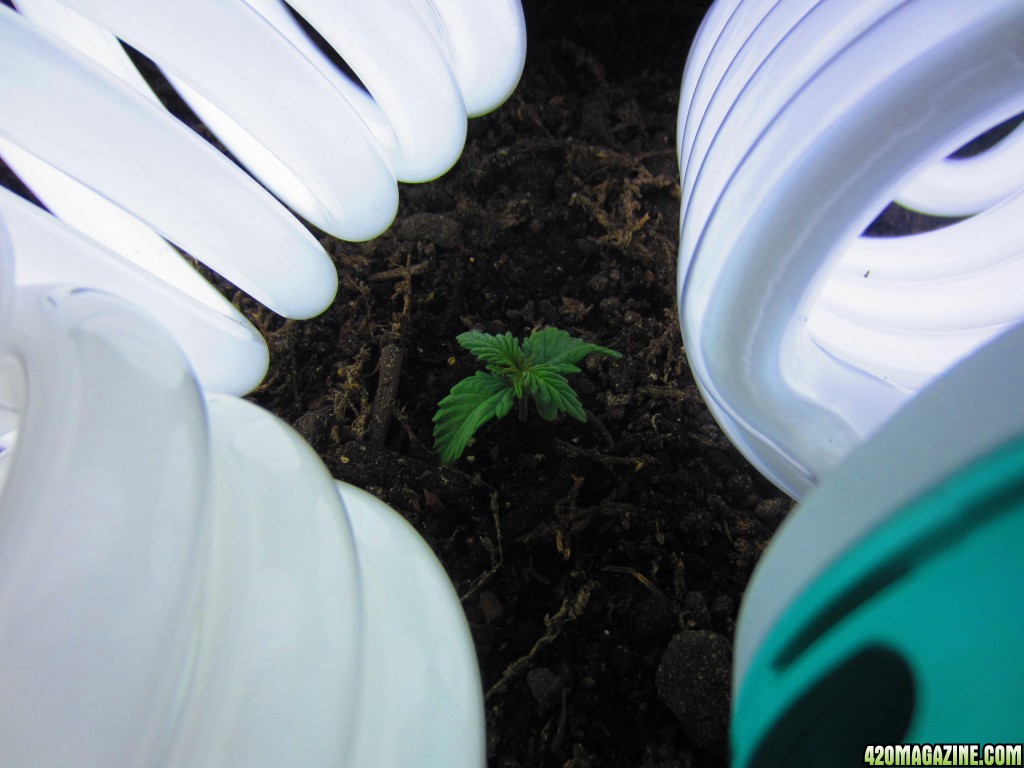
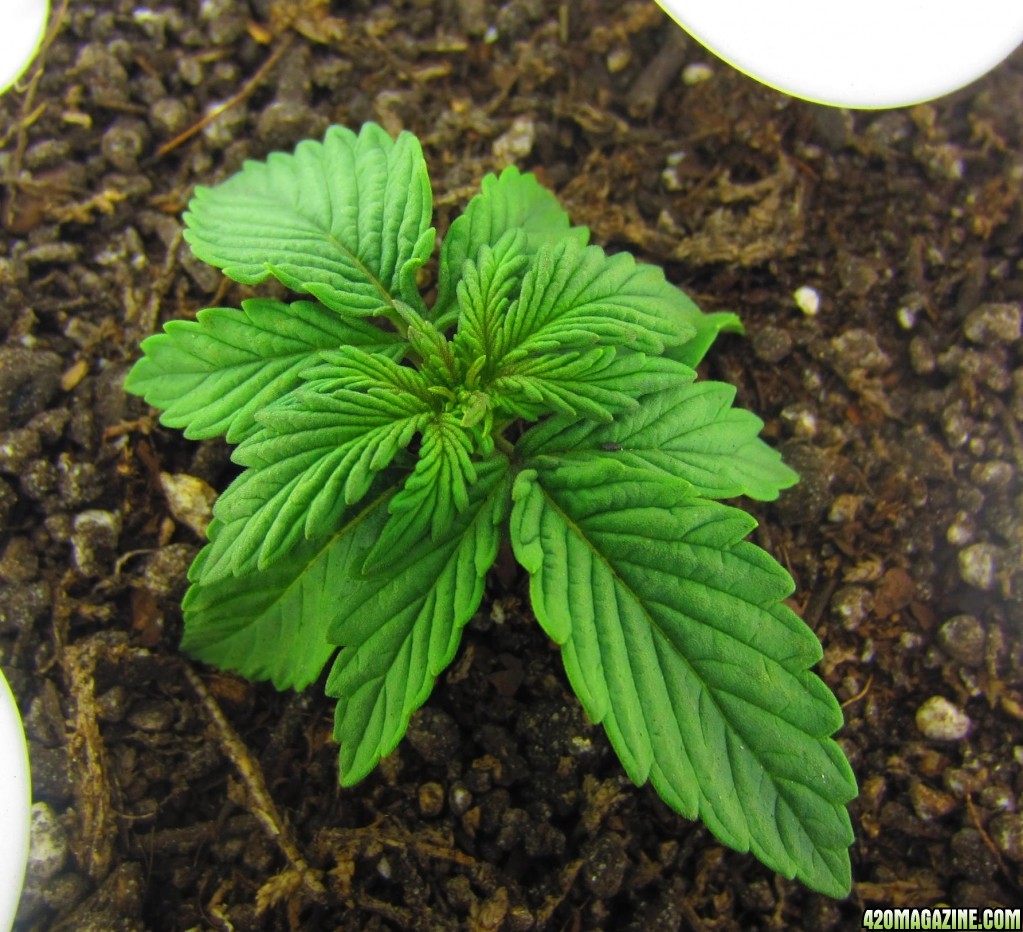
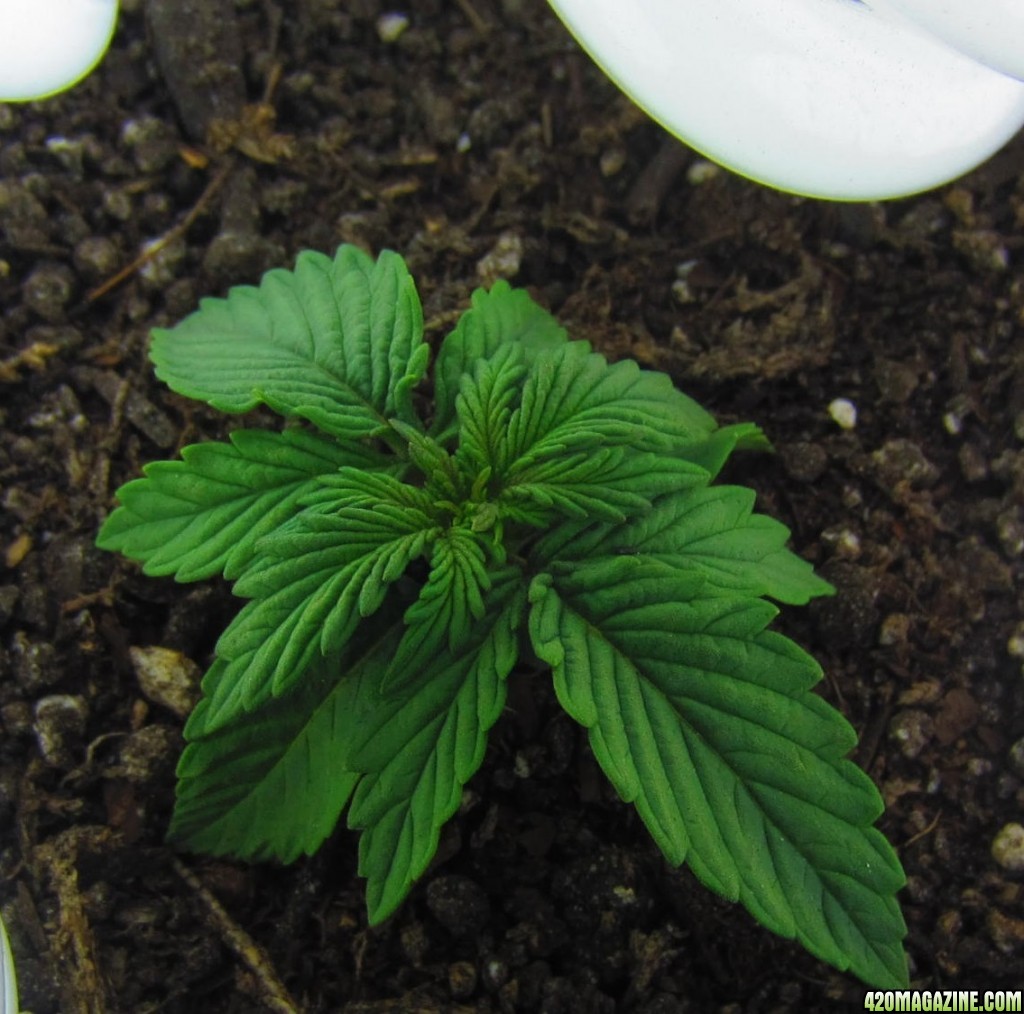
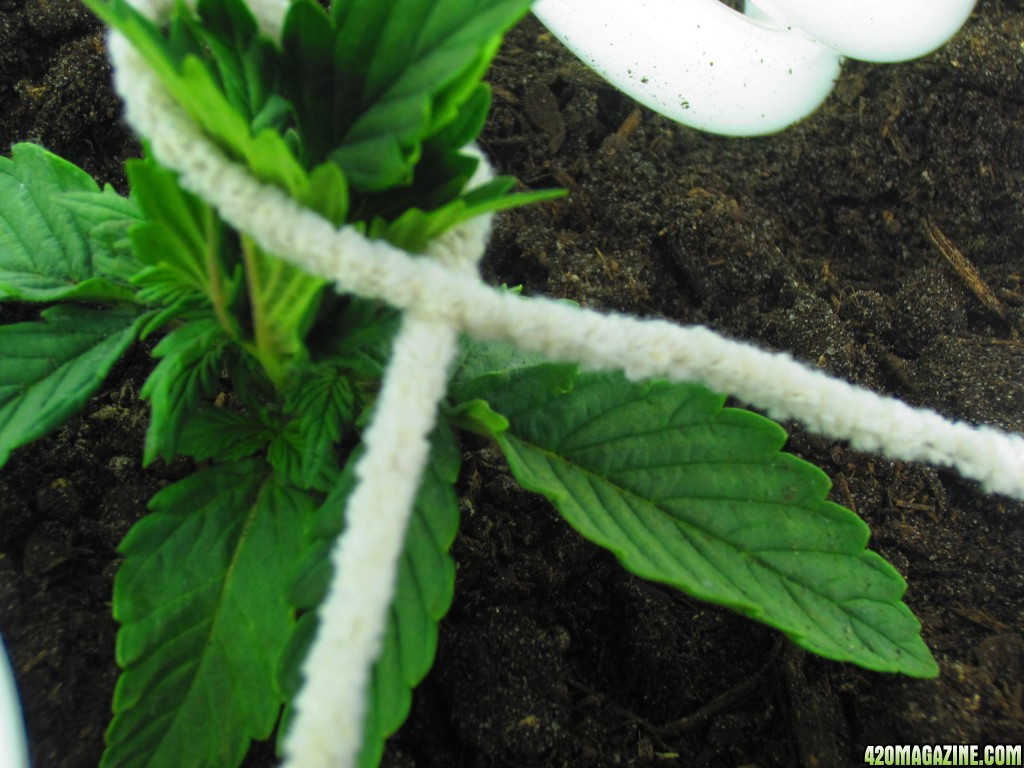
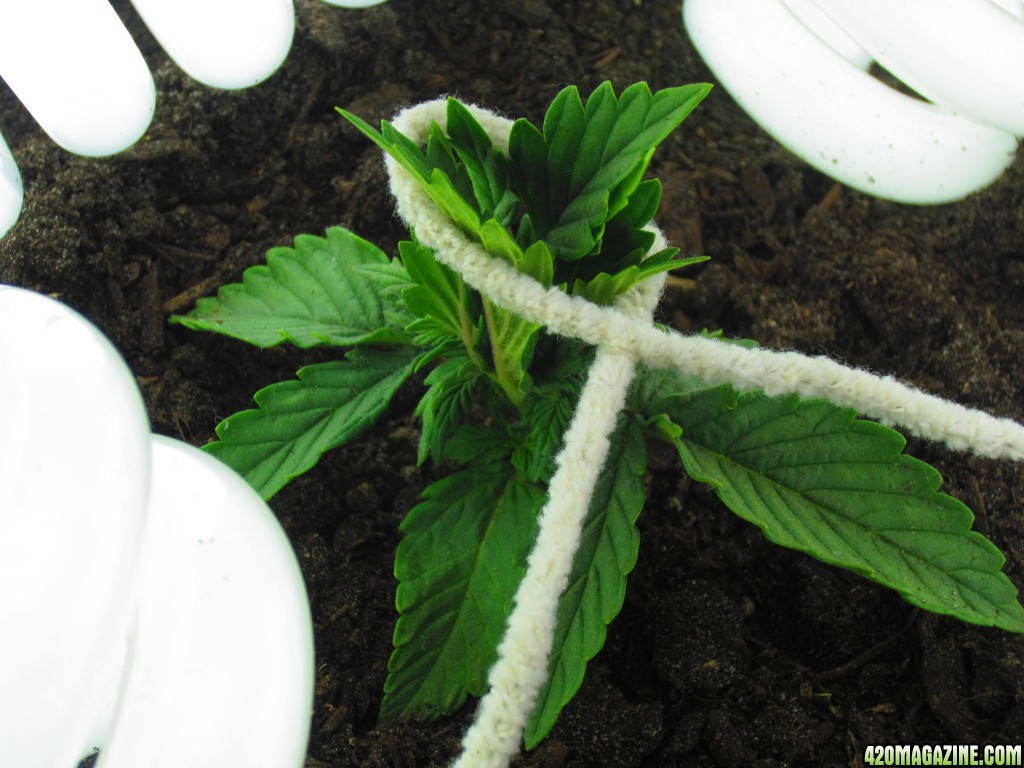
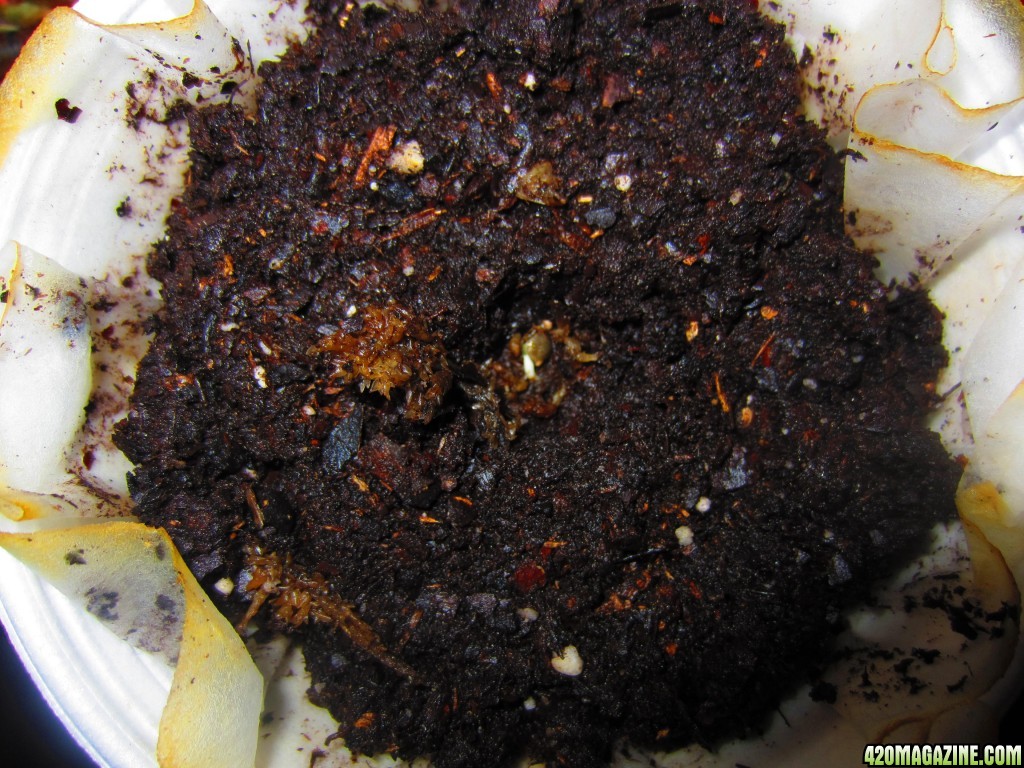
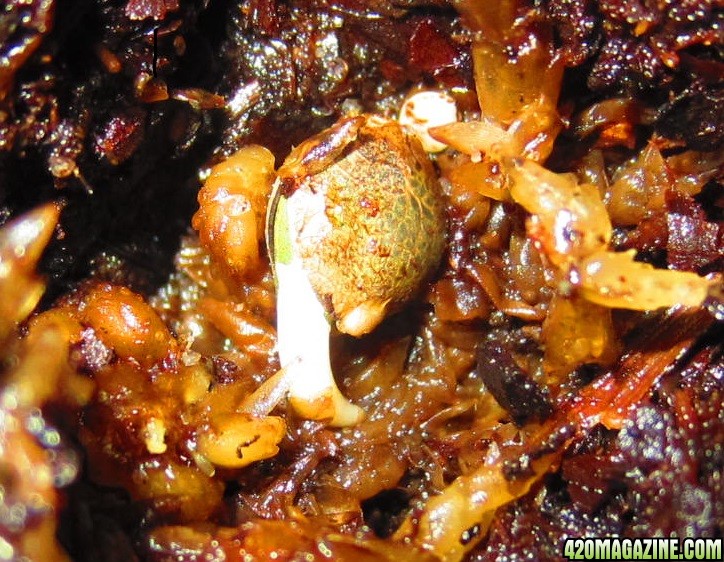
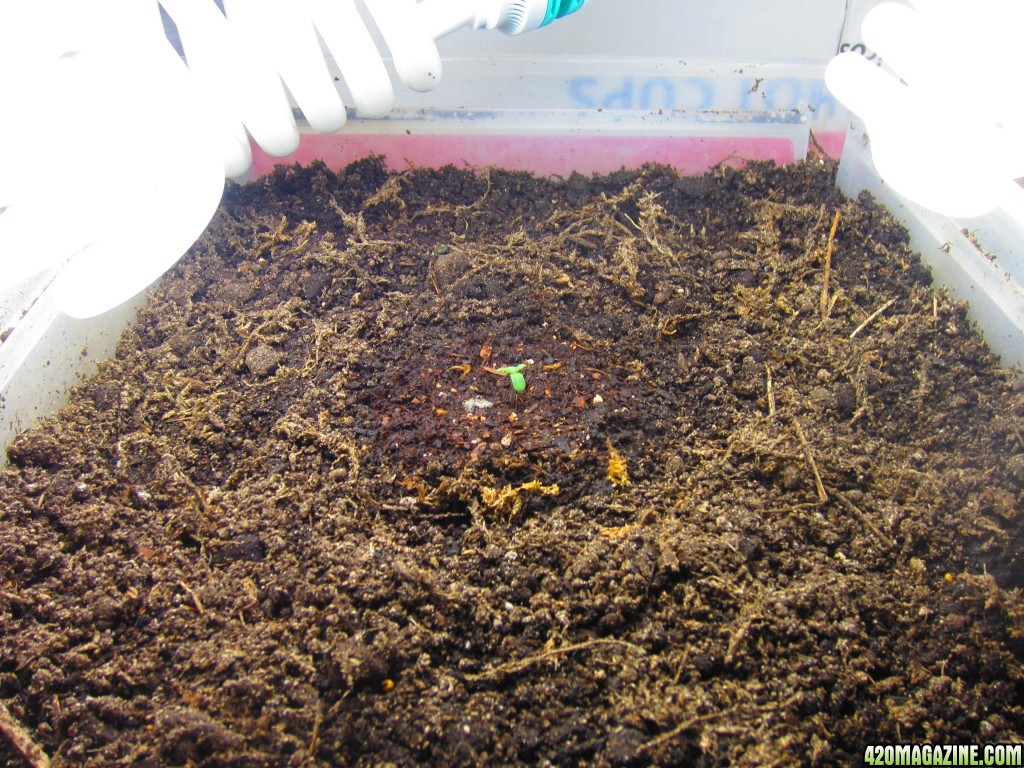
This is her getting her baptism and the last will be her house for the next 8 ~ 9+ weeks. I am hoping all goes well. It is the first of many I hope and just looking to get a bead on what they do and what to expect. As I am looking to grow just as much as they are.... Will post as I can and will be back ...Peace.....


:420: :thumb:
 
Why thank you for the vote of confidence and I hope the same for you also. I do have a good feeling about this grow.... but I need to keep reminding myself. Not to get to cocky or not impatient as there is no time for that. More like make smart decisions and not to force it. There is a fine line between success and disaster with these. To much and you screw yourself and not enough produces' shit plants. Think it is best to get 3 or 4 under your belt before you can really offer sound advice or criticism. But I am not afraid to rely on what I do no works with other plants. Please feel free to share or throw out any ideas you may have. Good luck to you and...Peace.....

:420:
:thumb:
 
Yeah thats it you got to take care of them but not force anything , always follow the natural order of things .

It's such a beautiful thing to be able to grow this magnificent plant but, I do get impatient once in a while but i try to unload that impatience in the :420: always learning here and I-m very excited on my first Auto experience to

Good luck to you bro I ll be here watching and learning :high-five:
 
HOUSTON WE HAVE LIFT OFF!!!!!

Hey All just a update as after a 12 hour soak I have her in a small amount of the soil she will call home. It took 24 hours but she popped and is on her way. The little cup is a 6 oz. styro foam soup cup with a coffee filter in it. When she brakes ground I will leave it in there for first 5 to 7 days. Then it easily lifts out and can be placed in container. The filter will brake down but till then. It will make the first roots go laterally instead of straight down. It is my take, theory on helping plant in it first weeks. When only watering 150ml you all see the size of the wet spot. Just thinking if you could have the first growth of roots cover that same amount of area outward as it travels down. Every bit of that 150ml's will have to make contact with the root system. The liquid being absorbed by the soil, is outward and away in a coned shape. If the initial roots follow this same path..... they stay in the absorption zone, for lack of better words. It is just an idea but maybe you can see my point. As it is not limiting or restricting growth only corralling / TRAINING in a way

0052245.JPG


0061975.JPG


Will be back!!!!!!!!!!!!! ...Peace.....


:420:
:thumb:
 
It is modular and 8 dry wall screws hold each " block " together. Then the side panels are card board boxes broken down so they have a double wall thickness and trimmed to size. With 4 wood screws per panel side ( 16 total), holding them to the blocks frame. I used a small pair of cabinet hinges to make one panel the door. It becomes very ridged and with 2 full size and one 1/2 size, you just keep stacking them as you need more height. The top panel with exhaust hole is not fastened, I just lay an old blanket on it to seal the light in. WORKS FINE and the wood and Mylar have it at $20.00 +tax. The cardboard was free and add 5 bucks for a roll of duct tape. The rest of the hardware was laying around for old projects. EASY PEASY...........

I did a dry run in case I had to evac it so-to-say, it took 20 minutes to brake down and 20 more to hide under bed and in attic storage area. I have in-laws that stop by and legal or not... you cant and should not argue with an idiot. ...Peace.....

:420: :thumb::thumb:
 
personaly i love those recycle builts its way more fun than going out and buying tents and stuff. first setup i bought was al need and clean. but after a break from growing i thought im gonna go more of the built my self from this time on. cudoes on the cardboard creativity i will swing by later on to see your progress.

visit my small auto grow if you need something to keep you busy for a few minutes

White Cheese Auto Under Two Mars Reflectors 48x5W
 
Was peeking at her earlier and she is already breaking through the soil. I set her down about .5 inch.... the ball is rolling and I found some extra info on some supplements. And great explanations as well as what was in the info shared here. We have a go for throttle up and cant wait to have her lit-up with all 5 bulbs in a few more days. Thanks for stopping by and ...Peace.....

:420:
 
Well here we go kids, Jan 17th and she is in the ground. I only have 3 lights on her for a total of 335 CFL watts. I will leave it at that and 24 on till I see what she is doing. Would like to have at full power in 7 days, but with minor foliage. I'm just making heat and wasting bulbs as roots develop first. I found some very good reads on nutritional info. As far as explaining each and the plants needs of them and whys. I don't want to hear shit from the Admin's so will try and see what I can include. As it is not the info but un-sponsoring site that may piss them off. But it does help you to evaluate and become more hands on.

0032535.JPG


0042368.JPG


The 190 CFM is killing it and the "silencer" is really making it whisper quiet....... I centered it in a oversized box and set it on an old pillow. Cut two exhaust holes in each side and attached duct. I then packed the box with packing peanuts and taped shut. I used a nylon laundry bag for the scrubber and did the same with the peanuts. Without this it sounded like running water in the unit, possible red flag. Now you can only hear the air pump making bubbles and the refrigerator. So I wont have to share any buds with neighbors.

0061978.JPG


0071853.JPG


It is holding the box at 72* to 74* and humidity has run from 64% to as low as 53%. It will go lower as night time temps fall and I will, when the time comes. Have lights off during the day, so that in itself is a double bonus.

0052247.JPG


Now if the nuits and other supplements come through it should a great first grow. Not counting my chickens but the proper environment is half the battle. If she is at home and I don't screw the mixes up. A healthy plant is what I am looking for 1st go round. Over the top yields are not my main concerns but I wont toss them either. See you if a few days and ...Peace.....

:420: ;)
 
Day 2 above ground:

001a2.JPG


002a3.jpg


I have all 5 lights on her and she has gotten 4oz's of R/O'ed water so far split in 2 doses. I have a gallon of bubbling constantly. I adjust it to 6.5/6.3 ph a 1/2 hour before and only the 4 oz's I plan on giving her...it is easier that way and the ph would change in the full gallon in between feedings anyway. So just adjust it as needed.

I have " enhanced " the whole gallon a bit with what she will be getting and will see if that has an effect. Wont say with what but I also have the soil juiced up a bit. Happy Frog and a few other things to help promote bacteria and microbes.

Just thought it a good idea to post a 3 to 4 day growth spread..... see yah Friday 'ish!! and...Peace.....

:420: ;)
 
Hello All 420'ers.... just adding a few thoughts that I have been pondering as I read up on these little gems. All the post seam to offer equivalent // comparable info on nuit's. All say to slamming them with the big 3 and micro elements as well as B's, root enhancers and all the "just got to apply it" the marketers offer. I know they are essential but I have seen no mention of CO2 introduced. I was born a motor head as well as many other things, and this is the 3rd CRITICAL need of the plant for all growth. So I understand what happens with more O2 in a motors fuel is the same as CO2 for the plants motor. Also you cant give it to much, it will only absorb what it needs to use. But by upping everything else my little mind says it must also go up. To fully utilize and digest all the extra goodness being pulled in through the roots.

I did a little experiment in my 2014 post and made a home made delivery system. I did the same today. It looks crude but the theory is and concept are there. While the plant is small and almost at ground level, covering it with a clear plastic storage container. That small volume is not shit to fill with CO2 and if it only last for 1 hour, cool. I can easily apply 3 doses a day while lights are on and not having air circulating around the plant. For that short a duration is minor if you have a good climate already. As the plant grows just increase the bowl size. I will show photos as day elapse with plants progress. Also the plant can benefit from the extra CO2 all the entire way to harvest. My main thoughts and concentration is on the first 4 weeks or entire vegetative cycle. While pony tailing for the 6 to 8 hours Atrain describers, if I cover her with a clear bowel. That just leaves enough room for her. Then introduce CO2 to saturate it, all possible leave ducts are pulling it in for the duration. Done twice daily she will still be fanned enough and you grow box. Since the 15th has stayed constant. No temp over 76* and humidity range is 40 to 56 present on average. She has a dry and cool environment to breathe in and no stress. This is the size I am talking about and the pic's courtesy of Atrain and from his gallery. IT is a great example!!

Atrain.JPG


Just something to try and I CANT POISON HER LIKE OVER MIXING THE NUITS OR A PH MISTAKE, SO WHAT THE HELL. The photo show and it is a work in progress. If you think I am crazy or it a was of time. Check out the last photo!!!!!!!!! It is an omen of things to come!!!!!!!!


Carbon dioxide (CO2) is used by plants when they photosynthesize _ they use
CO2 and water to create food for growth using the energy they absorb from
light. Fresh air has on average 350-500 PPM (parts per million) of CO2 but
marijuana plants can potentially utilize a much higher level than this.

Grow marijuana with C02

Some growers choose to supplement their air with additional CO2 as in the
right circumstances this can dramatically increase growth rates and
eventual yield. For growers operating a closed system this is vital: in a closed
system air is circulated within the grow area and not drawn from outside so
without supplementing CO2 it would become completely depleted from the air.
In other situations CO2 should probably only be considered after all other factors
have been optimized or it will be of little or no benefit, for example:

If your plants are already not getting enough light then they will have no
opportunity to use any additional CO2 in photosynthesis
If temperatures are too high then the stomata on the undersides of leaves will
close to minimize water loss through transpiration and thus prevent absorption of the CO2
As CO2 is heavier than air, If your air circulation within the grow area is not good
enough then the CO2 will simply settle at the bottom of the grow room and be
unable to absorbed through the leaves.

_ plants only use CO2 during photosynthesis which occurs in the light,
during the dark period they actually absorb oxygen and release CO2 themselves.

Your circulation fans SHOULD be running during this time though: as stated above
CO2 is denser than air and absorbed through the underside of the leaf. Adequate air
circulation is vital to ensuring the CO2 is accessible to the plants. It is easy to overlook
circulation below the leaf canopy, but when using CO2 it is even more important than usual
to ensure adequate air circulation at all levels in the grow area. A close eye should be kept on
your plant's water and nutrient requirements when starting to use CO2 as the greater potential
growth that CO2 gives may lead to an increase in your nutrient and water consumption.


0012728.JPG


0032542.JPG


0042375.JPG


0052253.JPG


0061983.JPG


0071859.JPG


CHECK OUT THE FINAIL COST OF ITEMS!!!!!! ...KARMA....
0022640.JPG


It will be easy to maintain while she is small and will only make the out come that much sweeter!!! ...Peace.....

:420: :peacetwo: ;)
 
Howdy All and Happy Weekend...
Just some photos of her after 5 days above ground, she looks happy!! She is getting introduced to nuits, B-1 with molasses and homemade cal-mag supplement. Along with crude but effective CO2 delivery system 2 to 3 times a day for 1.5 to 2 hours. She is pulling in water as well and her box is very dry which helps. She is progressing and will just keep pushing her forward. Cant wait to see what 5 more days does for her.....enjoy your weekend and ...Peace.....

0042379.JPG


0032545.JPG


0022644.JPG


0012732.JPG


:420: :Namaste: ;)
 
Howdy All........

Just a quick update to share as she got her first full drink Sunday. I have been giving her 4oz.'s R/O water divided to 2 doses every other day. I have a gallon of R/O'ed water with B's, molasses and other goodies bubbling. The amounts of each are my estimates. The other gallon has a homemade cal/mag mix and Fox's Grow Big and Big Bloom. This gallon I have at 1/4 strength and I take a small sample of each and further dilute with R/O'ed water: .5oz. of each solution to 3oz. water = 40z. total PH'ed to 6.4~6.2 //

With the CO2 bombs and low 50% RH she is dry and the lights, though just warm. Are right on top of her and that and the fan evaporate water quickly. So she received 400ml's of liquid: 100ml of that equal parts of both solutions to 300 ml's of R/O'ed water. I divided into 2doses over 4 hours.

She looks very happy and just started to double production in the last two day since. So I am guesting she likes it and will continue and build up amounts from here on out. I looked around at others pic's of growth at this many days in and she is fuller then others. First time grow so I will use this as a standard for next time I do one. Any comments please feel free to post. ..................... these pic's are from Monday night and you can compare them to Saturdays to see.....

002ab.jpg


002a4.jpg


I am just combining my knowledge with others Auto grow posts here and abroad as well as researched nuit info. As far as what it does and whys, check it out;

Articles for Calcium / Mag

-
Why Are My Plant's Leaves
Turning Yellow?


With all of the emphasis on N-P-K in agriculture, calcium and magnesium are sometimes overlooked.
Calcium and magnesium are essential macro-elements, used in relatively large quantities. In fact,
plants take up more calcium than phosphorus! Calcium is sometimes combined with magnesium,
since calcium can act as a buffer for magnesium uptake, helping to prevent toxic levels of magnesium
from being taken up by the plant. A good balance of calcium to magnesium is about 5:1, or 5 parts
calcium to 1 part magnesium.

Calcium is an immobile element. In other words, once it is locked up in the plant tissue, it can't be
trans-located to other parts of the plant. So a calcium deficiency normally shows up in the new growth
at the growing tips of the plant, causing deformed leaves and reduced root growth. Calcium is taken up
passively by the plant dissolved in water, so a source of water soluble calcium must be continuously
available throughout the entire life of the plant. Anything that interrupts the flow of water in the plant
could cause a calcium deficiency. For example, if relative humidity is too high, the plant won't transpire
as much water so calcium may not make it to all of the cells of the plant. As a result, calcium deficiency
may show up as tip burn in lettuce or blossom end rot in tomatoes.

Calcium nitrate is one of the few sources of water soluble calcium fertilizer. It is 98% water soluble
and immediately available to the plant. Most hydroponic nutrient formulas have at least two parts:
Part A and Part B. The Part A has all of the calcium nitrate, and the Part B contains the phosphates and
sulfates. For example, if concentrated calcium nitrate is added to concentrated magnesium sulfate, the
calcium could react with the sulfate to create insoluble calcium sulfate. The result would be gypsum,
which is 98% water insoluble. The calcium would be locked up and unavailable to the plant, as well as
the sulfur. So when using both calcium nitrate and magnesium sulfate, make sure that they are combined
in complete diluted form!

Magnesium is a mobile element. In other words, if there is a magnesium deficiency the plants will take
magnesium out of the lower leaves and transport it to the new growth where it is needed the most. So
magnesium deficiency shows up first as interveinal chlorosis on the oldest bottom leaves. Magnesium is
the central element in chlorophyll, and it is actually the magnesium that makes plants green. So if there is
a magnesium deficiency, the veins stay green but the tissue between the veins turn yellow.

Magnesium sulfate is water soluble, and it is the main source of magnesium used in most hydroponic
fertilizers. It can be used at the roots or as a foliar spray, and plants will respond quickly if magnesium sulfate
is used to correct a nutrient deficiency. Magnesium sulfate is commonly available as Epsom salts, but some of
the common brands contain fragrances and other impurities. Whenever possible, use the pure, technical grade
magnesium sulfate in hydroponic applications.

A little extra magnesium can also be helpful during fruiting and flowering. Bloom and boost formulas are usually
higher in phosphorus to provide extra energy in the form of ATP, but magnesium orients the ATP molecules so
that the phosphate bonds can be cleaved. Magnesium also activates many enzymes that can perform thousands
of chemical reactions per second! Therefore, magnesium sulfate can intensify the effect of high-energy phosphates
in hydroponic vegetable production.

As always, moderation is always recommended when using additives. Start with very low dosages, see how the
plants respond, and add more if necessary. Since magnesium is easily taken up and transported, it could quickly
become toxic to the plant if too much is added. Excessive magnesium might also compete with other cautions such
s calcium and potassium and create a nutrient deficiency. Conversely, too much potassium could show up in the plant
as a magnesium deficiency. When mixed together in just the right proportions, however, potassium, calcium and
magnesium can help the plant reach its true genetic potential!

B-vitamins

There are several vitamins that act as plant bio-stimulants, but the most popular ones are B1, B2, B3 and B6 because of their positive effect on the metabolism of the plant. Many microorganisms produce B-vitamins as natural byproducts, but yeast extracts contain the highest concentrations. B-vitamins work at the cellular level, and they are commonly found as additives in cloning gels and cloning solutions, Rockwool conditioning solution, and most commercial plant bio-stimulant products.

Chemical reactions in plant cells are dependent on enzymes, large organic molecules that act as catalysts. Enzymes allow chemical reactions to take place many times faster and more efficiently than under normal conditions. Since the enzymes are not consumed in the chemical reaction itself, the same enzymes can be used over and over in the cell, sometimes performing thousands of chemical reactions per second!

Many enzymes, however, are inactive until turned on by a co-enzyme. B-vitamin derivatives form many of these important co-enzymes. For example, niacin is a component of the co-enzyme NAD, an extremely important cofactor in energy metabolism. Another important cofactor is FAD, derived from the B-vitamin riboflavin. Much of the energy from photosynthesis is ultimately transferred to NAD and FAD to activate and energize countless chemical reactions. Plants cannot take up large enzymes through the roots, but small co-enzymes such as B-vitamins are easily absorbed, and it only takes microscopic amounts to activate thousands of enzymes.

Under normal conditions, plants produce all of the vitamins that they need, but under stress conditions, plant cells at the growing tips tend to shut down to conserve energy. Therefore, under drought stress, heat stress and salt stress, growth rates are greatly impaired. Adding a few drops of B-vitamins directly to the nutrient solution helps the plant recover from stress much faster, stimulating the plant to keep growing instead of going semi-dormant.

One of the best applications for B-vitamins is to help plants recover from transplant shock. When a plant is transplanted, the microscopic root hairs are often damaged, making it difficult for the plant to take up enough water and minerals. Adding B-vitamins to the irrigation water gives the plants a needed boost, often reducing transplant shock from weeks to a matter of days. B-vitamins are also beneficial when transplanting from soil to hydroponics. Simply soak the plant roots in a bucket of luke-warm water with a few drops of B-vitamins added. Gently remove as much of the soil as possible, then transplant to a hydroponic system. Once the plant recovers, it will usually thrive.

Humic // Fulvic Acids

Humic.JPG


fulvic.JPG


Molasses

Cane2.JPG


Yucca

Yucca11.JPG


Yucca2.JPG


Kelp

Kelp1.JPG


Silicate

Silicate1.JPG


Silicate2.JPG


see you in a few days!!!!!! and ...Peace.....


:420: ;) :thumb:
 
Looks good, make sure you don't over water... And try not to let the leaves touch the soil.. Tamp down around the base of the plant a little. Good luck, autos are fun...
 
Hello All, and a first for me today. She got her first pony-tail session today, for about 6 hours. I mentioned leaving the 24/on till day 14, but thinking tomorrow or next day. Going to 22/2 to give her a slight break. I am in a sense trying to shave 5 days off all the other schedules I have seen applied. As she is only 10 days old but handling things others are doing at 14 to 16 day mark. Plus I feel raising the overhead bulb up will help to get a little stretch out of her. She is very compact but very health and firm. Beasty stem development and not fragile at all. Will also start regimenting stronger nuit solutions in 2 to 3 daily doses over the course of the day instead of one big gulp every two days. A bit more control and it allows you to she how she responds.

0032554.JPG


0022655.JPG


0012743.JPG


See yah all on Sunday and...Peace.....

:420: ;) :thumb:
 
Looks good, make sure you don't over water... And try not to let the leaves touch the soil.. Tamp down around the base of the plant a little. Good luck, autos are fun...


Thanks for the tip and very happy with what she is allowing me to do. And they really are a blast!! Thanks for your time and...Peace.....

:420: :thanks:
 
Back
Top Bottom