- Thread starter
- #241
Once my plants are in their #10's, I only top water. Brother Duggan said he has always done the same and has great results. I also use fabric, root pouch brand, love em! My #1's are plastic. Looking forward to seeing your progress on the grow stalls.

I have a mixture of 7-gal and 10-gal SmartPots and GeoPots.
Would you suggest I fill the 10-gal to the rims or use 7-gal of soil in the 10-gal pots?

")
 Have a great weekend -


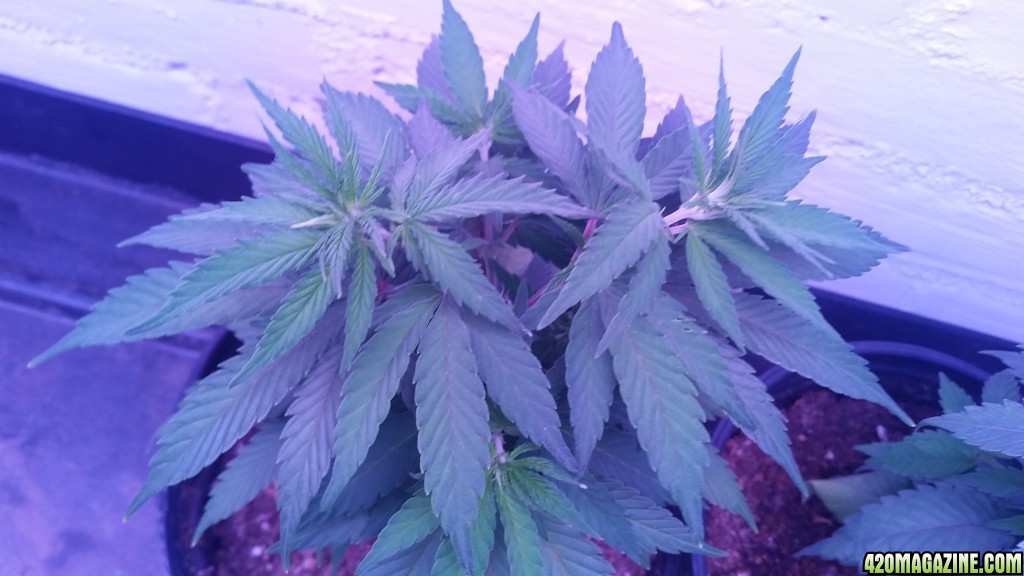
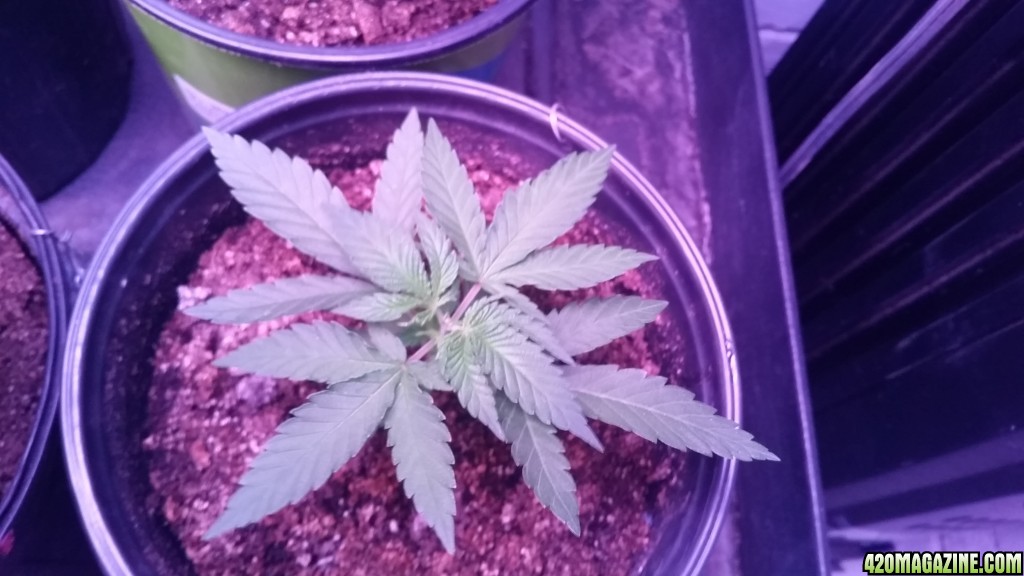
 with how these 'kit' girls are growing