- Thread starter
- #21
TripleBeam
Well-Known Member
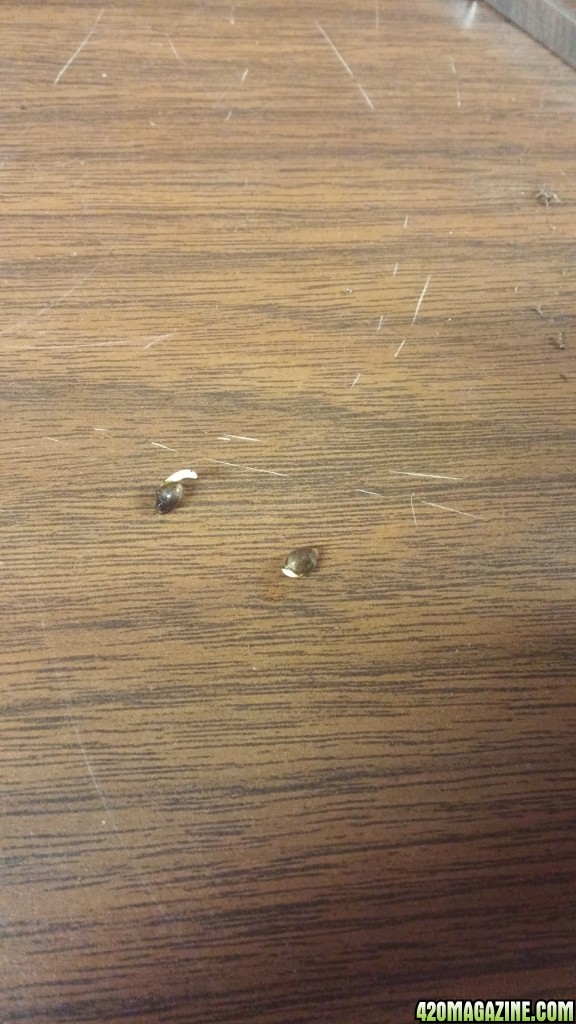
Hello all again. This evening there is still no action to report on the five seeds in cups. I went ahead and put eleven more seeds in a wet paper towel and slipped inside a ziploc baggie. Five are from the newly acquired seeds which are the same as what's in the solosoils. The other six are from another source which so far have a poor track record from my grow from six weeks ago. I usually do well in germinating in soil. I guess that's part of the challenge when your dealing with unknown seeds. Nothing ventured, nothing gained. Time to catch up on my subbed grows. Triplebeam out.
 my grow will be more interesting soon when I see some plants above ground. They are on their way. I keep peeking. I know it's a risk but curiousity gets the best of me sometimes. I have always been a sponge on topics I have been interested in.
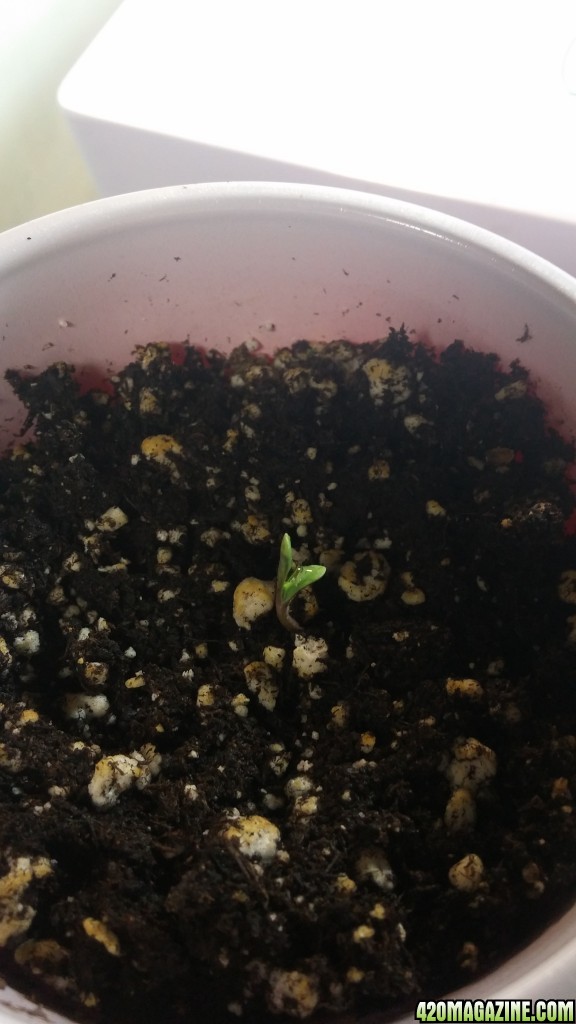

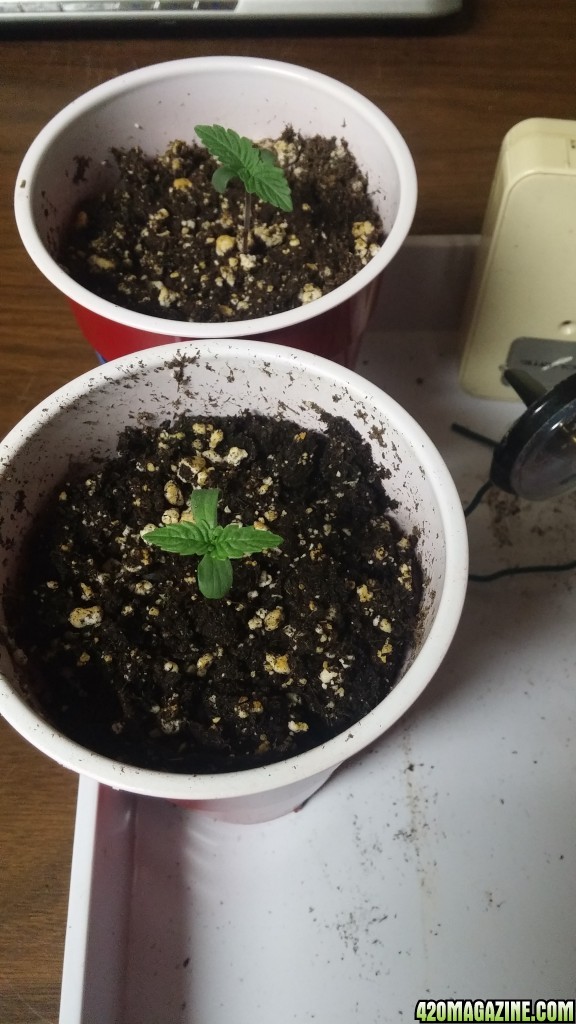
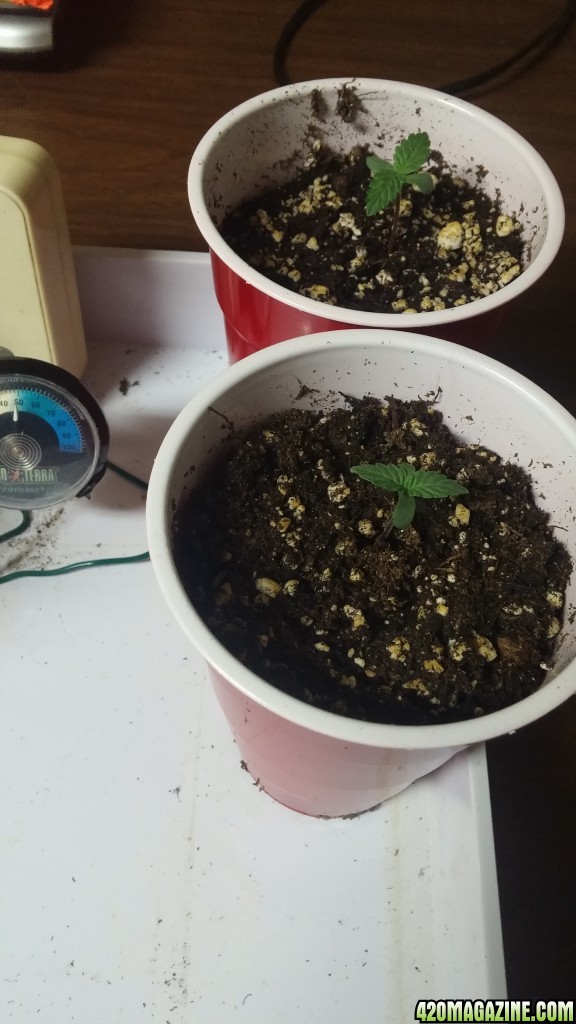
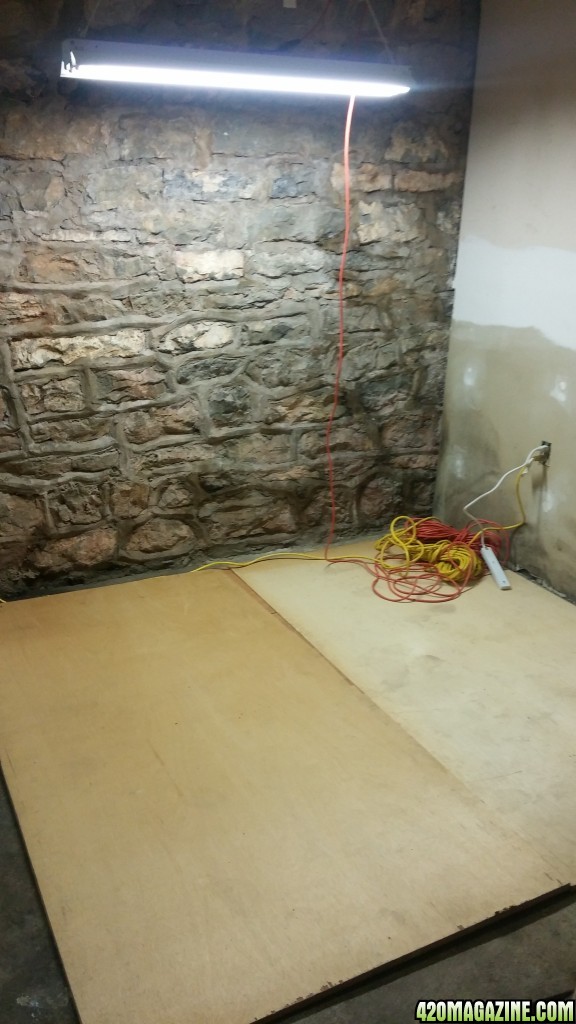
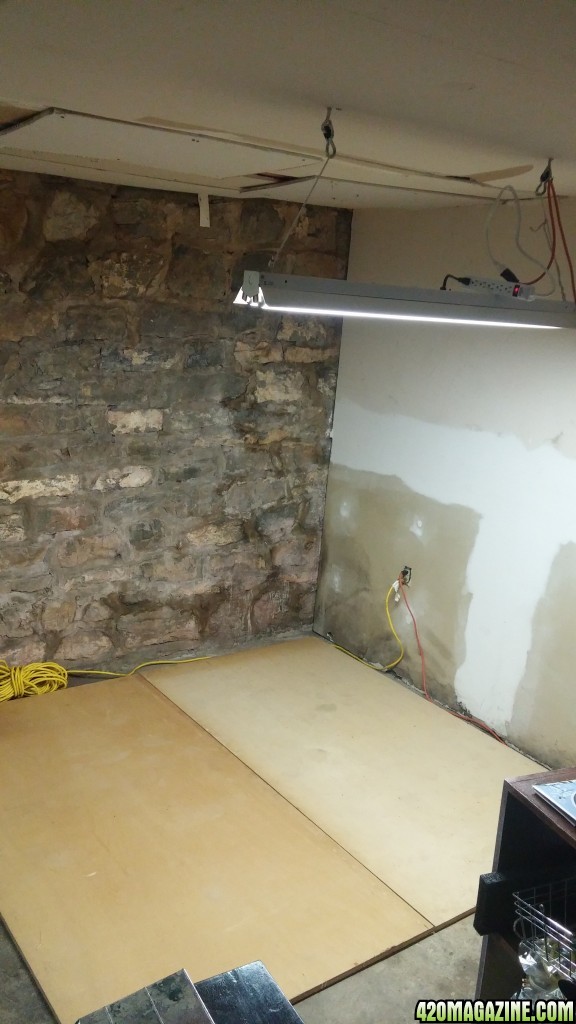
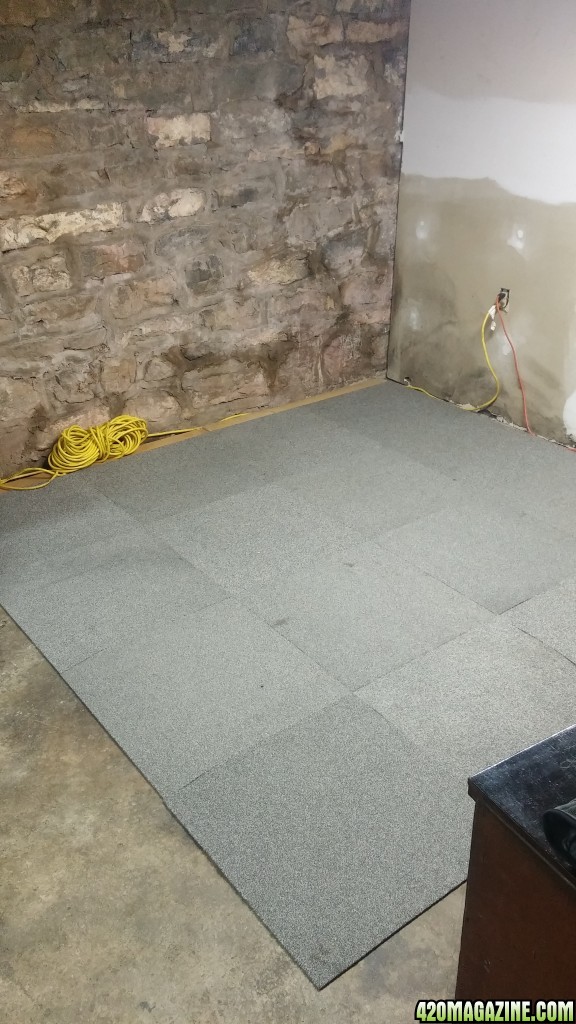
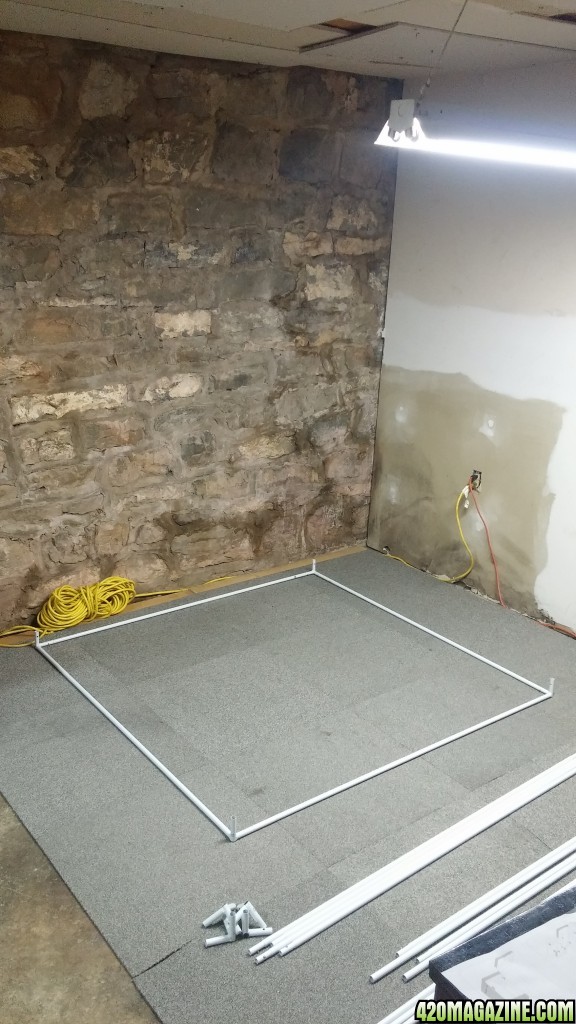
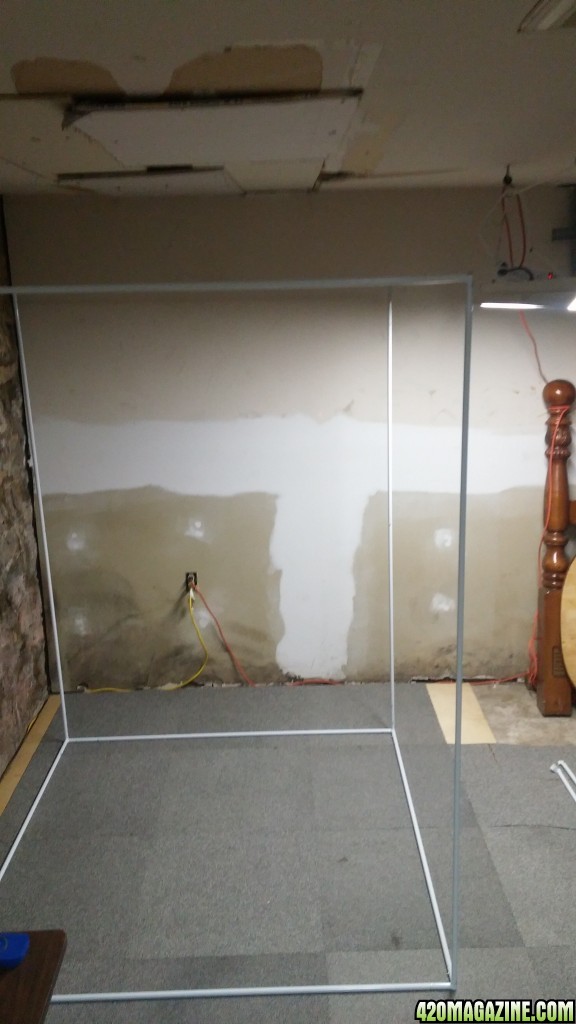
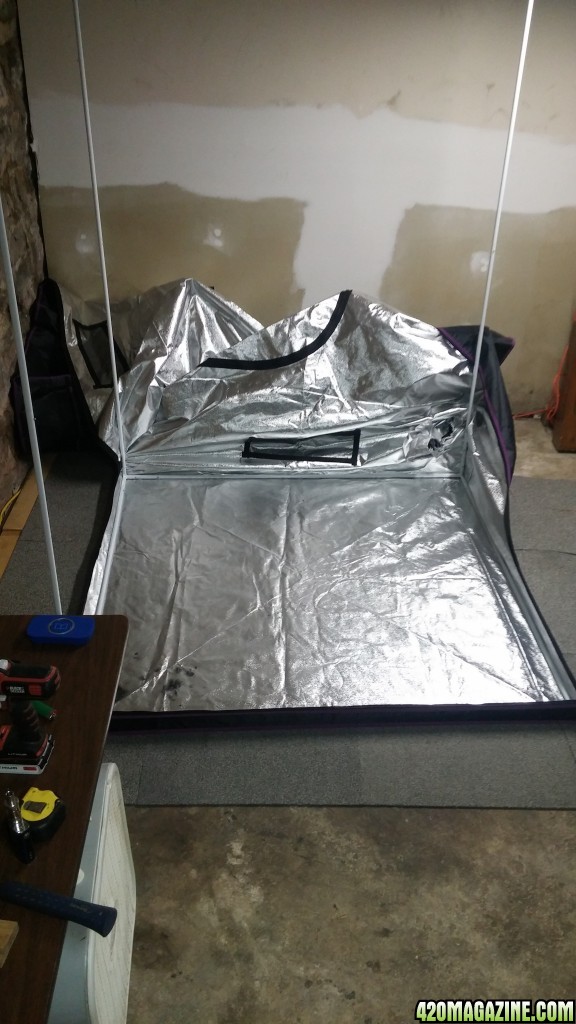
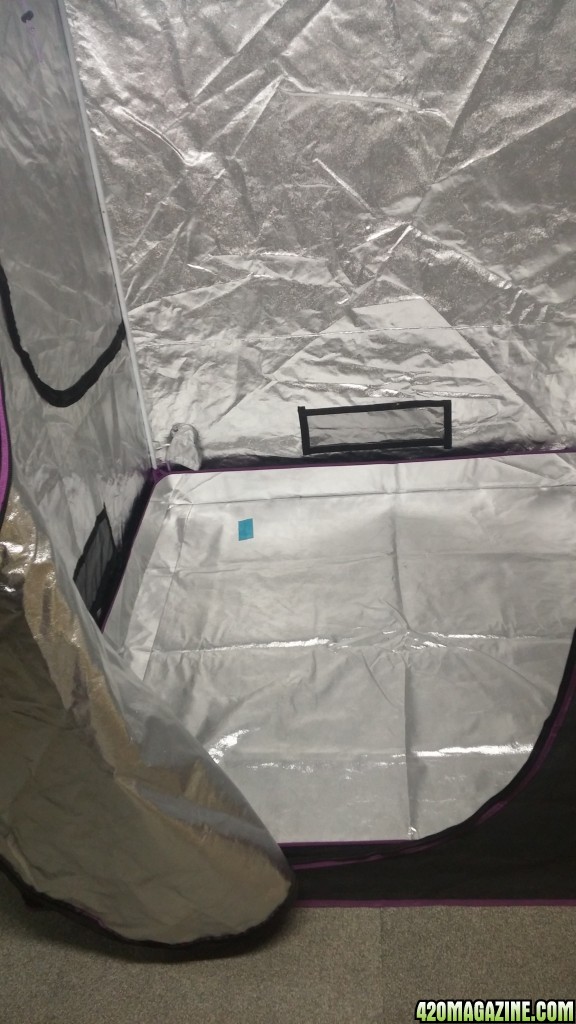
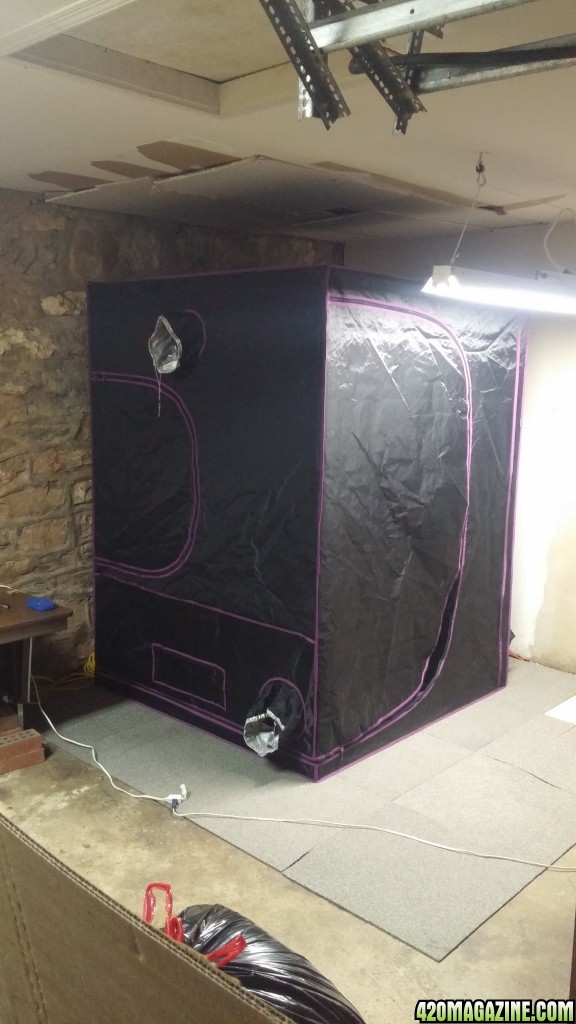
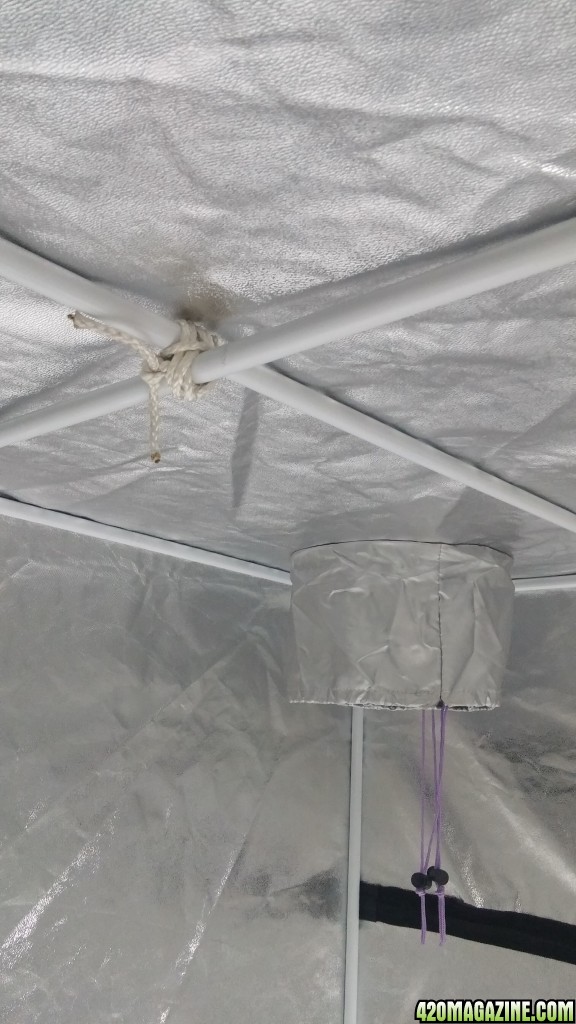
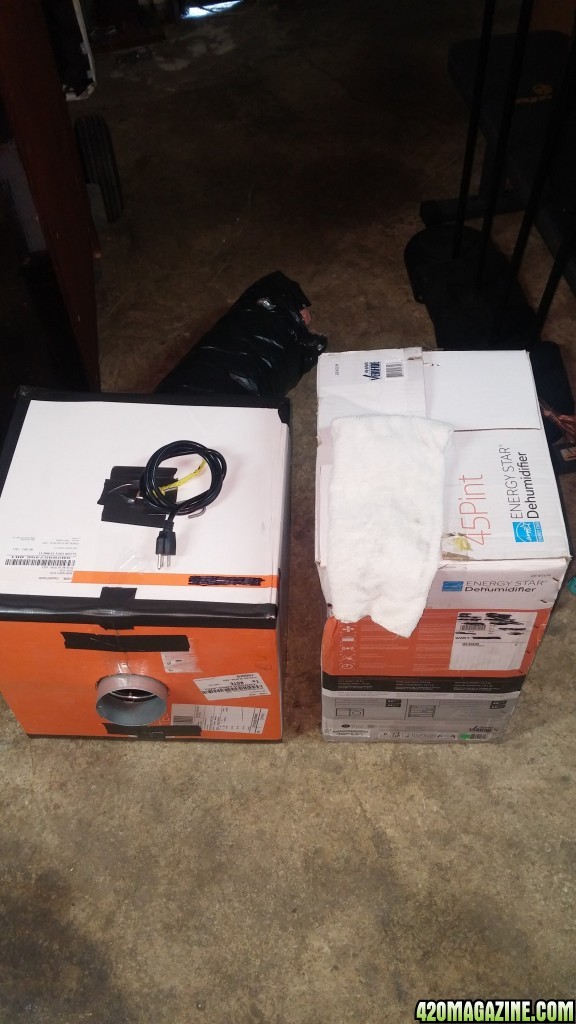
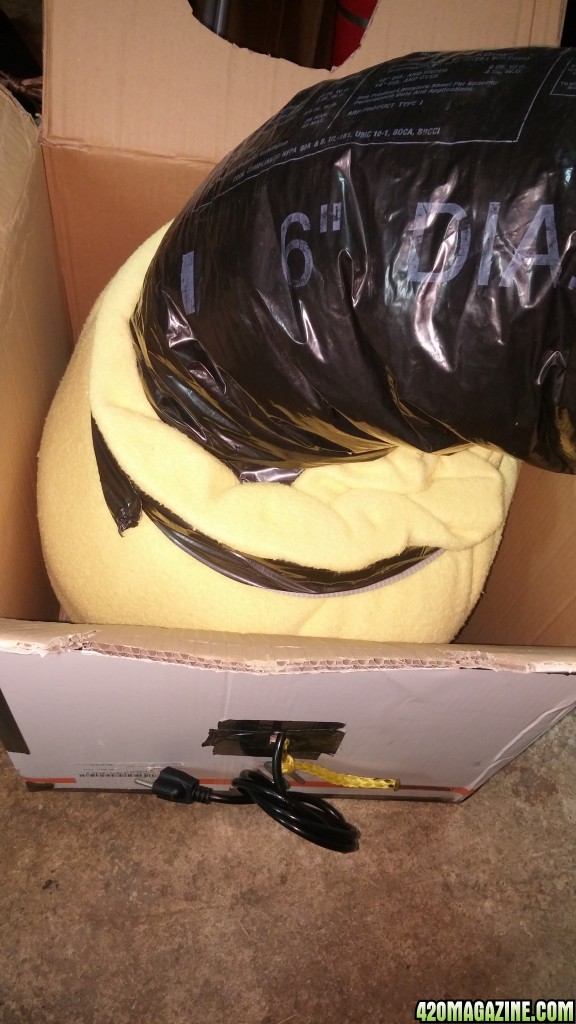
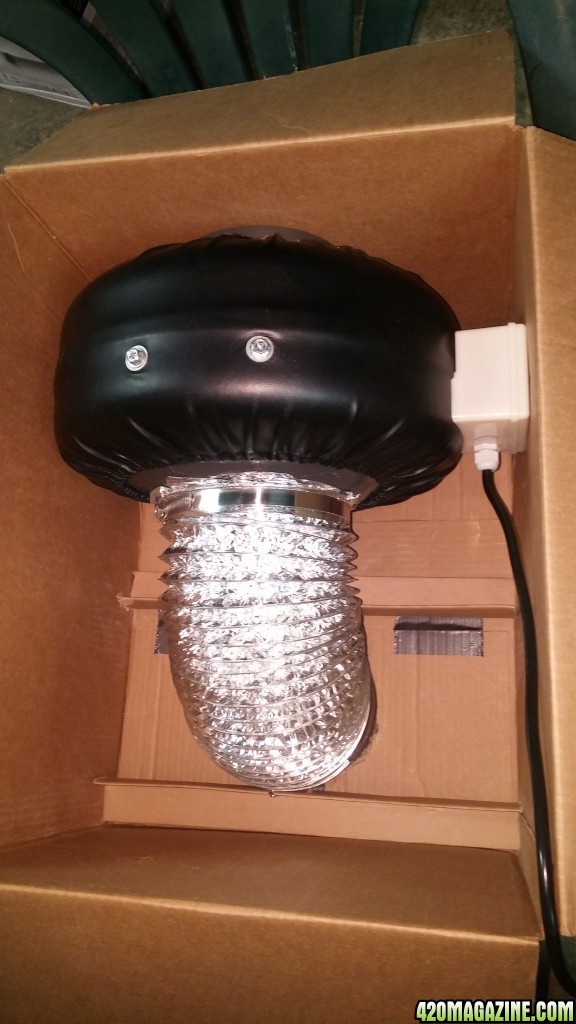
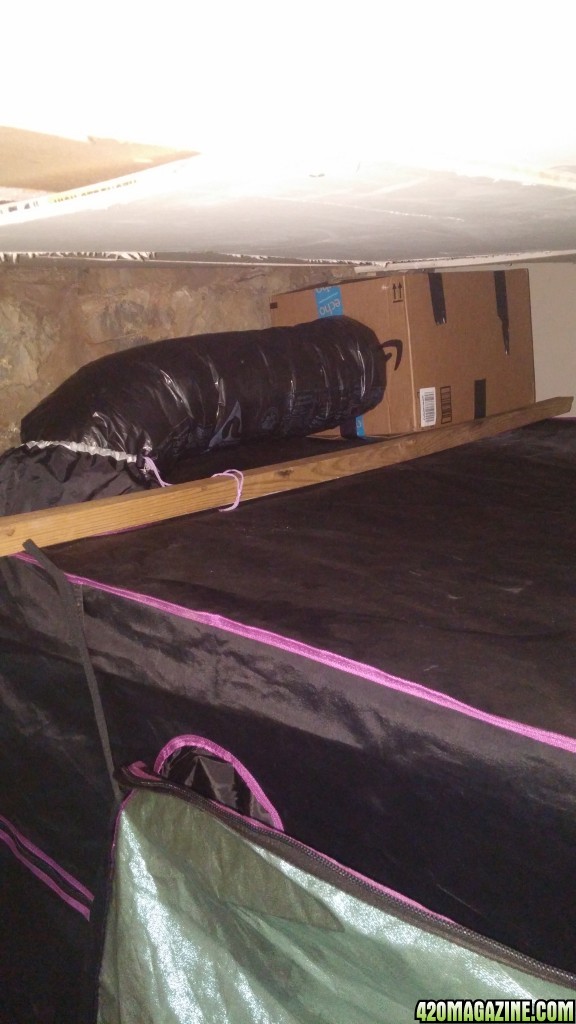
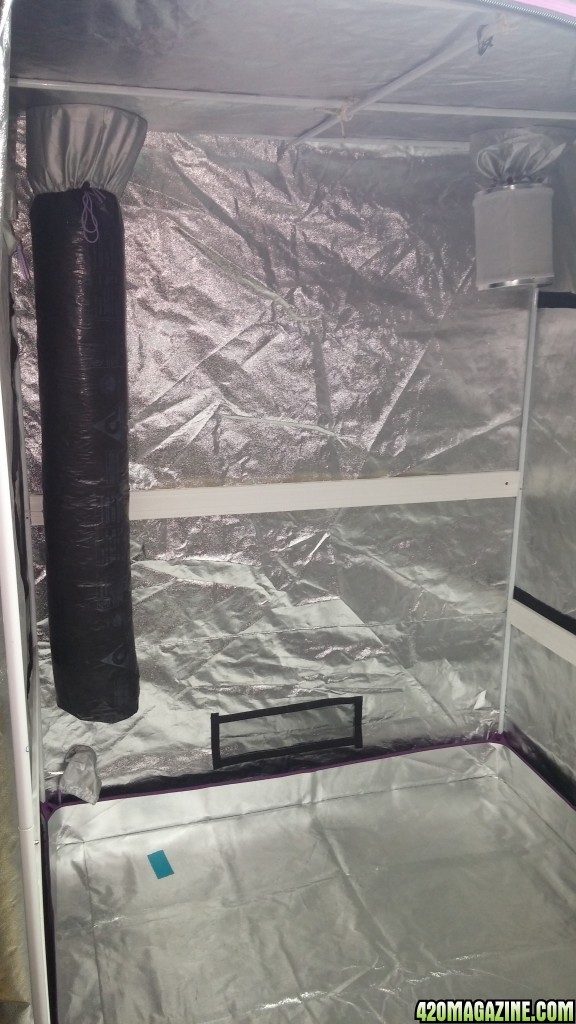
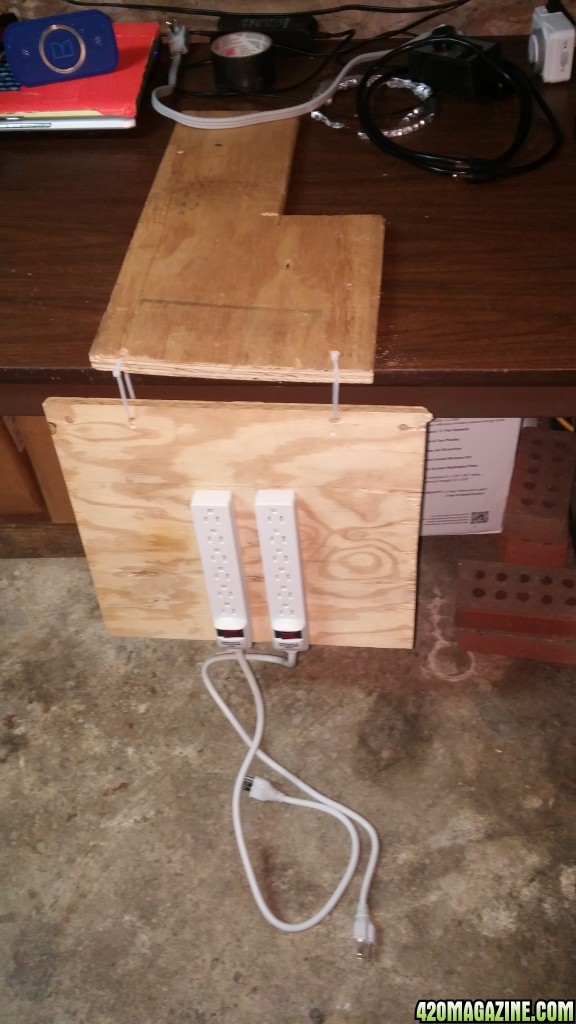
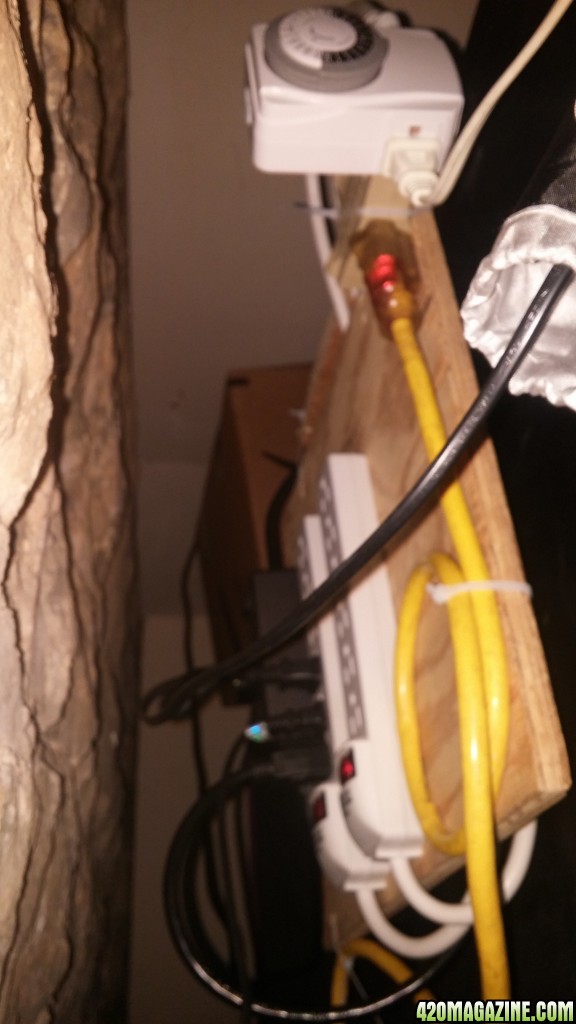
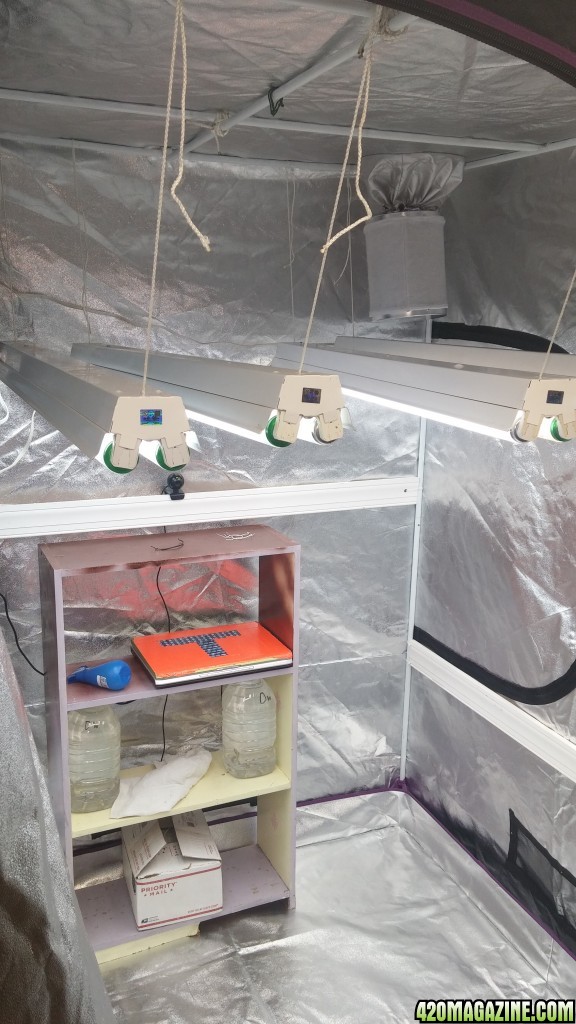
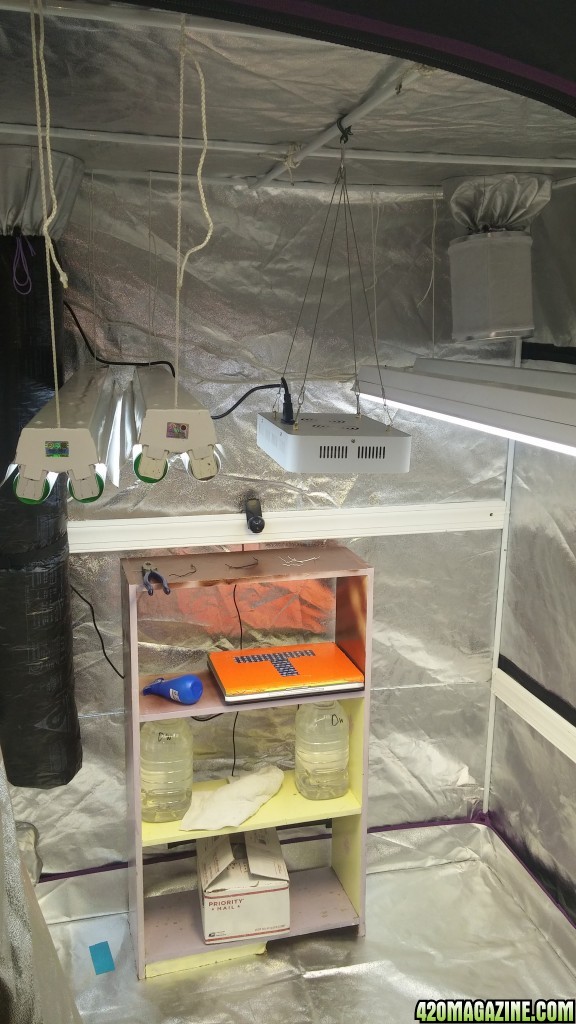
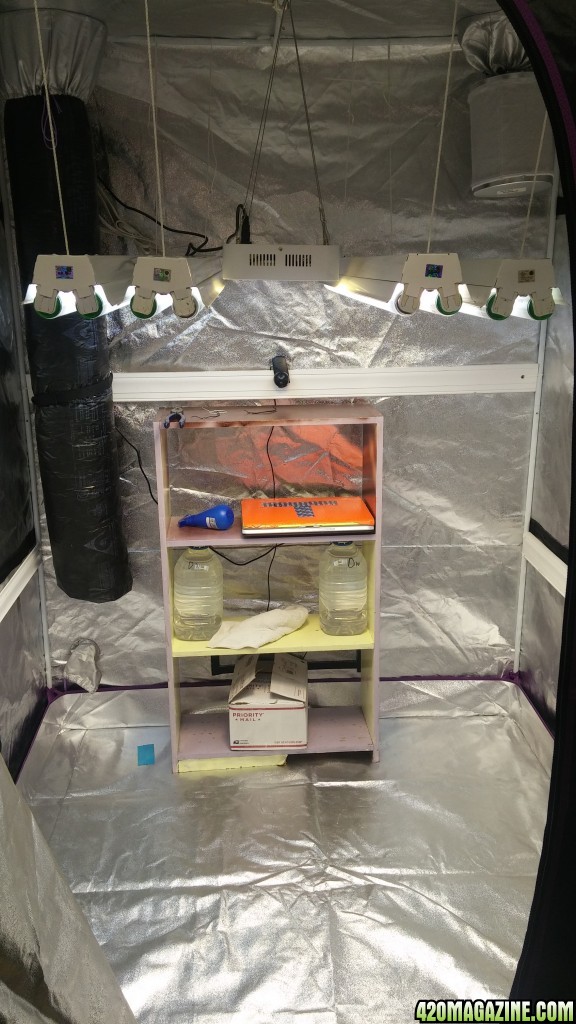
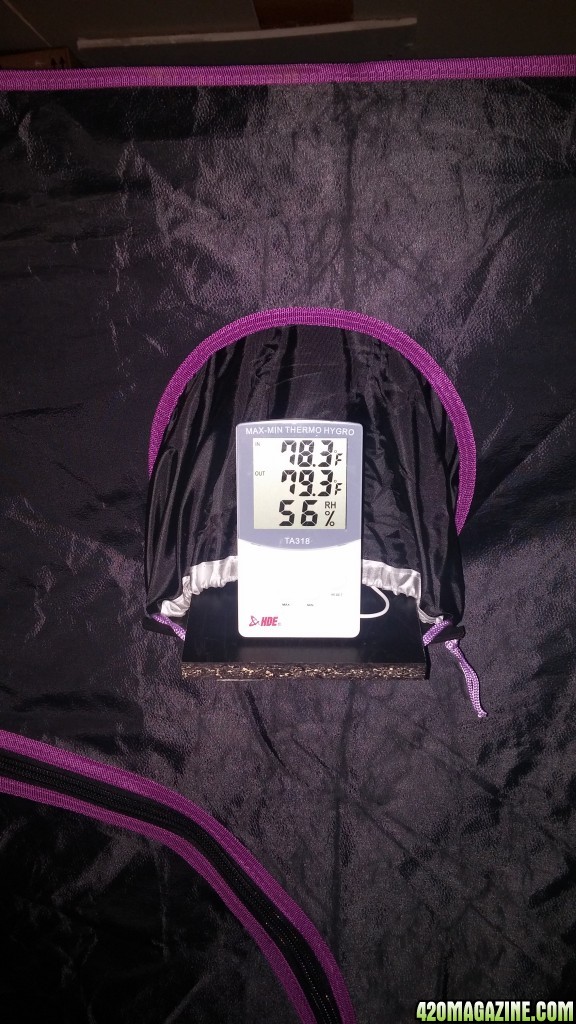
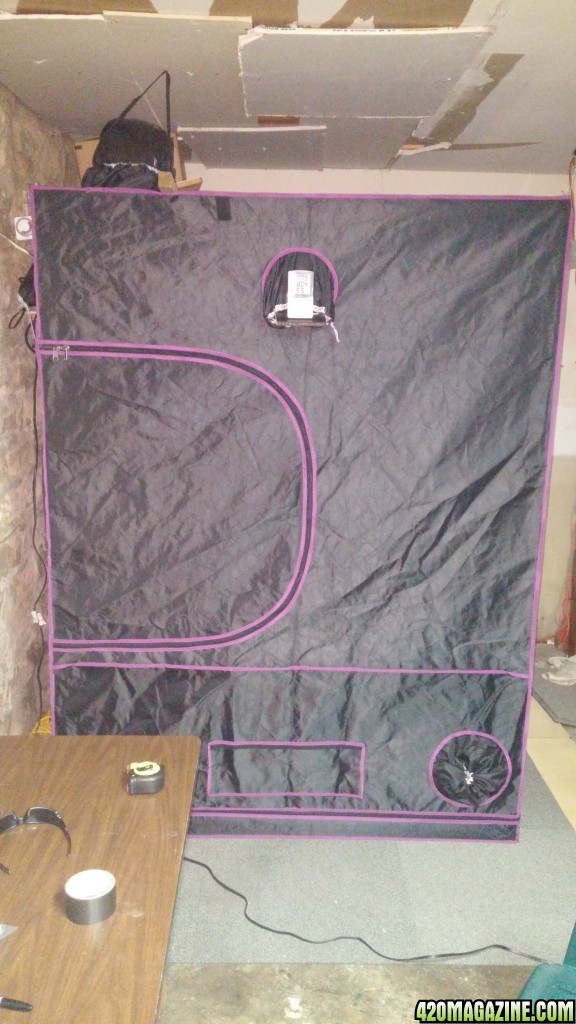
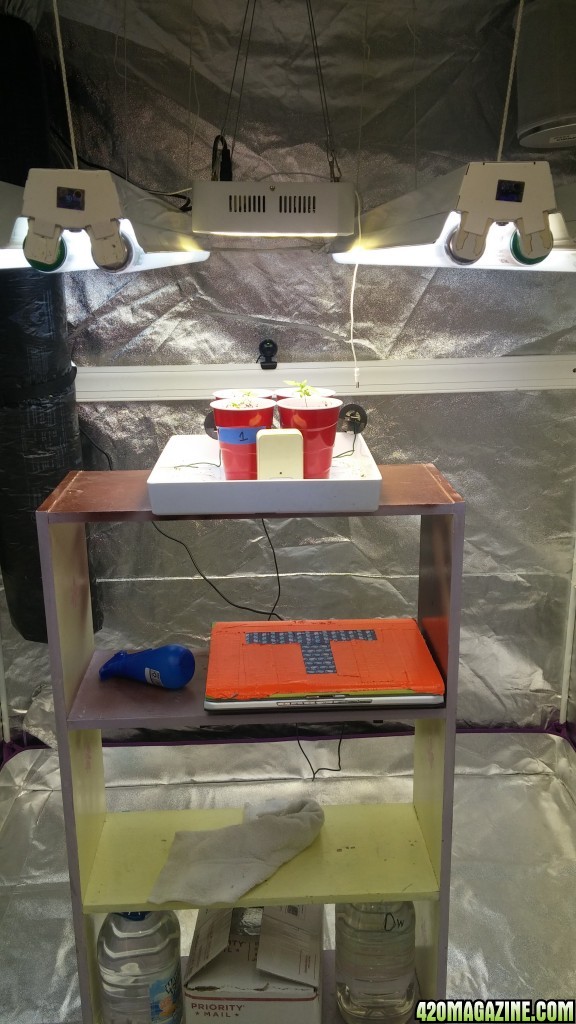
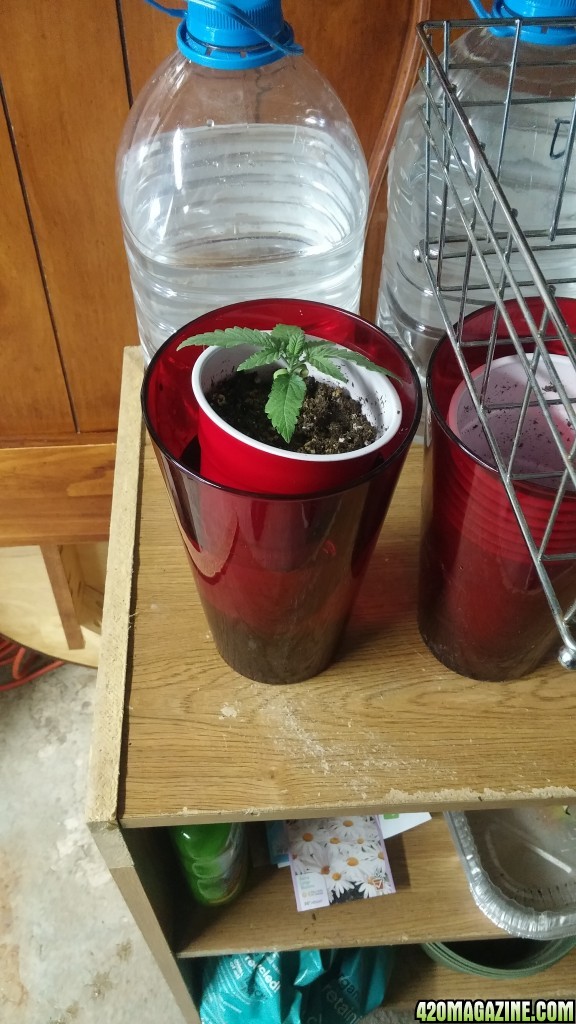
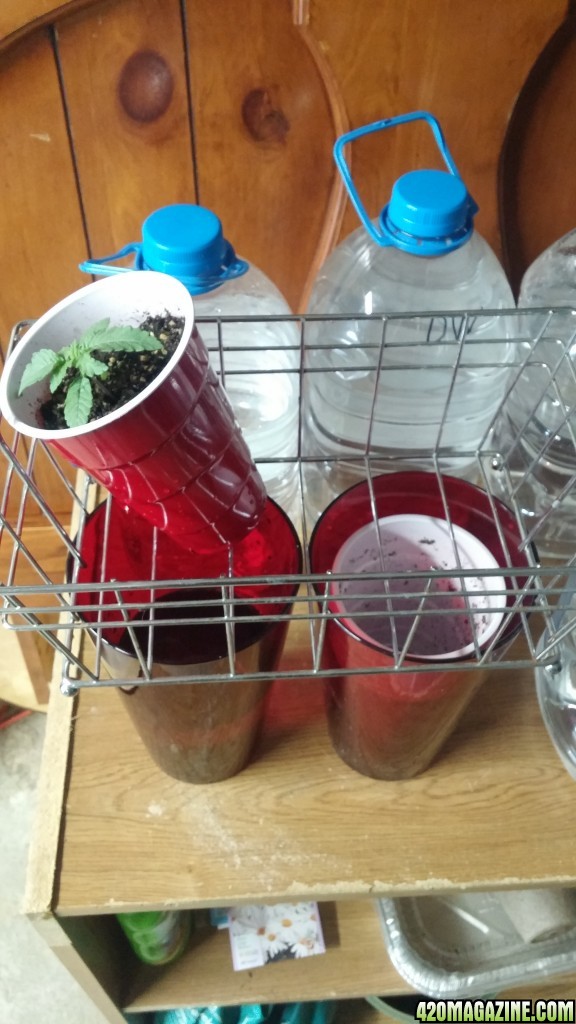
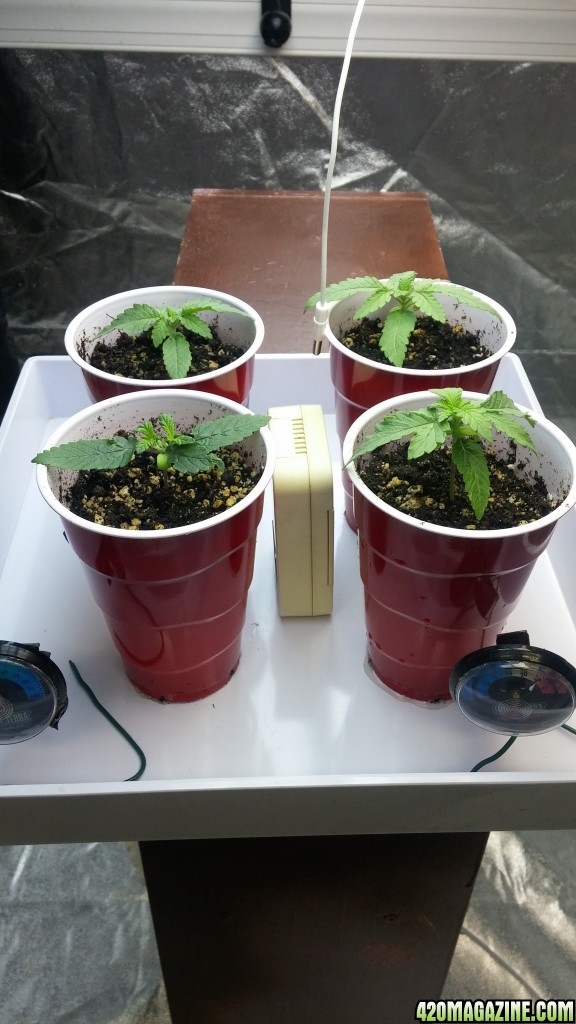
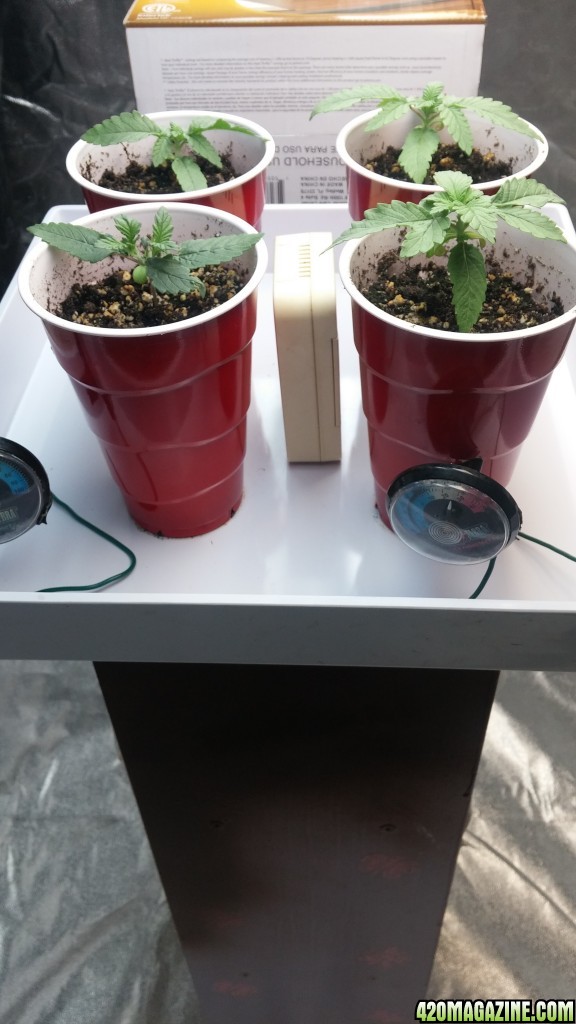
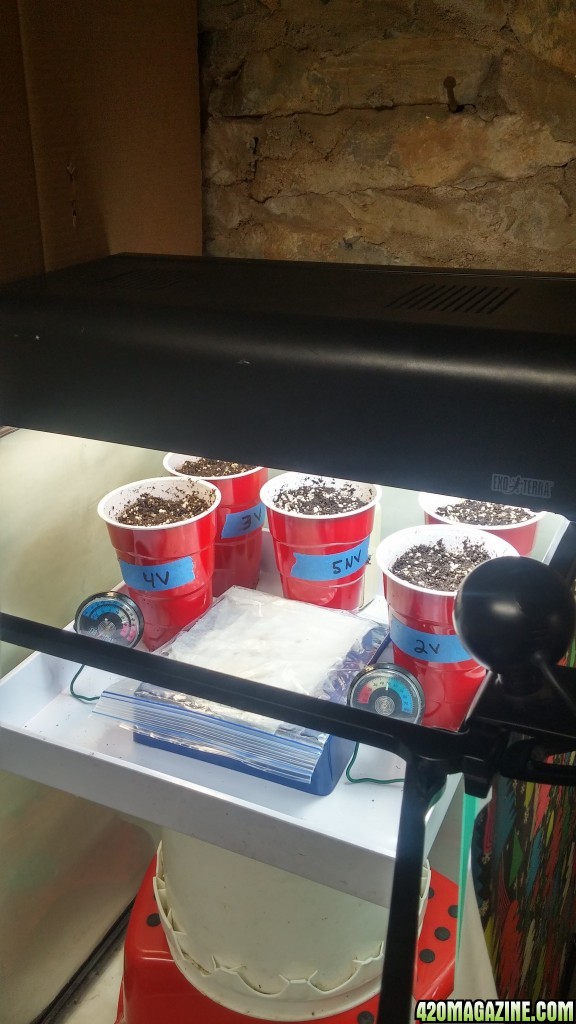
 It's picture time,