- Thread starter
- #21
Blackberry OG.....oh my.
Yeah, I love me some blackberry!!! such a heavy hitter and I love the Hashy taste to it!!
How To Use Progressive Web App aka PWA On 420 Magazine Forum
Note: This feature may not be available in some browsers.
Blackberry OG.....oh my.
")


Yeah, I love me some blackberry!!! such a heavy hitter and I love the Hashy taste to it!!
Is it a good strain for a beginner? What kind of high is it? Trying to make a list of some good strains so I can make mothers of them. Is it easy to clone? With all these questions, you know I am in.
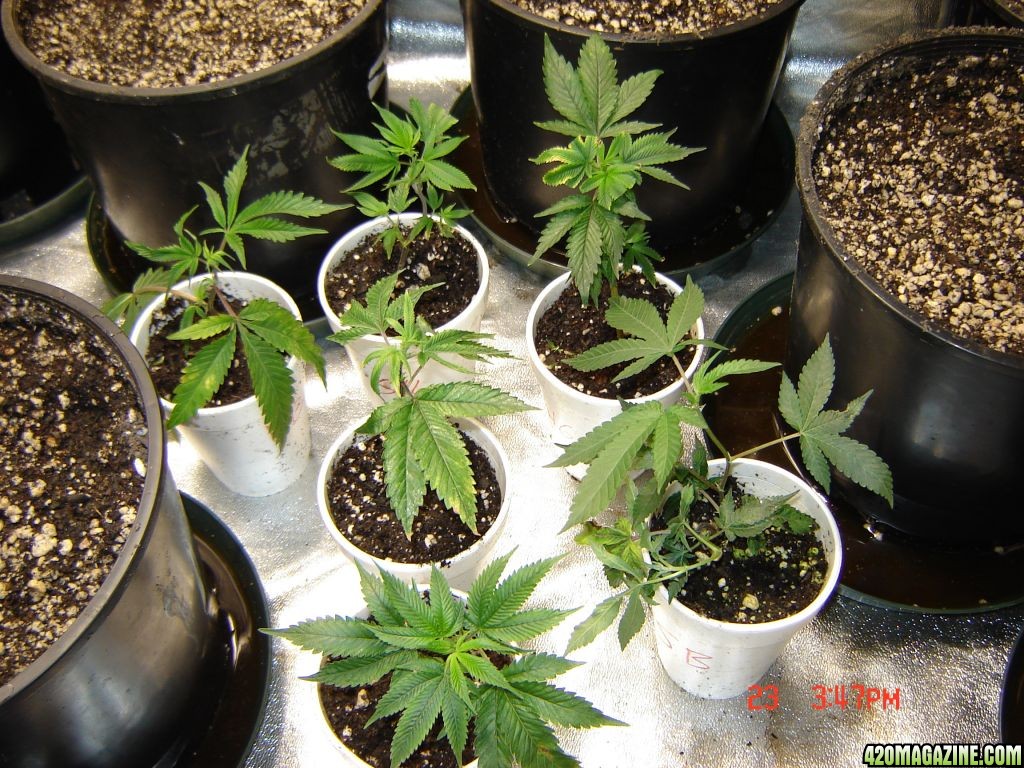
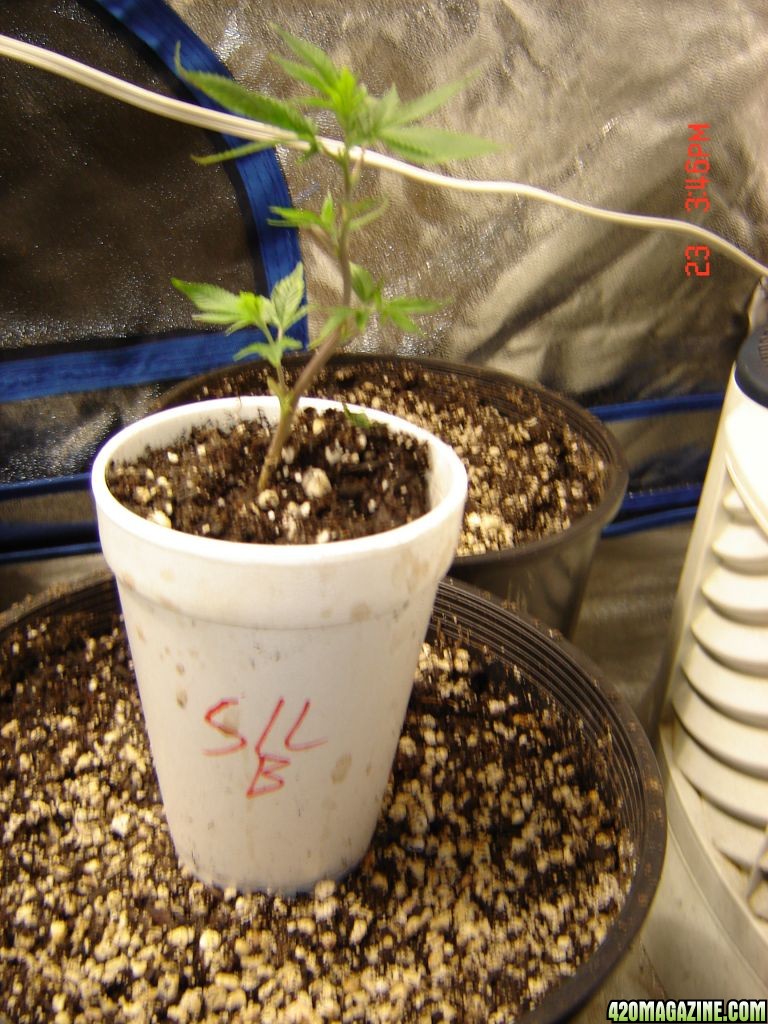
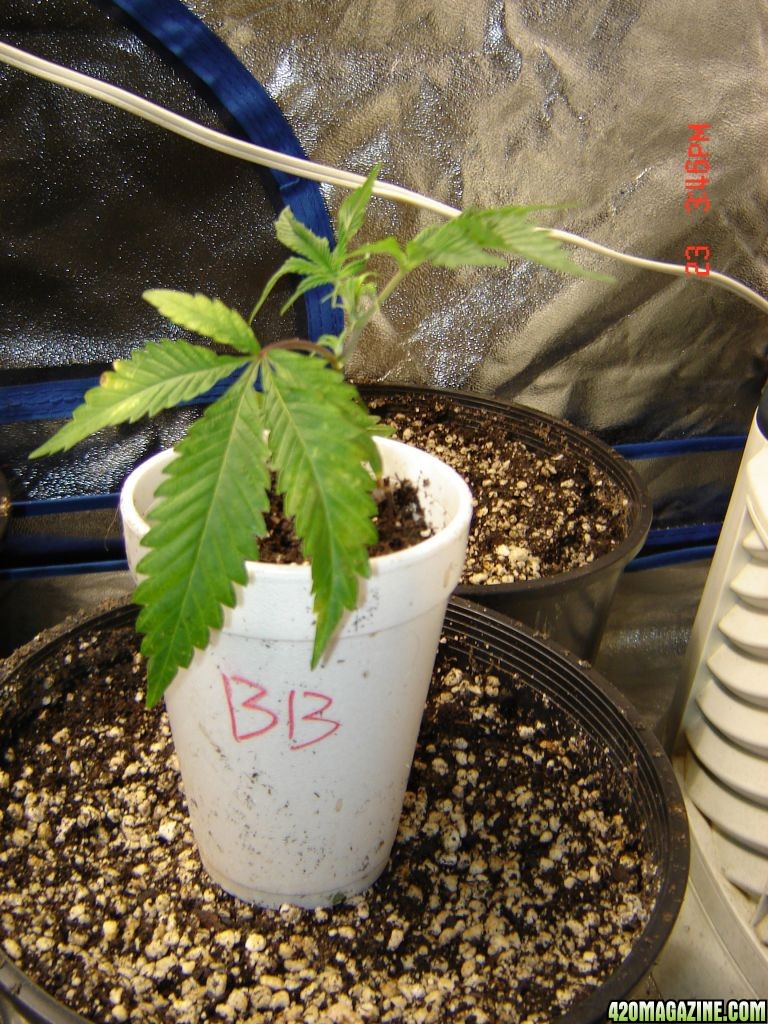
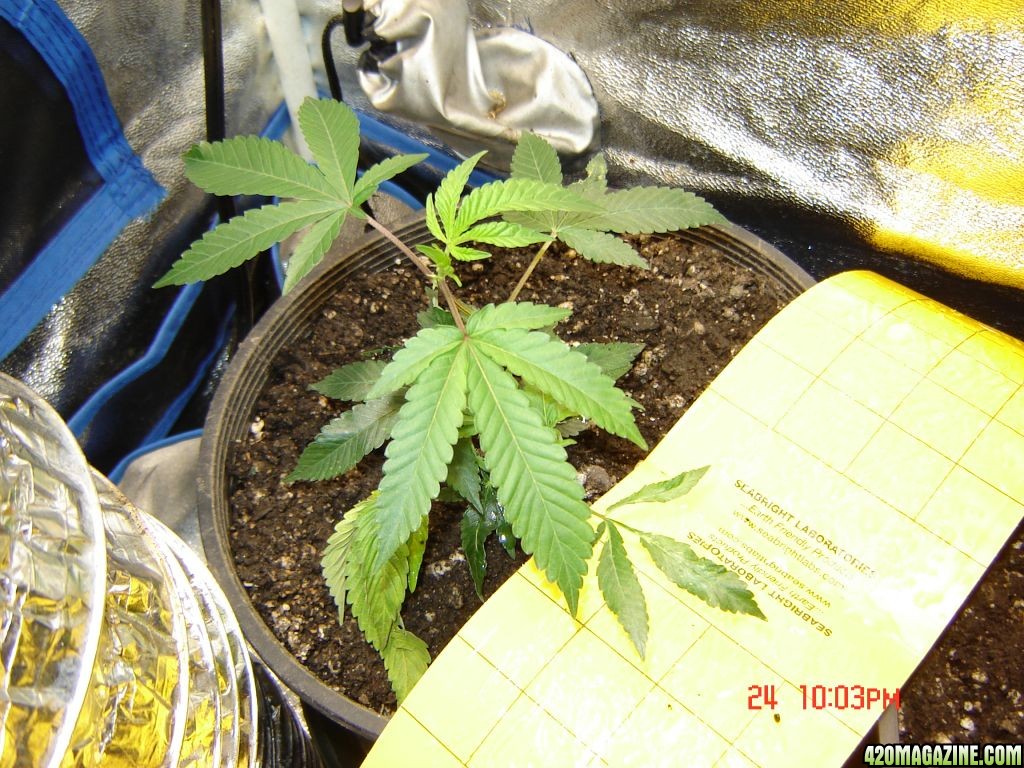
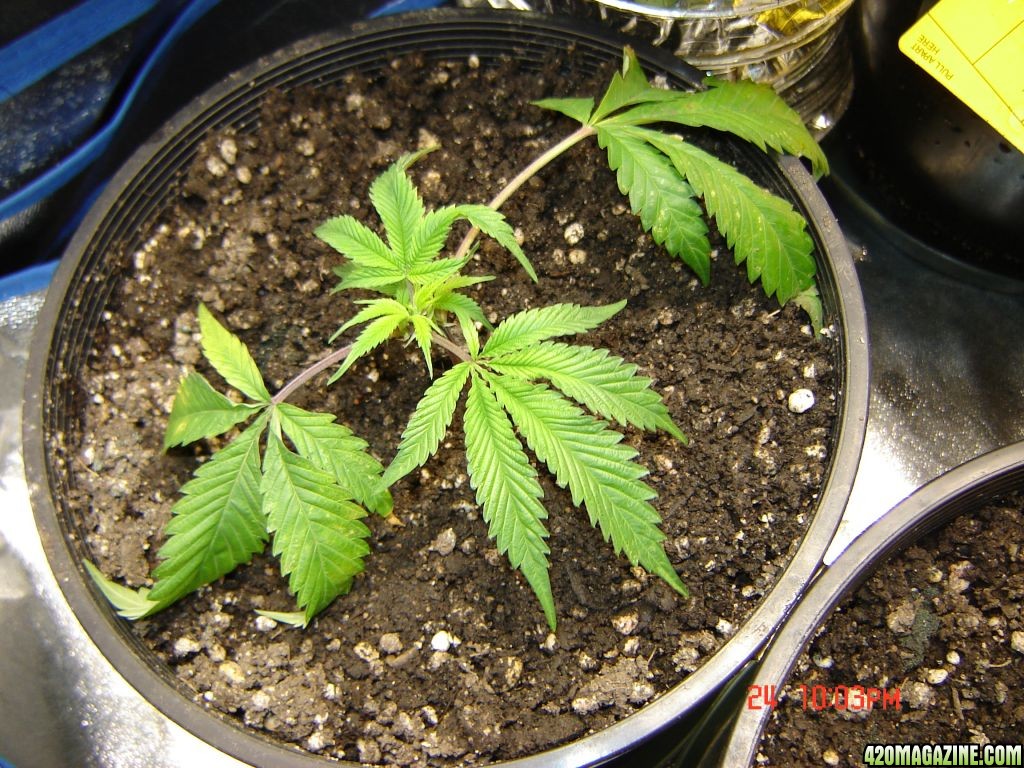
) ) or add to "our" knowledge base.... What this method is is: .... After much debate on getting my soil tested, I decided that this round, since my soil is already potted, and had been given some water, to help activate the micropopulation, I will just make due with what I have, and next go around, start with a soil test... however I still am going to try to sick to the high brix method of growing as closely as I can...


A large portion of the earth receives 18 hours of daylight during the time cannabis would be growing so the 18/6 photo period is actually quite natural. Where I live we get a few minutes less than 16 hours of daylight in June. Since I believe conditions that cause stress during the vegetative phase can set a plant into becoming a hermaphrodite later during the flowering period I would not use the irregular photo period of the gas lamp routine because it may be a recipe for hermies.....
 .....with the new schedule Icemud,
 ....
....
A large portion of the earth receives 18 hours of daylight during the time cannabis would be growing so the 18/6 photo period is actually quite natural. Where I live we get a few minutes less than 16 hours of daylight in June. Since I believe conditions that cause stress during the vegetative phase can set a plant into becoming a hermaphrodite later during the flowering period I would not use the irregular photo period of the gas lamp routine because it may be a recipe for hermies.....
I hope it works out well for you!.....

I have to disagree. Most landrace strains (what all the hybrid strains originate from) grow in equatorial regions where the natural day length is around 12 hours. The closer you are to the poles, the longer the day length (also not regions where medical grade pot usually is grown).
I've used GLR since the mid 80's with no problems. Hermies are the result of nonstabilized genetics and strong sativa dominant strains. There is too much myth about "light stress" inducing hermies. People need to realize the real importance is in environmental control (temp and humidity and air flow).