Graytail's 3rd: 4x4, HiBrix, Latest LED Tech, Lots Of Light!

LOL! I apologize, folks. I jus' haven't been feelin' it, y'know? Meh ... the grow's about over, no show here, yadda yadda.

But it was rude of me not to even reply, especially to Pinky - :welcome:

I'll get some pics together and a decent update, maybe tomorrow. Grin1 gets the chop tomorrow and she's looking pretty darned good. :cheesygrinsmiley: 
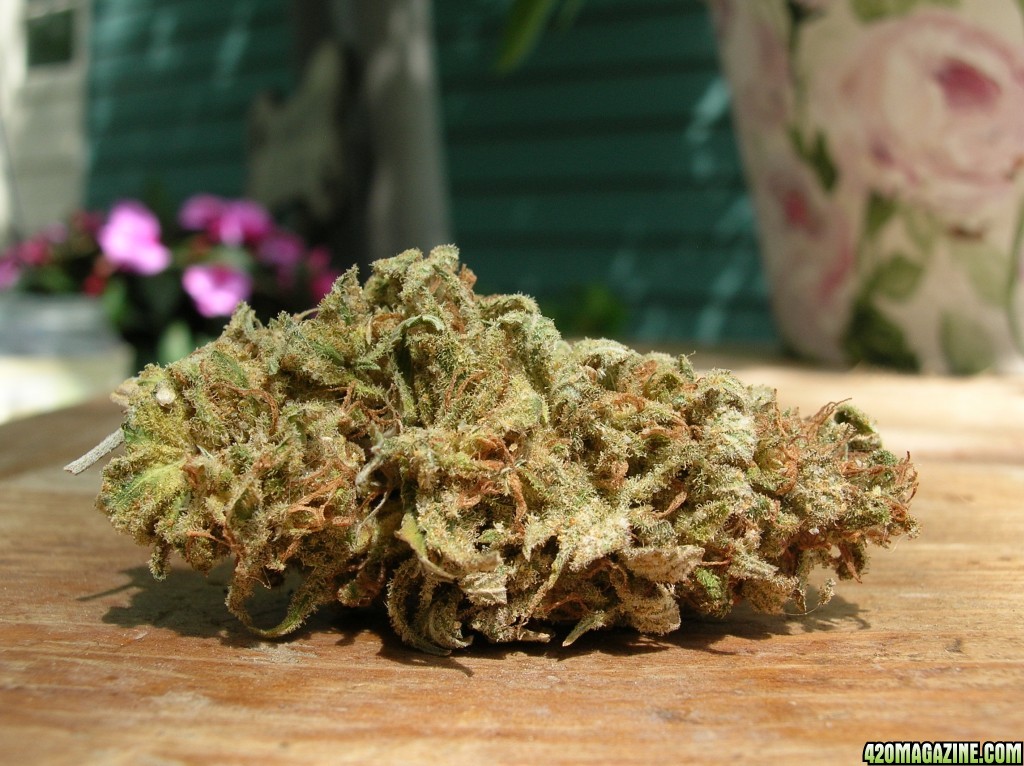
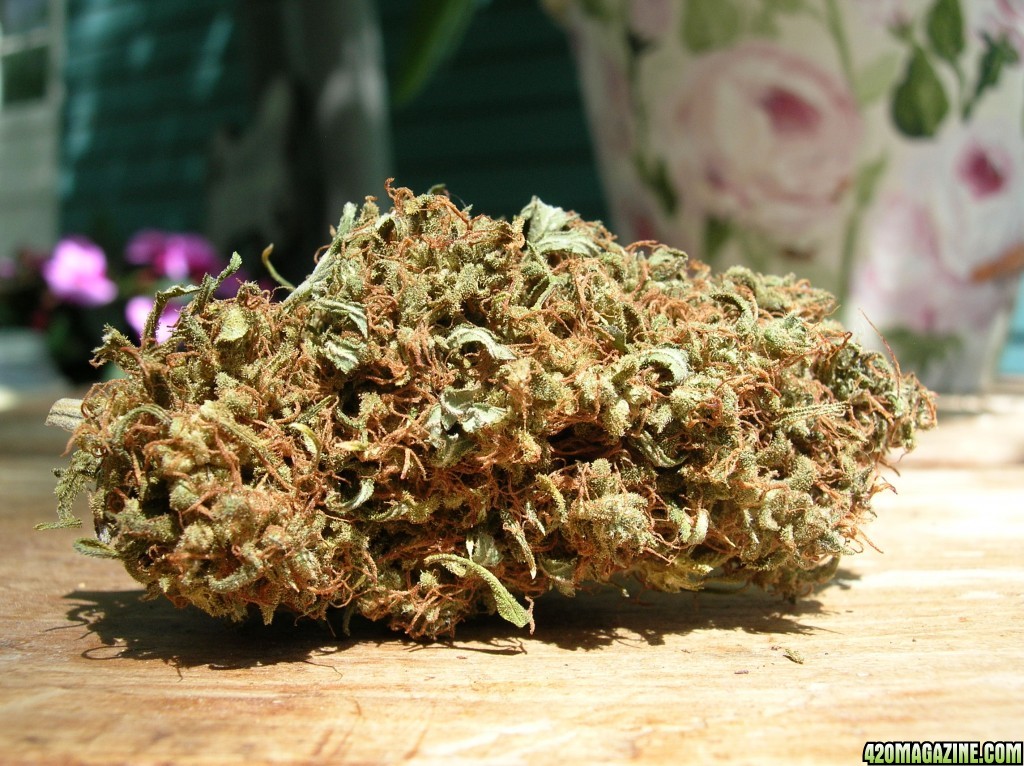
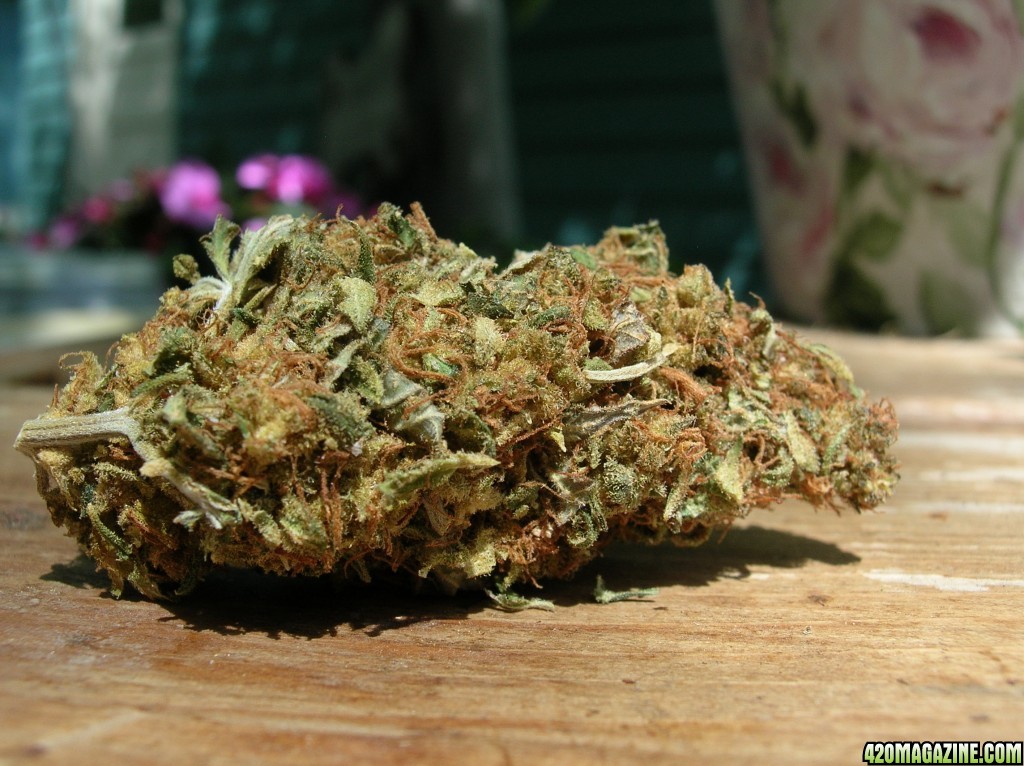
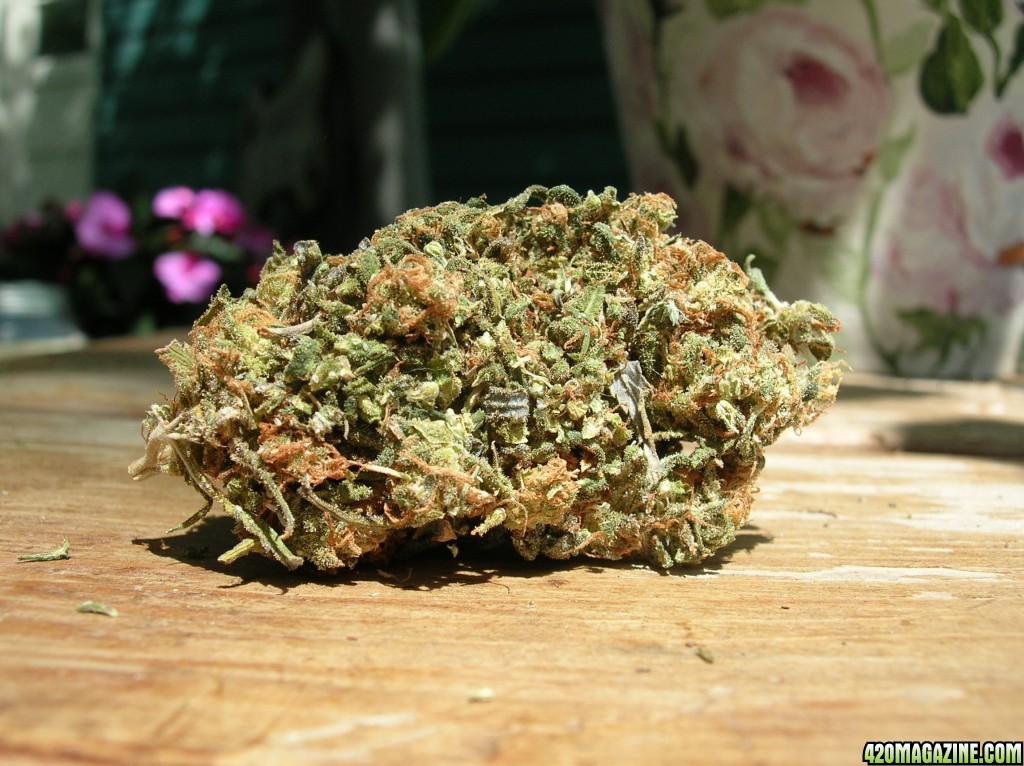
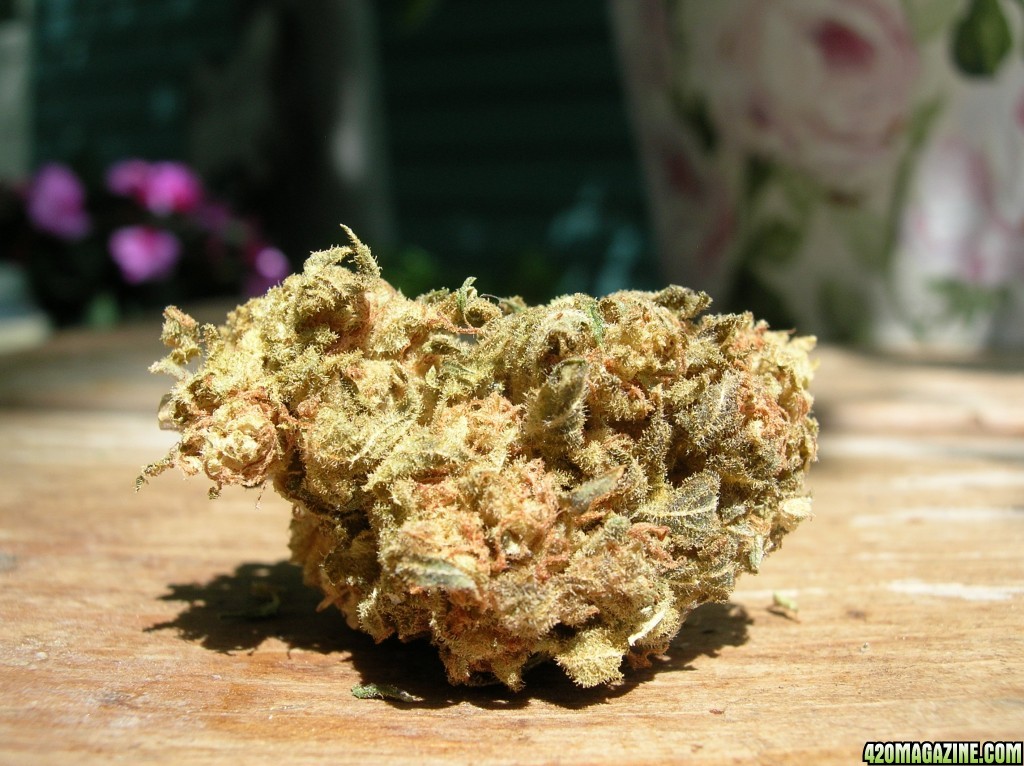
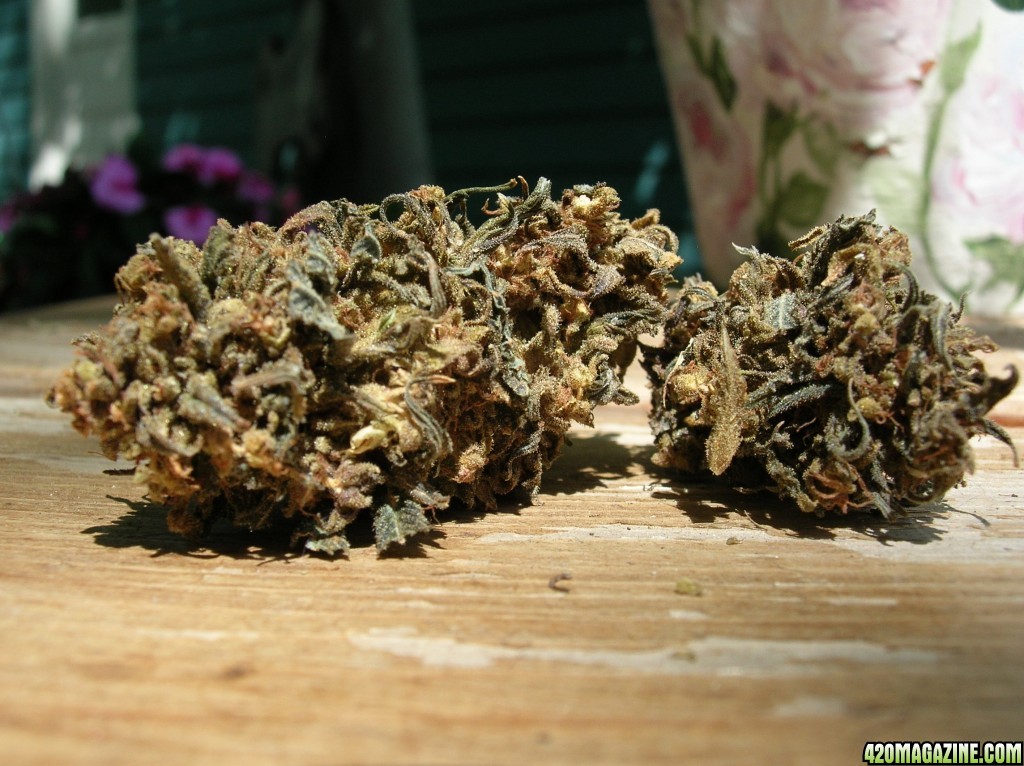
The CarnBs went down earlier and the later one is all nice and chunky. :slide:

:Namaste:
 
Hm, a couple days absence turned into a couple weeks ... :straightface: Oops.:cheesygrinsmiley:

There hasn't been much going on in Graytail's garden lately, with only Rio left to finish. I didn't get pictures of her because I didn't have the energy to clean her up properly. She has a bunch of unattractive leaves and some branches are sagging and need to be propped up.

But I like the 15 gallon tote. Or I should say, I like the size and the idea - the shape isn't going to work well for me. It'd be much better if it were square. The outside dimensions are 17.5 x 25.5 x 12. I have 55 x 45 inches to work with so I could fit 5 of them into the space, but not easily. Those suckers are really heavy when they're wet, and the size and location of my door would require me to lift one of them out before I could make room to roll or slide the others out. Oof. So ... :hmmmm: ... I recently discovered that those cheesy closet organizer grid panels are 14 inches square. A 14 inch cube is 12 gallons. :cheesygrinsmiley: Get 5 of those and wire 'em together, stuff a ten gallon bag in there ... :hmmmm: ... nice size, easy to move around ...

Anyway, I've been enjoying the reduced responsibility and planning for the next journal. I'm going to run half of the room in 3 gallon pots with minimal veg, and I'm going to set up my MH tent for veg. It's 1x1x1.5 meters, 59 inches tall and 39 inches square for 10.7 sqft. I can either move my 200 watt Par-Force panel in there with a Twilight 280 watt, or I may pull the trigger on some DIY COBS for the bloom room and move those MHs to the veg tent. I also have an old 400W CMH that I've been itching to try.

The main thing is upgrading the bloom room. I just sorta whipped it together in the beginning and it's time to build a proper growing space. I'm going to put up 1.5" of insulation against the concrete walls with washable white paneling, and seal the whole thing up nice and tight. I can do the same thing with the tent. Once everything is sealed I can add humidity in the winter, and I can keep bugs from freely moving around the house. :slide:

Rio will be done in two weeks. :yahoo:

Yesterday was a gorgeous sparkling sunny day and I've been getting into some old jars lately, so I decided to take some nug pictures in the sunlight.

CarnivalA - chopped 4-20-16
DSCN78121.JPG


Y Griega 2-28-16
DSCN78161.JPG


Destroyer x Buddha Haze 10-1-15
DSCN78182.JPG


DrGrinspoon 12-12-15
DSCN78201.JPG


Tikal 1-30-16
DSCN7822.JPG


White Panther 3-12-14
DSCN78242.JPG


Grapefruit 7-13-14
DSCN78261.JPG


Super Lemon Haze 5-25-14
DSCN78281.JPG


Nexus x Buddha Haze 9-10-15
DSCN78321.JPG


Orange Hill Special 8-17-15
DSCN78351.JPG


Panama 3-22-14
DSCN78371.JPG


:Namaste:
 
Nice collection here :laugh:
 
Great to hear from you! Sounds like you have a plan in the works with plenty of bud to tide you over while it is implemented. :thumb:
 
Beautiful natural light photos of spectacular buds. Y Griega, White Panther, Grapefruit & SLH jumped out at me. If this was GT's Medical Dispensary, I'd be ordering an 8 ball of ea. :bravo:

Haha! Graytail probably has a better inventory than your local dispensary. :laughtwo: Good to hear you're finally ready to get the changes to the grow spaces going Graytail. That insulation's going to shift your whole growing paradigm. I'm looking forward to a season that's whitefly-free. :battingeyelashes: :love:
 
Heheh, yeah that was about a third of my current selection. :geek: I've been passing some of it along and I've really been impressed with how well it holds up in canning jars with bovedas. Keeping the accepted begging/choosing paradigm in mind, there's still been nary a plaintive peep. :laugh: :slide: And yeah, I have a full larder for now ... 6 dozen quart jars ... so mebbe a five year supply ... :hmmmm: ... ?

*sigh*

We hobby growers live in an entirely different part of reality don't we? :laugh: Sheesh. I live geographically in one of those places where we say that it's not the end of the earth but you can see it from here - this cannabis hobby is kinda like that. I know where reality is but I don't get there very often anymore - it's "way over there".

I'm not going to insulate the floor because I rarely set a pot directly on the concrete anyway, and because I'm still not sure how the condensation and frost are going to work. One wall is cracked and will seep when we get a good gully washer outside so if I try to completely seal the room, that water will go elsewhere to a place I can't get to it. So it's better to let it drain to the floor of the room. But if it isn't sealed where the wall meets the floor, humidity will get between the insulation and the concrete and frost the walls, which will then melt in the spring. I thought about using those floor panels with the ridged bottoms?, mounting them against the wall before I put up the insulation, but that takes another couple inches away and it seems like a spendy kludge. So I'll just use closed cell foam and see how the frost/thaw goes. If not for that wall seepage I could basically do a walk-in cooler style thing. Dunno. We haven't had a wet summer for awhile so I don't know if I still get seepage.
 
Why not use a really flexible caulk? The foam sealant sometimes retracts from one surface and leaves a gap because of the repeated expansion contraction of the cement. The expanding foam reaches a certain size and stops and the pressure is gone at that point. But the caulk is much more elastic and grabs the cement much better. I am planning on sealing my basement at some point because just like you a gully washer will put some water in my grow area. I will first take a brush and scrub the gap between wall and floor and then lay a deep caulk bead, let that dry and keep adding beads until I am overflowing the crack with caulk. If water is still an issue I plan on getting some water sealant epoxy and painting the walls and floor with it. But the caulk will be a 200 dollar ish solution as opposed to several thousand dollars of epoxy sealant so hopefully it is enough!
 
Back
Top Bottom